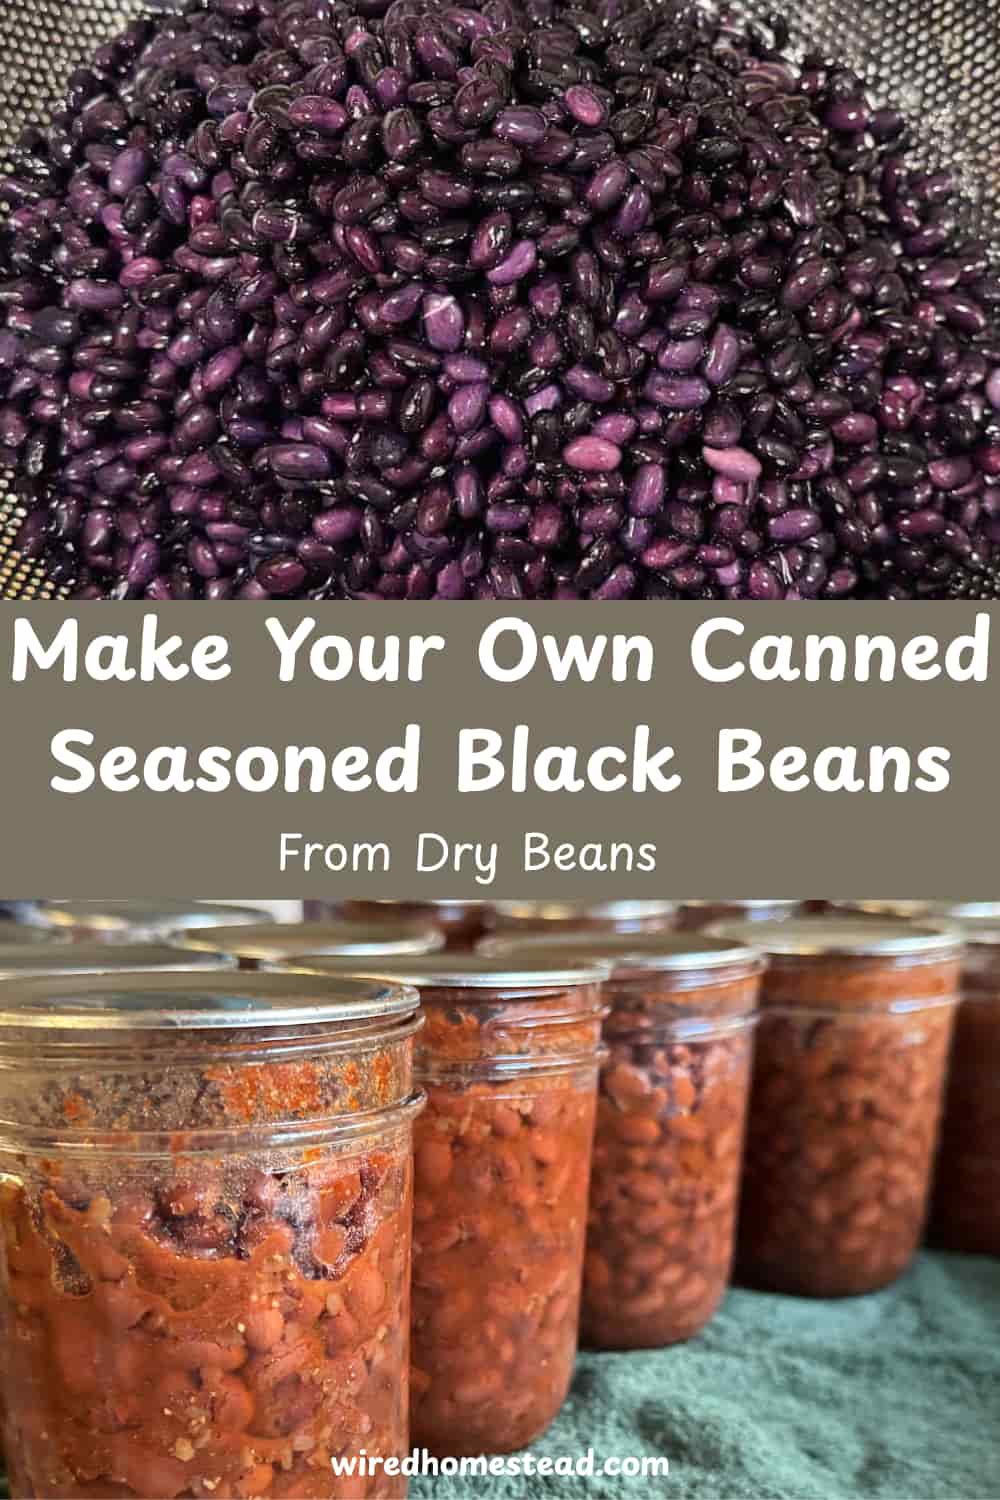
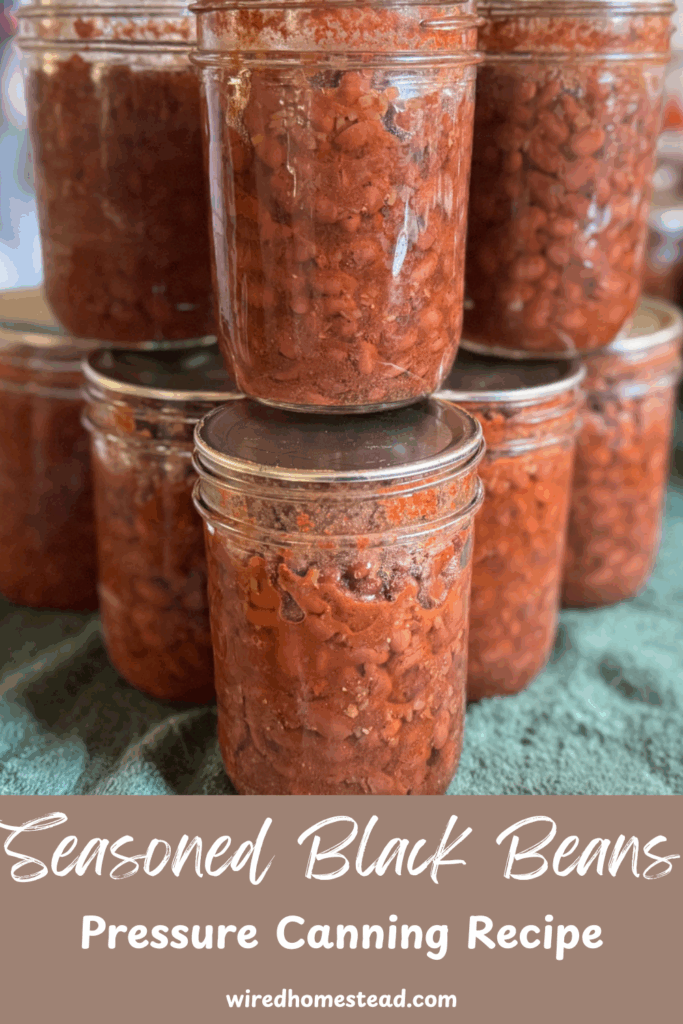
Easy Seasoned Black Beans Canning Recipe
Homemade seasoned black beans are used in so many different dishes in our house. They add a lovely depth of flavor to any dish you add them too. You can buy seasoned black beans in the store, but I find they are way better (and healthier!) if you make and can them yourself at home. You get to control the ingredients, how much of which spice goes in, and you know there are no fillers, preservatives, or other junk in each jar. Learn how to make and can your own seasoned black beans in this post.
These instructions also work for plain black beans, just omit the seasonings when you go to can the beans. All other steps are the same.
*As an Amazon Associate I may earn from qualifying purchases at no cost to you.
Pin it for later ⤵️
Why Should You Make Homemade Seasoned Black Beans?
First off, if you’ve never tried seasoned black beans you’re in for a real treat! They are full of delicious seasonings that meld with the black beans during the canning process. The added seasonings really give the beans, and therefore your dish, a flavor boost.
The recipe that is in this post is the one I like to use when I make homemade seasoned black beans. However, when pressure canning you have the freedom to change your seasonings however you like without any safety risk to your final shelf stable beans. They’re easily customizable to your family’s taste!
No More Grocery Store!
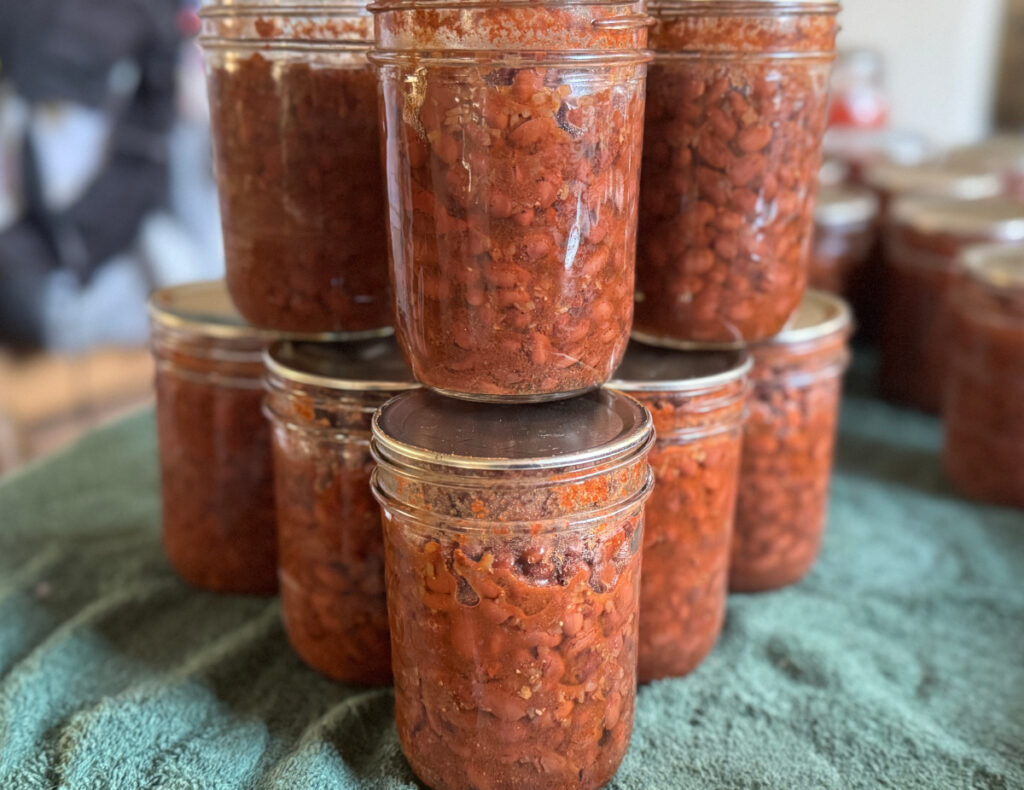
If you’re anything like me, you probably hate going to the grocery store. One of my favorite reasons to can is that it allows me to have ready-made, shelf-stable food and all I must do is go to the pantry. This recipe makes about 16-20 pint jars of beans. That’s a lot of meals without any shopping required!
This also gives you food security. I’ve seen grocery store shelves go empty, and since the COVID-19 pandemic I’ve also seen supply chains struggle. 5 years later and they still are not back to what they were pre-pandemic. Having food security is going to give you a sense of self-sufficiency that a grocery store could never give you.
This is the perfect recipe for Canuary, if you participate in that event. I love it, and beans are one of my favorite things to can.

Save Money Over Time
Overtime, canning can also save you a lot of money. In my store, a can of seasoned black beans costs $1.25. That’s $20 for 16 cans! To make homemade black beans, you use about 5 pounds of dry beans to get the equivalent of 16 cans. At $1.52 per pound of black beans (I buy in bulk from Azure Standard, and this is the price at the time of this post) it only costs me $7.65 to make the same amount of beans. Add a few dollars for the spices (I also buy those in bulk from Azure Standard) and you’re spending half the amount of money for the same amount of food.
Now I’m not going to lie to you, it does take some time to pressure can beans. And you do have to have a pressure canner, a pressure cooker, instant pot, or water bath canner isn’t going to cut it. There is an initial investment when it comes to the equipment and the jars/lids you need. But the pressure canner and jars can be used an unlimited number of times. Every time you use them, the price per jar gets cheaper.
Ingredients and Equipment
You’ll need about 2.5 pounds of dried black beans to start. After being soaked overnight and boiled before canning, you’ll end up with about 1 cup of beans per pint jar. If you want to can in quart jars, double the amounts below.
Ingredients per pint jar
- 1 Tbsp tomato paste
- 1 tsp dried minced onion
- 1 tsp chili powder
- 1/2 tsp garlic powder (or 1 tsp minced garlic)
- 1/2 tsp salt
- 1/4 tsp black pepper
- About 1 cup of soaked, boiled black beans
Equipment
- Container for soaking your beans overnight. I use these rubbermaid containers.
- Pressure canner with rack – I use this Presto Canner and I love it!
- 20 Pint or 10 quart jars – the recipe can vary depending on how many beans you put in each jar so have this amount ready
- A wet paper towel or clean cloth to wipe jar rims
- Canning lids (either regular or wide mouth depending on your jars) – I like to use wide mouth jars for beans, I find it’s easier to get the beans out. Either way, have enough lids for all of your jars. I love ForJars brand lids.
- Canning rings – either regular mouth or wide mouth to match your lid size
- Canning Tongs
- A table or counter surface to let your jars cool for 24 hours
Tips for Pressure Canning Safely
Before we get started, I wanted to talk about canning safely. This recipe is a low acid food (ph > 4.6), therefore it must be pressure canned. You cannot pressure can in an Instant Pot or pressure cooker, you must use an actual pressure canner. I have a Presto 23 quart canner and it works great for me.
If your pressure canner uses a rubber gasket or other rubber parts, like the Presto models, check them before canning to ensure they are not cracked or stiff. It’s best practice to replace the rubber parts every year. However, I replace the parts when they need it, which is usually every few years.
Most pressure canners come with a dial gauge to monitor the pressure. The gauge must be checked every year to make sure it is accurate. Some county extension offices will check them for a small fee. I recommend forgoing the dial gauge and getting a weighted gauge if your canner didn’t come for one. I have this weighted gauge for my canner and love it. The benefit of a weighted gauge is that it uses physics to calculate the pressure in the canner. There’s no need to get it checked so it eliminates the hassle of a dial gauge. I highly recommend them.
Follow the directions exactly. Things like using the exact headspace and cleaning the jars can’t be missed. Venting before building pressure, and letting the canner slowly release the pressure are extremely important. Don’t skip any of the steps or your final product may not turn out safe.
Finally, inspect all jars before using and verify the lids are still sealed. Do not use any jar that shows signs of bulging, gas build-up, or looks or smells odd. If in doubt, throw it out.
How to Make and Pressure Can Seasoned Black Beans
Now comes the work. It does take time to can, especially pressure can. Beans take even longer because they require a few extra steps to make them ready and safe to can. However, there is very little actual hands on time. A few minutes to sort and soak the night before, and some time to boil and assemble the next day.
Most of your time will be spent waiting for the beans to boil, and then waiting for the beans in the pressure canner. You can do this, especially when you do it once and have beans for months! It’s considerably less time than going to the grocery store every time you need them.
I promise, the effort is worth it!
How to Prep Beans for Canning
The preparation process for dry beans requires an important rehydration and pre-cook step to ensure safe canning.
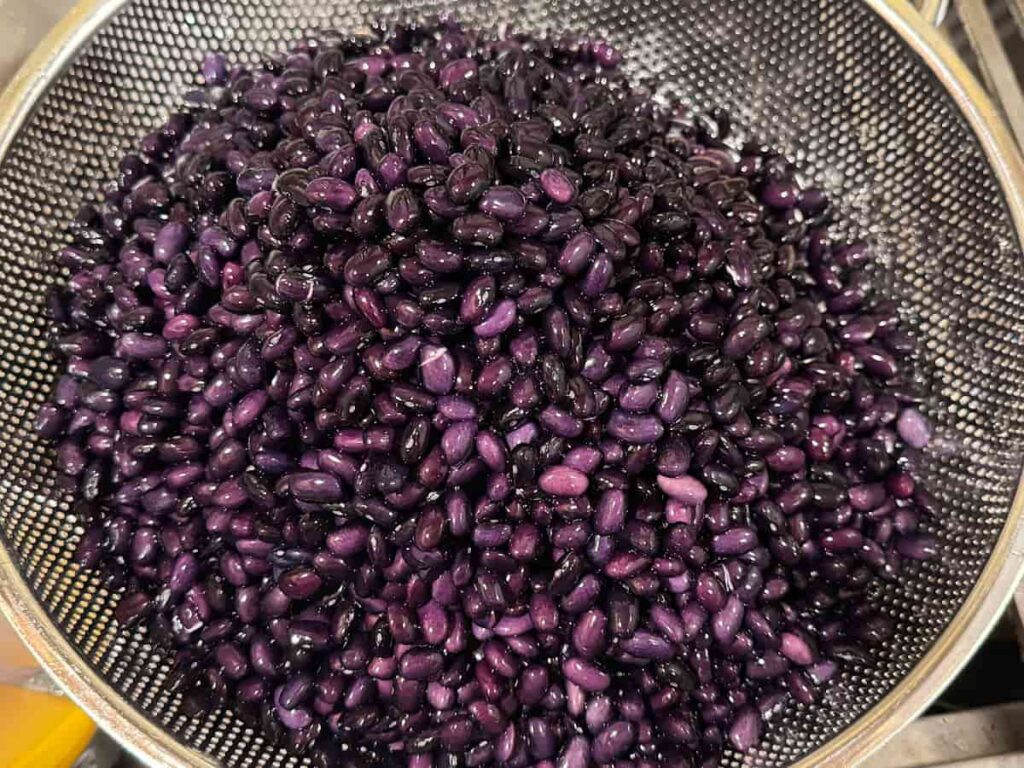
1. Select and Sort the Beans
Start by picking through your dried beans. Discard any shriveled, discolored, or damaged beans, as well as any small stones or foreign matter. Rinse the sorted beans thoroughly under cool water.

2. Rehydration (Soaking)
The rehydration step is crucial. This ensures the beans are adequately moist for proper heat penetration during the pressure canning process.
- Place the sorted and washed beans in a large pot or large container. I like to use a rubbermaid container like this to soak my beans. About 5 pounds of beans will yield 16-20 pints or 8-10 quarts.
- Cover the beans with fresh water (they will expand, so use about 3-4 times the amount of water).
- Allow the beans to soak for 12 to 18 hours (I leave the container on the counter).
- After soaking, drain and discard the soaking water.
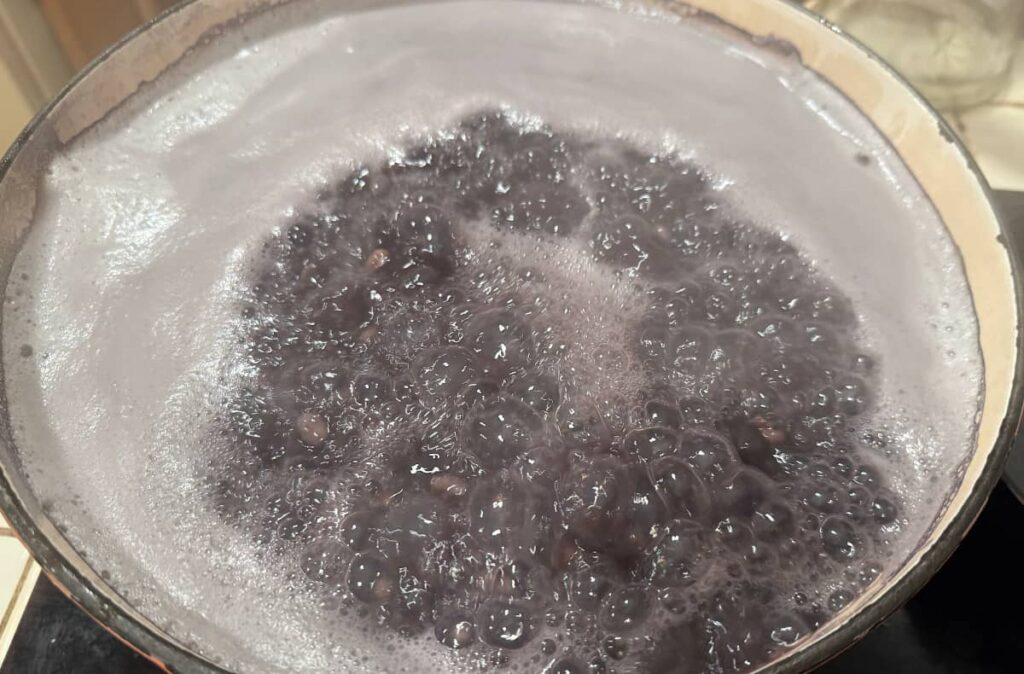
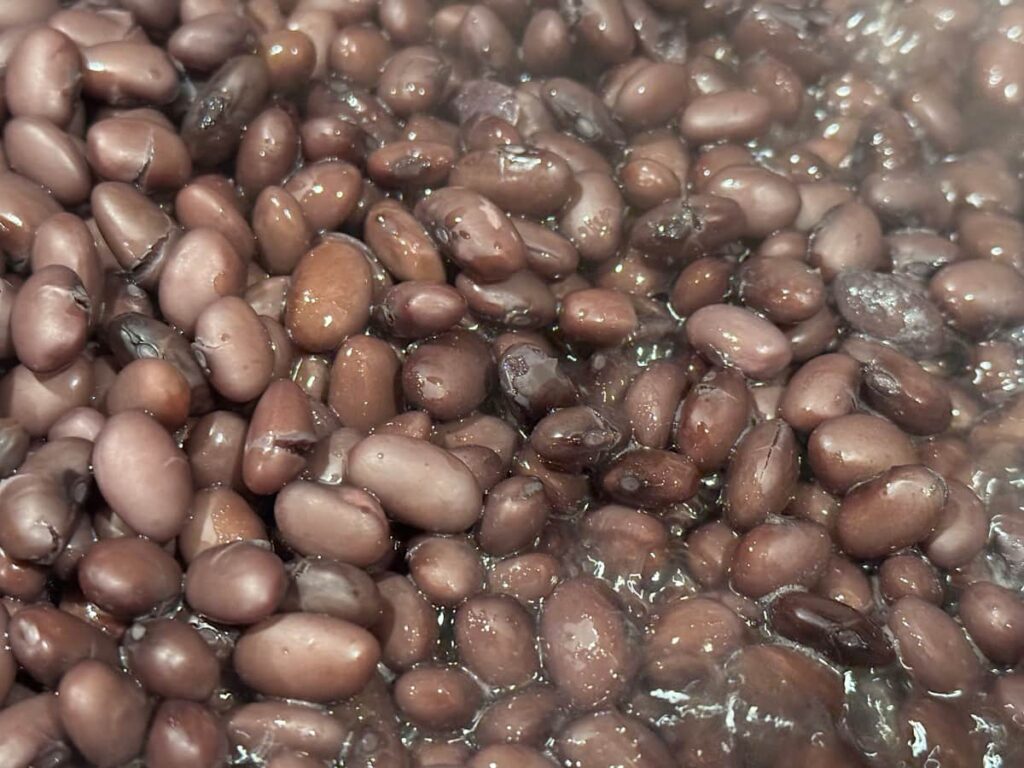
3. Pre-Cooking (Boiling)
After the beans rehydrate, you must boil them. Don’t skip this step; it is part of the scientifically tested process for safely pressure canning dry beans
- Cover the drained, soaked beans with fresh water.
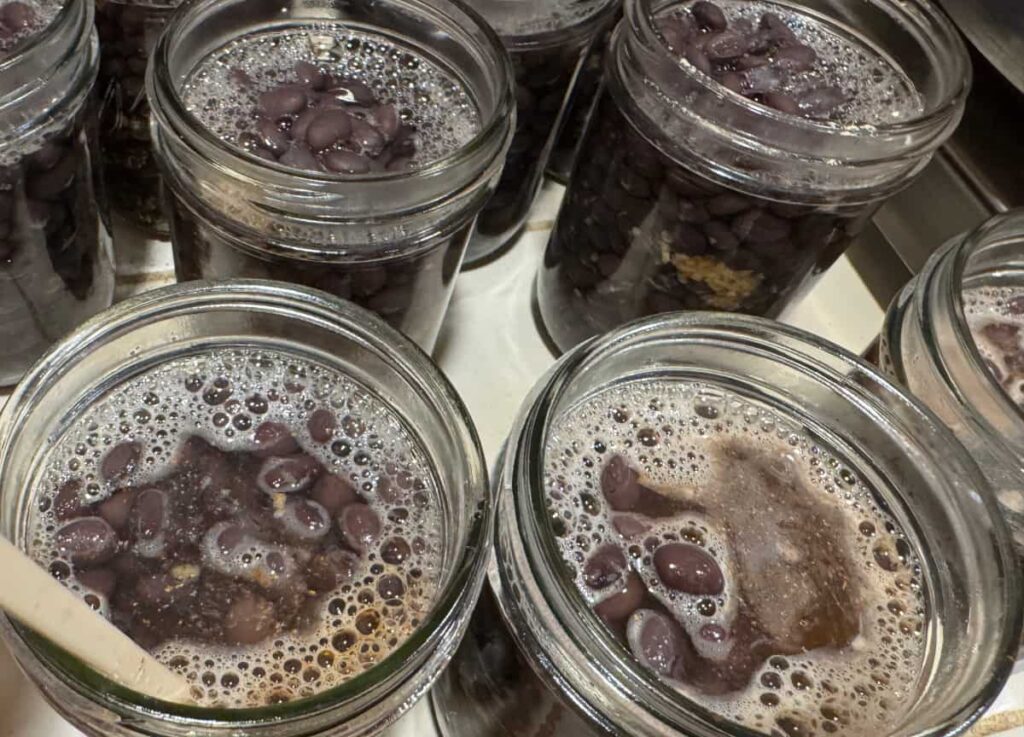
- Bring the water and beans to a boil and boil for 30 minutes to an hour, or when you see the bean skins start to crack.
- The boiling process will create froth in the pot. You can skim this off or leave it, it’s up to you.
- This pre-cooked mixture of hot beans and hot liquid is now ready to be packed into your canning jars.
Safety Note on Preparation:
Do not place raw, dry beans directly into the jar and cover with water (sometimes called “raw pack”). Scientists determine safe pressure canning times by using beans that have already soaked and boiled for a minimum of 30 minutes. Starting with dry or under-hydrated beans can result in an unsafe product that may not reach the required sterilizing temperature in the center of the jar.
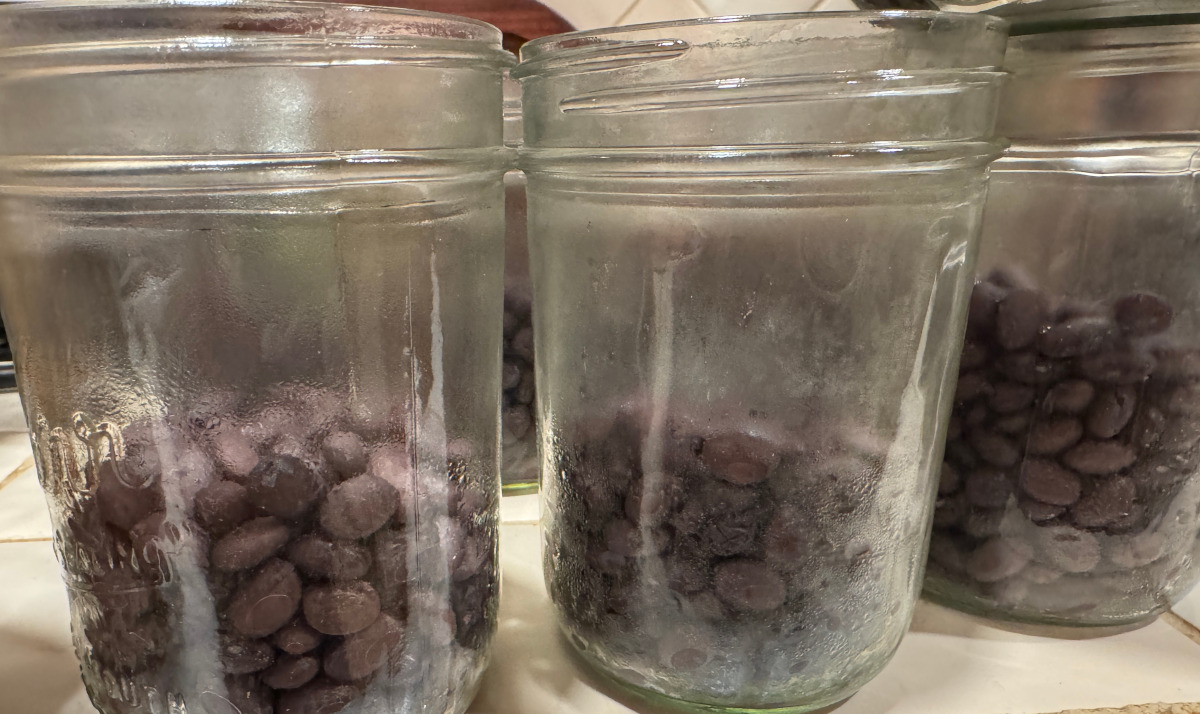
4. Hot Packing the Jars
- While the beans are hot, ensure your jars are clean and warm.
- Use a spoon to loosely fill half of the hot jar with the hot beans
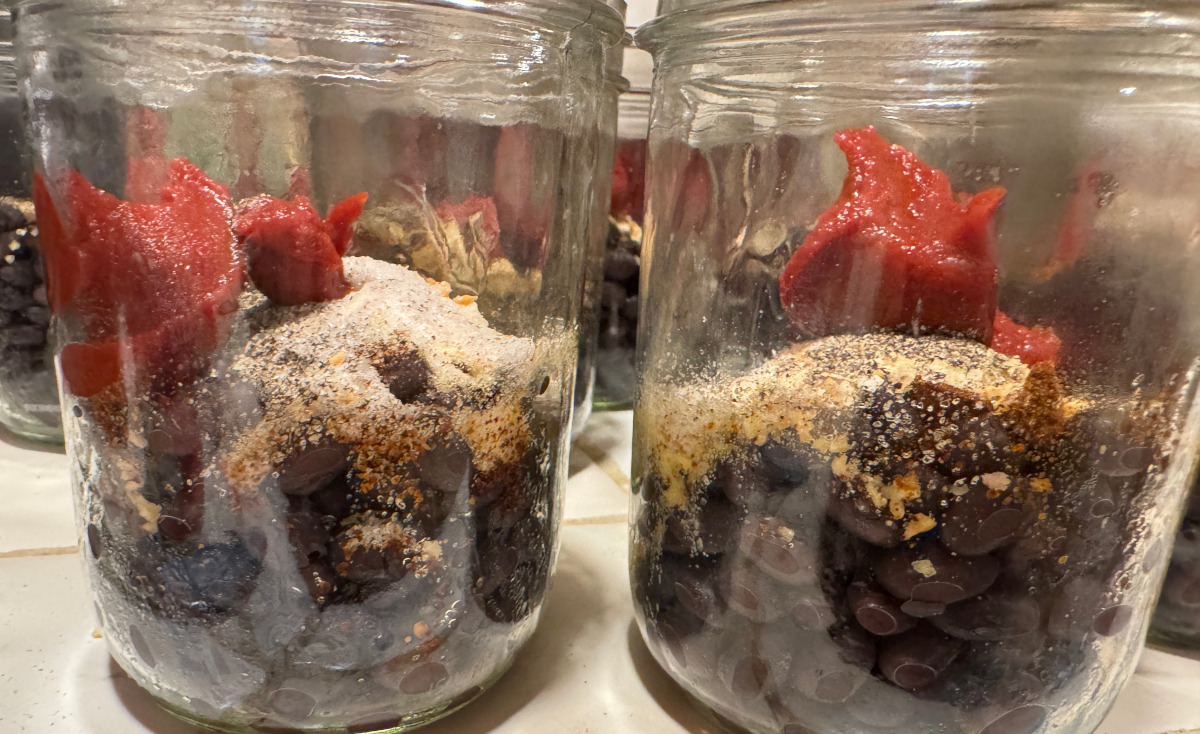
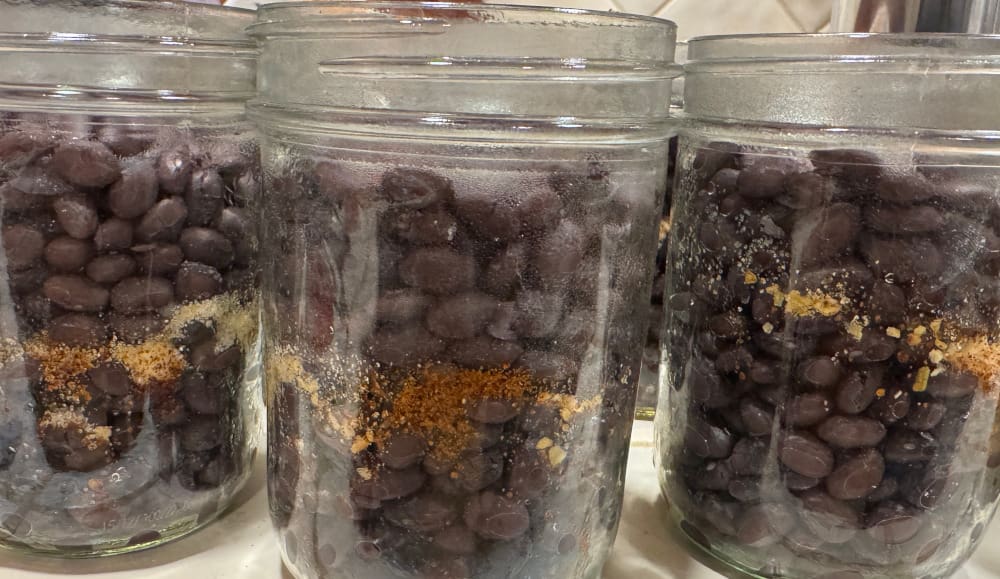
- Add the seasonings if you’re choosing to make the seasoned version in this post. If you want to make plain black beans, skip this. I like to add the seasonings to the middle of the jar because I find they disburse better. If I put them in first and then the beans I find they don’t distribute through the jar as nicely. Don’t add them last or it might mess up your headspace, which is extremely important.
- Loosely add more beans to the jar, leaving a 1-inch headspace at the top (the space between the food and the rim of the jar).
- Remove any air bubbles using a non-metallic utensil. I usually use a chopstick but any thin, non-metalic utensil will work. Non-metalic is important to avoid any potential micro scratches in the glass. Check and adjust the liquid level to maintain the 1-inch headspace.
- Wipe the rims of the jars clean with a clean, damp cloth or paper towel.
- Center new lids on the jars and apply screw bands finger-tight. Do not over tighten or that could affect the seal.
6. Pressure Canning the Beans
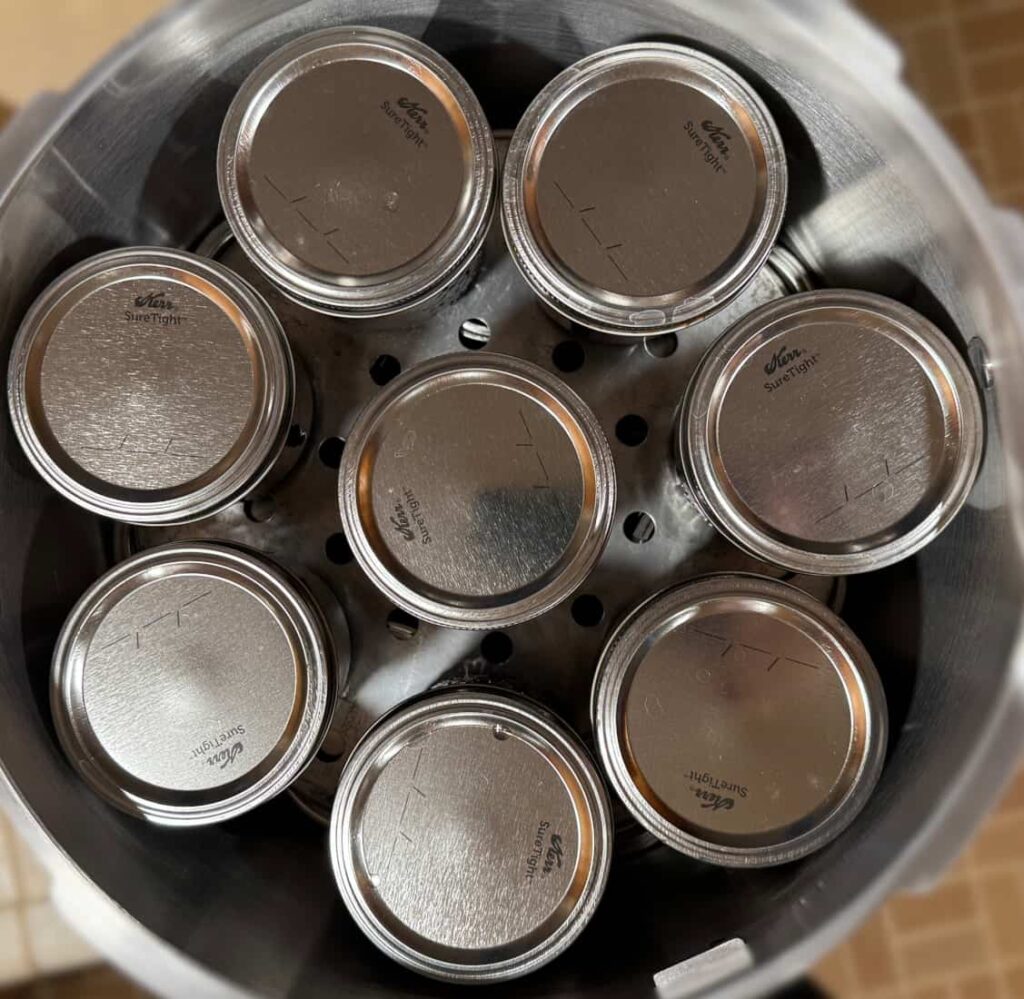
- Prepare Canner: Place the canner rack in the bottom of the pressure canner. Add the amount of hot water recommended by your canner manufacturer (usually 2 to 3 inches).
- Load Canner: Using the jar lifter, carefully place the hot jars onto the rack in the canner. Lock the canner lid into place, but do not put the weight or pressure regulator on yet.
- Vent the Canner: Turn the heat to medium-high. Once the canner is steaming, allow steam to escape steadily from the vent pipe for 10 full minutes. This is called venting and is crucial to ensure all air is removed from the canner. If the air isn’t removed, then the pressure inside the canner will not be correct.
- Place your canner weight or pressure regulator on the vent pipe once the 10 minutes are up.
- Allow the pressure to rise to the correct amount for your altitude. I’m below 1,000 feet so my pressure is set at 10 lbs with a weight, or 11 lbs with a dial gauge. If you are above 1,000 feet you’ll can at 15 lbs pressure with a weighted gauge, or 12 lbs pressure with a dial gauge.
- Once the correct pressure is reached, begin your timing:
- Pint Jars: Process for 75 minutes.
- Quart Jars: Process for 90 minutes.
- Adjust the heat as necessary to keep the pressure steady for the entire time. If the pressure drops below the required level at any point, you must bring it back up and restart the processing time from the beginning.
7. Depressurize and Cool the Jars
After the processing time is over, you must let the canner depressurize on its own. Rushing this process will cause siphoning of liquid out of the jars and may make them unsafe.
- Cool Down: After the processing time is complete, turn off the heat and allow the canner to cool naturally until the pressure returns completely to zero (the gauge reads ‘0’ and/or the safety plug drops). Do not rush the cooling process by removing the weight or opening the vent. This can cause liquid to siphon out of your jars.
- Open Canner: Once the pressure is at zero, wait an additional 10 minutes before slowly removing the weighted gauge or opening the vent. Unfasten the lid, lifting it away from your face to avoid steam burns.
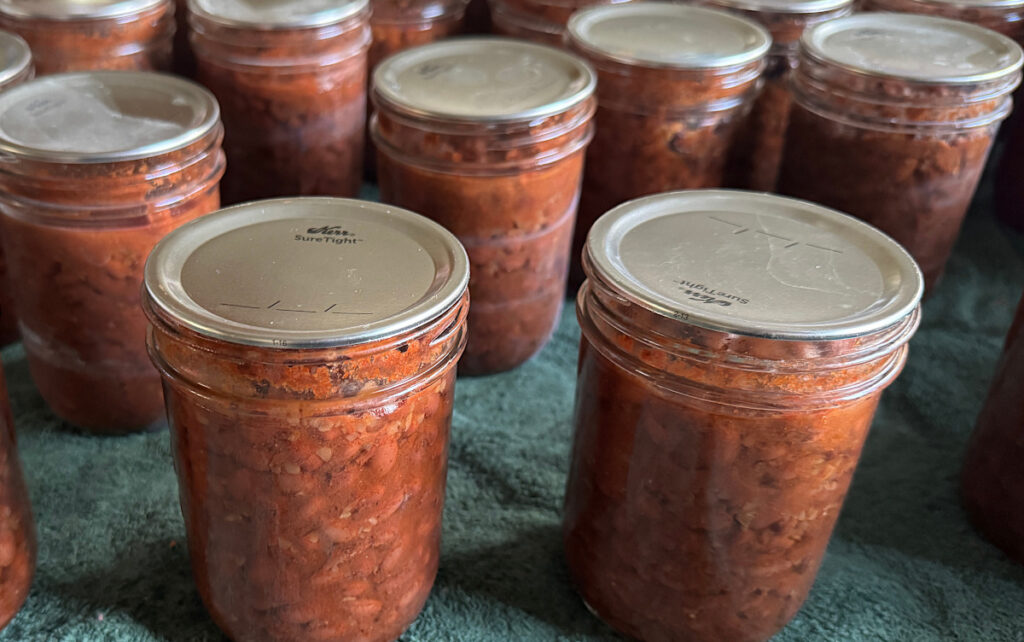
- Remove Jars: Wait 5 more minutes, then use the jar lifter to carefully move the jars to a towel lined countertop or another surface they can sit undisturbed. Leave space between the jars so air can move in between for proper cooling.
- Final Seal: Let the jars cool undisturbed for 12 to 24 hours. You may hear the ping sound as the lids seal, but that is not always the case.
- Check Seals: After 12-24 hours, remove the screw bands. Press the center of each lid. If the lid is firm and doesn’t flex, the jar is sealed.
- Store: Wash sealed jars, label with the contents and date, and store in a cool, dark, dry place. If you have any unsealed jars they must be refrigerated and used within the week.
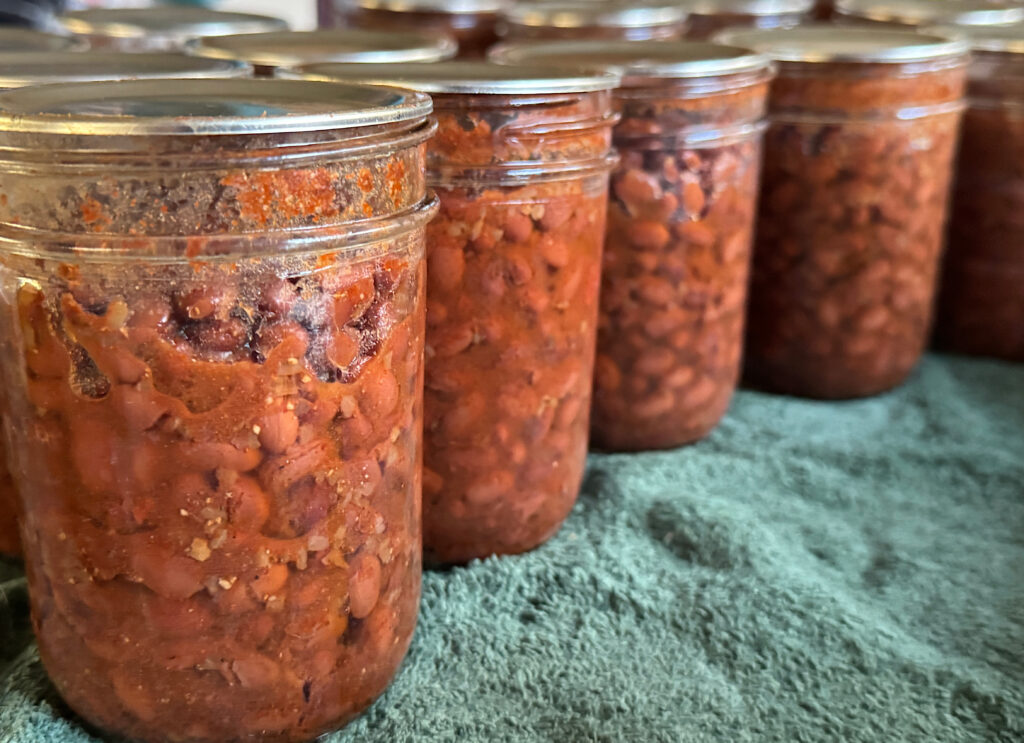
Enjoy Your Homemade, Shelf-Stable Seasoned Black Beans!
With just a quick trip to your pantry you’ll be able to grab a jar of black beans for any recipe. With a bit of work up front, your weeknight meals will be so easy. Canning beans is a great way to help you cook from scratch on even those busy days. You’re running one kid here and another kid there, and in the middle is the “what’s for dinner?” question. Knowing you have these beans in the pantry, the question is much easier to answer. These are a perfect side dish just on their own. Or maybe throw together some quick bean and cheese quesadillas. They give a lovely bit of kick to a bean and corn salsa. Or check out my recipe for Dirty Rice with Black Beans that can be ready in under 30 minutes. The possibilities are endless!
Share your favorite ways to use seasoned black beans, or just black beans, below in the comments!
Frequently Asked Questions
Q: Do I have to use a pressure canner?
A: Yes, absolutely. Black beans are a low-acid food and must be processed in a pressure canner. This is the only way to reach the high temperatures necessary to destroy Clostridium botulinum spores, which cause botulism. Water bath canning is NOT safe for any dried beans.
Q: Can I use an electric multi-cooker (like an Instant Pot) with a “canning” setting?
A: No. Most electric multi-cookers are not considered safe for pressure canning low-acid foods. They do not reliably maintain the required temperature and pressure throughout the entire processing time. Always use a tested, reputable pressure canner (dial gauge or weighted gauge). I use a Presto 23 quart canner.
Q: Why must I pre-soak and pre-cook the beans?
A: This is part of the tested, safe canning procedure. It ensures the beans are properly hydrated, which is crucial for correct heat penetration during processing and results in better quality. Do not put dry beans directly into the jars.
Q: How long should I pressure can black beans?
A: Processing time depends on jar size: Pints (75 minutes) or Quarts (90 minutes). The pressure setting depends on your canner type and altitude. Use 10 lbs for a weighted gauge or 11 lbs for a dial gauge for elevations lower than 1000 feet. Use 15 lbs for a weighted gauge if you are above 1000 feet (double check dial gauge pressure depending on exact altitude as it varies). Always follow the latest USDA guidelines and your canner’s manual.
Q: Can I add fresh ingredients like chopped onion, garlic, or oil?
A: Yes, you can add fresh ingredients as long as they are safe to can. Adding fresh ingredients (onions, garlic, peppers) or fat (oil) changes the density or of the product, so you must always can at the longest time needed for the ingredients added. Keep fat (oil) to a very small amount. Fat can go rancid fast and may spoil your beans.
Q: Can I omit the salt?
A: Yes. Salt is included only for flavor and is not required for safe preservation. You can omit it entirely or use a salt substitute.
Q: What if my jars have lost liquid after canning (siphoning)?
A: It’s common for beans to absorb liquid or for some liquid to siphon out. As long as the lid has sealed (it should be concave and tight), the contents are safe. The quality may be lower if beans above the liquid darken or dry out.
Q: How long will home-canned beans keep?
A: For the best quality, use home-canned goods within one year. They can remain safe much longer if stored properly (cool, dark, dry place), but the texture, flavor, and nutritional value will degrade over time.
Q: How long will home-canned beans keep?
A: This can happen if you over-soaked, over-boiled, used older beans, or processed at too high a pressure. To prevent this, ensure you use the recommended 30-minute boil and stick strictly to the correct pressure and time.
Pin it for later ⤵️


Thanks for the inspiration! I have never canned these kinds of beans, just green. And preseasoned just makes them seem so much more usable in a pinch for dinner!
We always used the seasoned beans, we don’t even use plain black beans anymore. I hope you give them a try. I find canning beans to be one of the most rewarding, and used, things I can now.
My favorite beans! Black beans are so delicious, and I love the canning instructions. Very easy to follow and the spice mix sounds perfect! It’s so much easier to have canned beans ready than having to remember to soak them ahead of time when you want to cook with them.
Taking the time to can them is worth it to me. One day of work means I have them ready to just grab to use for months of meals.
I am going to be buying beans in bulk next month and would love to do this! Great info!
I hope you love them! We use them all the time.
Thank you so much for sharing these easy to follow canning instructions! I’ve never canned anything because I’ve been too intimidated… But this post will really help!
I hope you give a try. I was really intimidated before I did it, too. I think that’s completely normal. I realized after I took the plunge and tried it for the first time that it’s so easy and there was nothing to be nervous about. I don’t think you get over that intimidation until you finally go for it.
I have never canned before, thanks for the great info.
I hope you give it a try! There’s so many different things you can try canning.