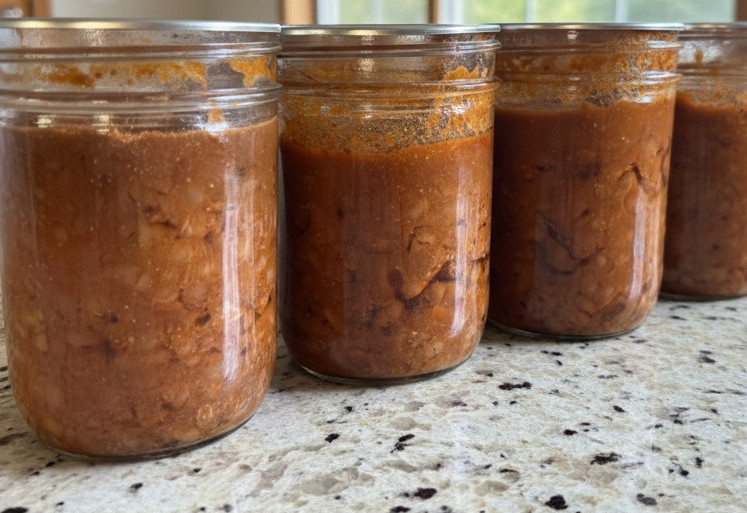
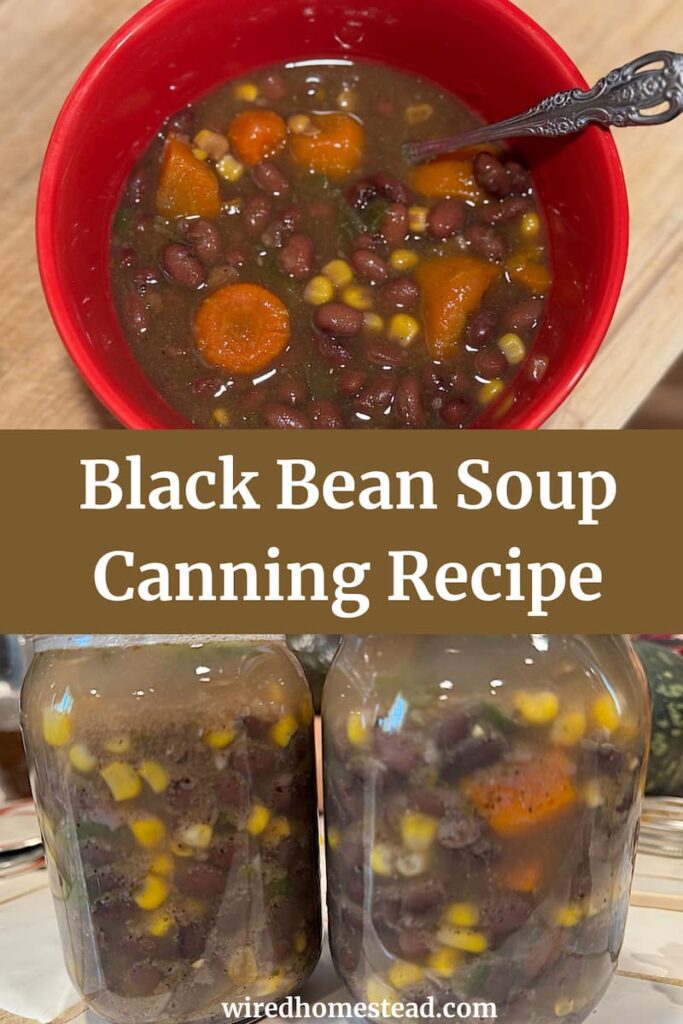
From Scratch Black Bean Soup Recipe and How to Can It
Pressure canning from scratch black bean soup is so easy! My family prefers black bean soup over tomato soup when we have grilled cheese sandwiches. After being disappointed repeatedly with store bought soup, I set out to develop my own. Now I make my own from scratch black bean soup and can it. All I have to do is go to my pantry, grab a jar, and heat it up. Along with making the grilled cheese, dinner’s ready in about 15 minutes.
*As an Amazon Associate I may earn from qualifying purchases at no cost to you.
Pin it for later ⤵️
Why You Want to Can Black Bean Soup
If your life is anything like mine, it’s pretty busy. Busy looks different for everyone, but in general it’s common to not have a lot of time to devote to making dinner every night. Sometimes I’m lucky to get anything on the table at all!
This is a big reason why I love to can soups. It does take a bit of work up front, but then you have so many meals ready to go. Just spend a few minutes heating them up and you have a healthy, from scratch meal on the table with minimum effort.
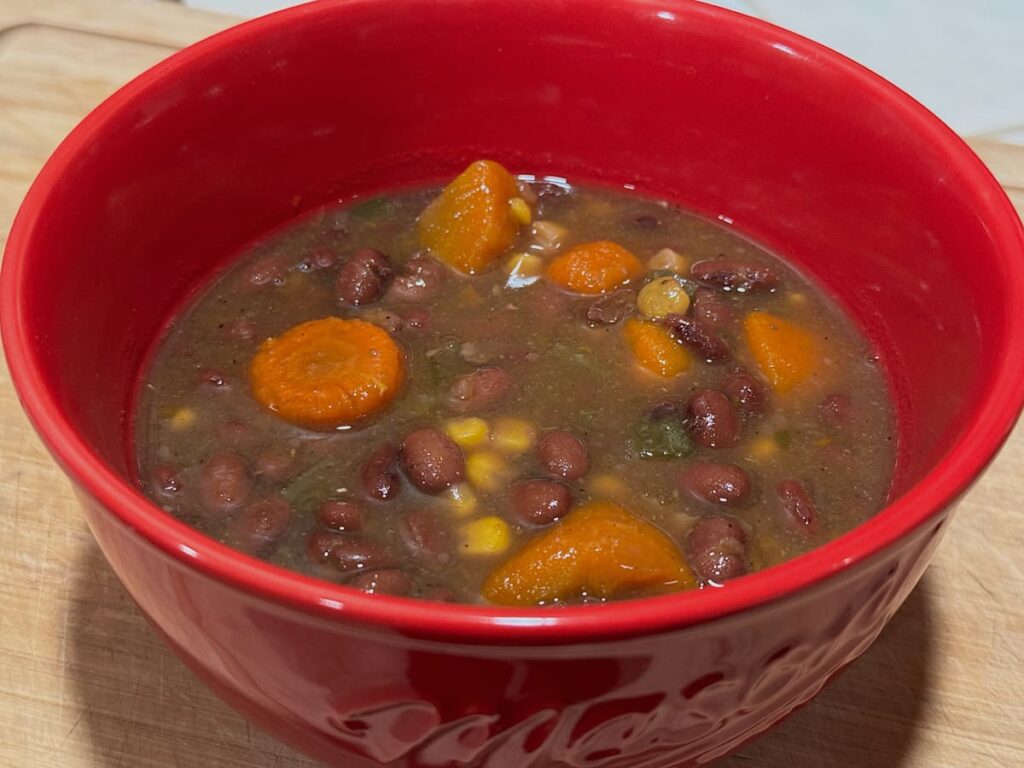
I particularly love from scratch black bean soup because it’s so easy, it’s very versatile, and it pairs perfectly with gooey grilled cheese.
This recipe is one I use. It has a chicken bone broth base, which is incredibly good for your gut health. You can adjust any of the seasonings you like, add different vegetables, or even add meat to make it your own. If you choose to add meat, that may change the processing times so be sure to look those up before you can it.
Or if you’re like me, you can just add some leftover chicken to the soup the next day and have a complete meal. It’s also a great way to use leftover turkey around the holidays.
This soup is sure to be a crowd pleaser. Even my toddler loves it! And I feel good knowing that it’s healthy, there’s no preservatives or artificial anything, and every ingredient can be pronounced.
Healthy, tasty food on the table in a few minutes? Sign me up!

How to Make From Scratch Black Bean Soup for Pressure Canning
This recipe is going to look huge, but that’s the point. You don’t want to just make enough for one meal. The idea is to make a huge pot of soup, then divvy it up into many jars so you have multiple meals on the shelf ready to be heated up.
You could make a much smaller batch of this for one meal, but I prefer spending the time to make it once, then can it for multiple meals. It does take a bit of time to make and can. It’s worth it, though, to not have to cook but still have a healthy dinner on those busy weeknights.
Ingredients:
- 3 lbs dry black beans
- 7 carrots
- 6 c. corn (3 cans)
- 1 c. jalapenos or pepper of your choice
- 4 c. diced tomatoes (2 cans)
- 2 Tbsp salt
- 3 Tbsp cumin
- 2 Tbsp oregano
- 1/2 Tbsp black pepper
- 4 quarts chicken broth
- 2 Tbsp garlic powder
- 3 Tbsp minced onion or 1 medium onion
- 2 1/2 Tbsp coriander
Equipment:
- Large stock pot – I use this 16 quart stock pot and I love it
- Measuring cups and spoons
- Sharpe knife
- Cutting board
- Container for soaking your beans overnight. I use these rubbermaid containers.
- Ladle
How to Prep Beans for Canning
The preparation process for dry beans requires an important rehydration and pre-cook step to ensure safe canning.
1. Select and Sort the Beans
Start by picking through your dried beans. Discard any shriveled, discolored, or damaged beans, as well as any small stones or foreign matter. Rinse the sorted beans thoroughly under cool water.
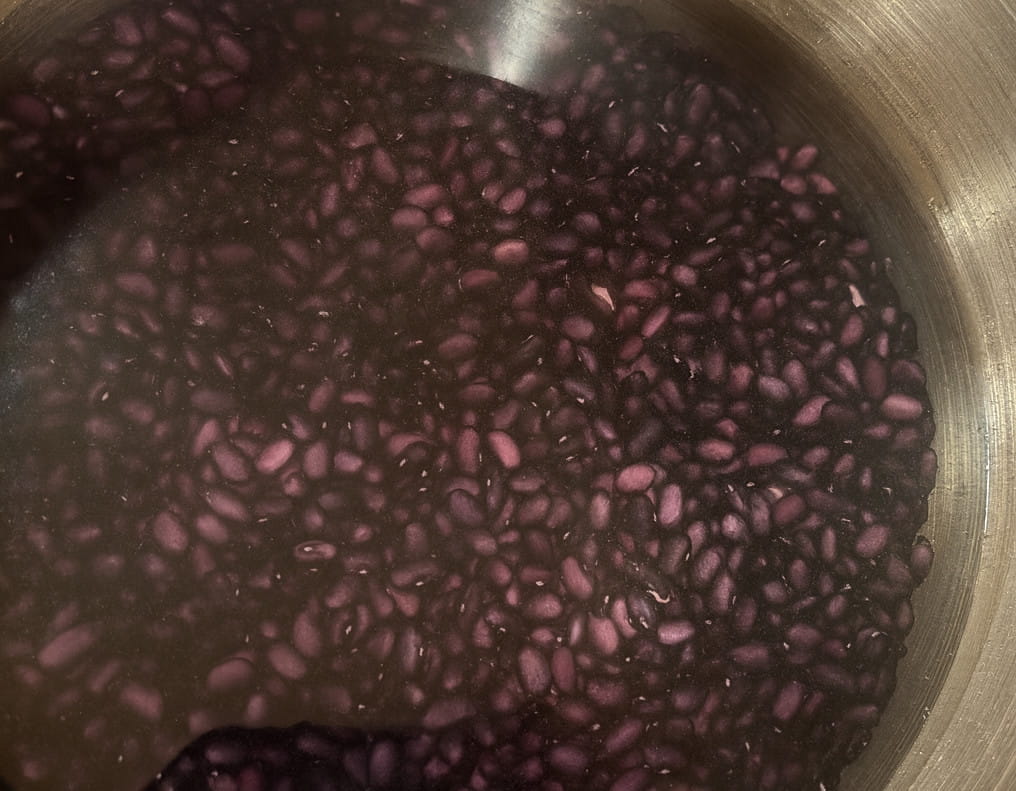
2. Rehydration (Soaking)
The rehydration step is crucial. This ensures the beans are adequately moist for proper heat penetration during the pressure canning process.
- Place the sorted and washed beans in a large pot or large container. I like to use a rubbermaid container like this to soak my beans. About 5 pounds of beans will yield 16-20 pints or 8-10 quarts.
- Cover the beans with fresh water (they will expand, so use about 3-4 times the amount of water).
- Allow the beans to soak for 12 to 18 hours (I leave the container on the counter).
- After soaking, drain and discard the soaking water.

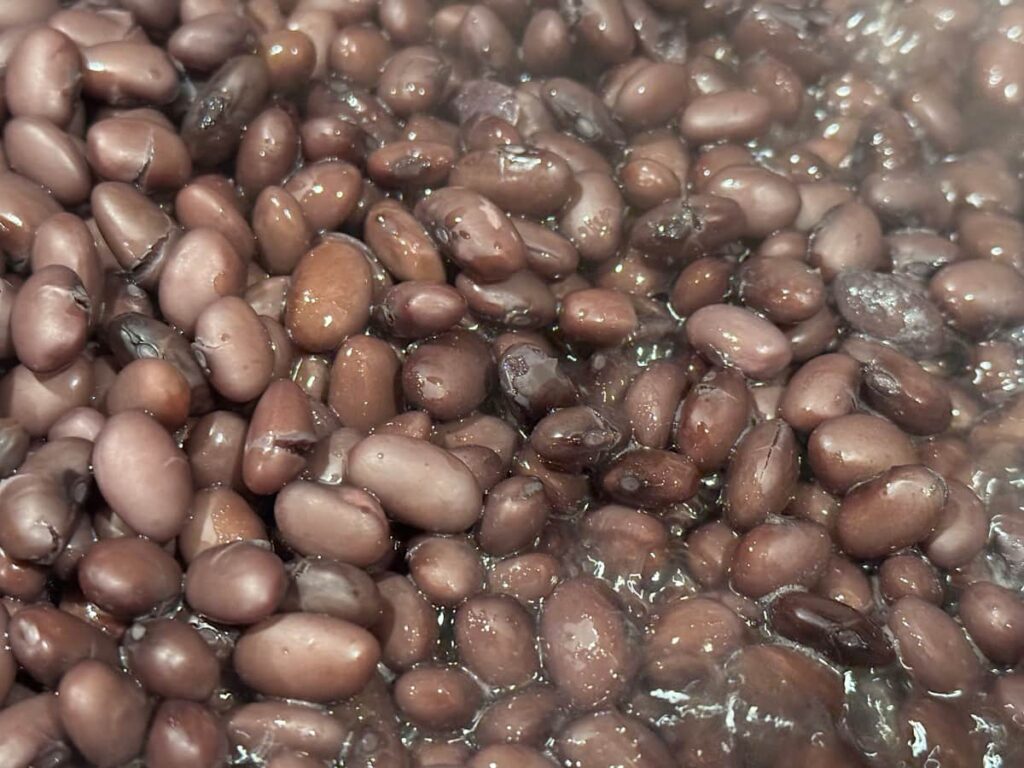
3. Pre-Cooking (Boiling)
After the beans rehydrate, you must boil them. Don’t skip this step; it is part of the scientifically tested process for safely pressure canning dry beans
- Cover the drained, soaked beans with fresh water in your stock pot.
- Bring the water and beans to a boil and boil for 30 minutes to an hour, or when you see the bean skins start to crack.
- The boiling process will create froth in the pot. You can skim this off or leave it, it’s up to you.
- Drain the beans one more time and put them back into your pot.
4. Add Vegetables and Other Ingredients
- Wash and cut your vegetables to your preferred size. I like to cut carrots larger so they don’t get too mushy during the canning process.
- Measure out the rest of your vegetables. If using fresh onion, saute it in a Tbsp of olive oil until translucent. This really brings out the flavor.
- Throw them all into the pot with the beans
- Add the chicken broth to the pot and start to heat it up.
- Measure and add the seasonings, adjusting to your preference. Start a little under what my recipe states if you’re unsure, it’s best to need more than to start with too much!
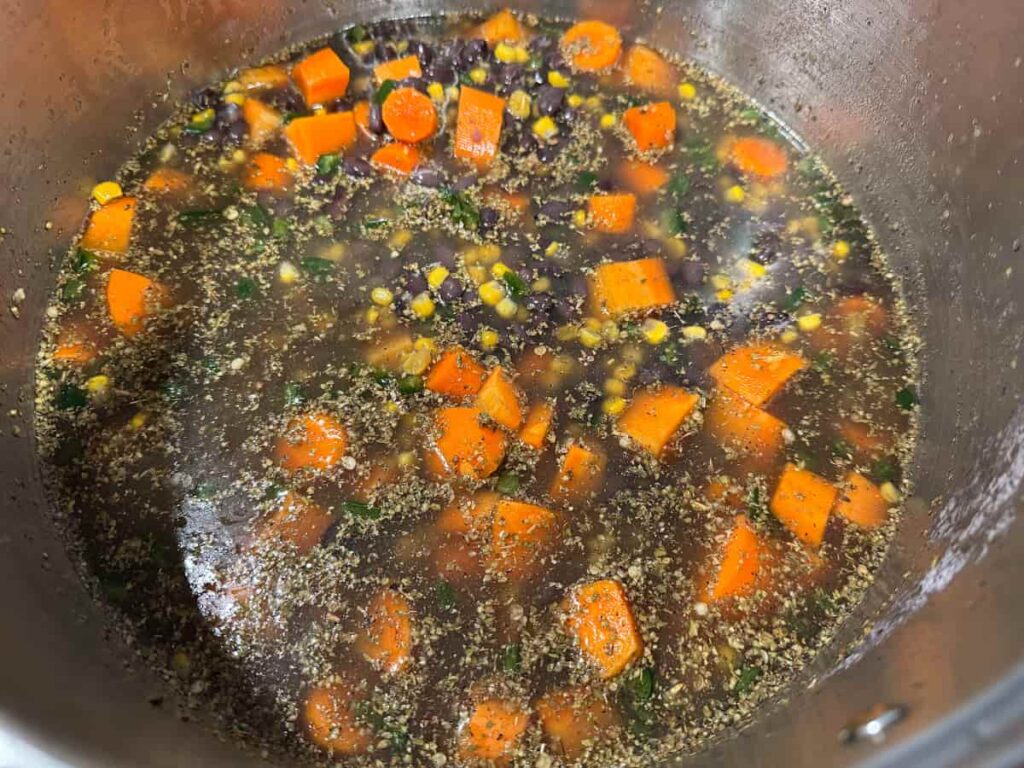
5. Heat the Soup and Prepare the Jars
- Heat the soup until it’s hot, but not boiling. The point is not to cook the contents, just them them hot and ready to put in the jars. Cooking will happen in the pressure canner. You don’t want to overcook the vegetables by cooking them twice!
- While the soup is heating, prepare the canner and the heat the jars.
6. Prepare Canner and Jars
I’ll admit, I didn’t actually heat the jars before canning them. I don’t tend to do that for soups or anything else where the contents go in hot. When ladling the soup into the jars, the hot broth heats the jars up. So I skip this step. However, it is recommended so that you don’t have any heat shock issues with the jar (the heat making the jars break) so I’m including it here.
- Prepare Canner: Place the canner rack in the bottom of the pressure canner. Add the amount of hot water recommended by your canner manufacturer (usually 2 to 3 inches).
- Prepare Jars: Place the clean, empty jars into the canner so they begin to heat up. The goal is to have them a similar temperature to the soup so there’s no sudden temperature change that could compromise the jar.
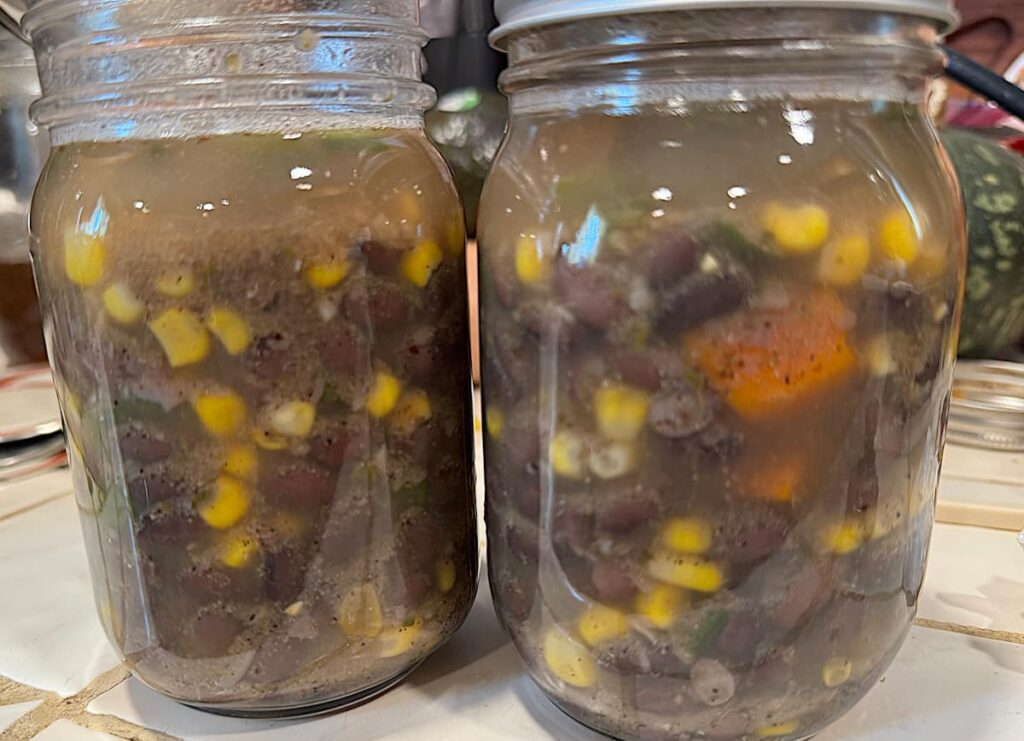
7. Fill the Jars with Soup
- Ladle the hot soup into the jars leaving 1 inch headspace. Headspace is the distance from the soup to the rim of the jar. You want that to be 1 inch. There are tools to help you measure this.
- Wipe the rim of the jars with a cloth dampened with vinegar. It’s important to use vinegar instead of water because the broth in the soup is fatty. Vinegar will clean the rim, water will not.
- Set a new, cleaned lid on top of each jar. Center it as best as you can on the jar rim.
- Place a canning ring on the jar and tighten it to finger tight. It shouldn’t be loose, but you shouldn’t tighten it really tight. Turn until you feel the ring give some resistance, and that will be tight enough.
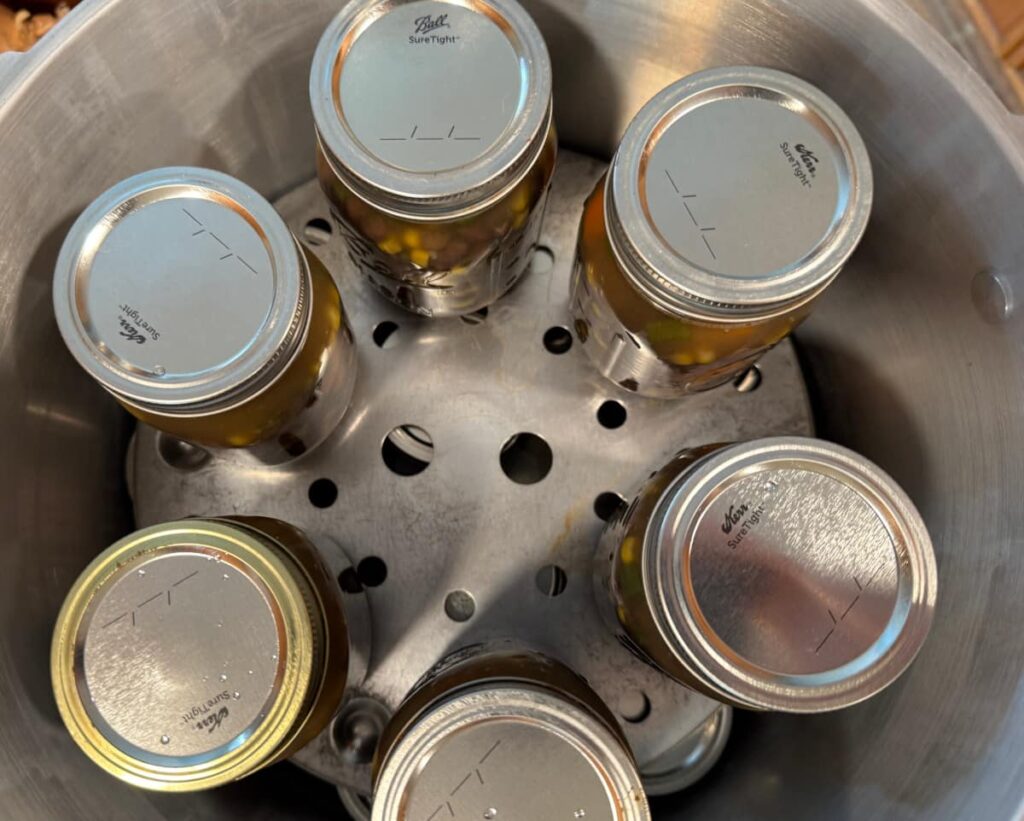
- Place the hot jars into your prepared canner and place the lid on it.
Tips for Pressure Canning Safely
Before we get started, I wanted to talk about canning safely. This recipe is a low acid food (ph > 4.6), therefore it must be pressure canned. You cannot pressure can in an Instant Pot or pressure cooker, you must use an actual pressure canner. I have a Presto 23 quart canner and it works great for me.
If your pressure canner uses a rubber gasket or other rubber parts, like the Presto models, check them before canning to ensure they are not cracked or stiff. It’s best practice to replace the rubber parts every year. However, I replace the parts when they need it, which is usually every few years.
Most pressure canners come with a dial gauge to monitor the pressure. The gauge must be checked every year to make sure it is accurate. Some county extension offices will check them for a small fee. I recommend forgoing the dial gauge and getting a weighted gauge if your canner didn’t come for one. I have this weighted gauge for my canner and love it. The benefit of a weighted gauge is that it uses physics to calculate the pressure in the canner. There’s no need to get it checked so it eliminates the hassle of a dial gauge. I highly recommend them.
Follow the directions exactly. Things like using the exact headspace and cleaning the jars can’t be missed. Venting before building pressure, and letting the canner slowly release the pressure are extremely important. Don’t skip any of the steps or your final product may not turn out safe.
Finally, inspect all jars before using and verify the lids are still sealed. Do not use any jar that shows signs of bulging, gas build-up, or looks or smells odd. If in doubt, throw it out.
Pressure Canning From Scratch Black Bean Soup
When pressure canning jars that have a variety of contents, you always want to can according to the directions of the ingredient that requires the longest processing time. In this case, it’s the black beans. They process for 75 minutes for pints, and 90 minutes for quarts.
Equipment:
- Pressure canner with rack – I use this 23 quart Presto Canner
- Canning Funnel – I prefer stainless steel funnels over plastic ones
- 20 Pint or 10 quart jars – the recipe can vary depending on how many beans and vegetables you put in each jar, but I get about 20 pints usually
- A wet paper towel or clean cloth to wipe jar rims
- Vinegar – instead of water, you’ll use vinegar to wet your cloth to wipe the rims
- Canning lids (either regular or wide mouth depending on your jars) – I like to use wide mouth jars for beans, I find it’s easier to get the beans out. Either way, have enough lids for all of your jars. I love ForJars brand lids.
- Canning rings – either regular mouth or wide mouth to match your lid size
- Canning Tongs
- A table or counter surface to let your jars cool for 24 hours
Pressure Canning the Soup
- Vent the Canner: Turn the heat to medium-high. Once the canner is steaming, allow steam to escape steadily from the vent pipe for 10 full minutes. This is called venting and is crucial to ensure all air is removed from the canner. If the air isn’t removed, then the pressure inside the canner will not be correct.
- Place your canner weight or pressure regulator on the vent pipe once the 10 minutes are up.
- Allow the pressure to rise to the correct amount for your altitude. I’m below 1,000 feet so my pressure is set at 10 lbs with a weight, or 11 lbs with a dial gauge. If you are above 1,000 feet you’ll can at 15 lbs pressure with a weighted gauge, or 12 lbs pressure with a dial gauge.
- Once the correct pressure is reached, begin your timing:
- Pint Jars: Process for 75 minutes.
- Quart Jars: Process for 90 minutes.
- Adjust the heat as necessary to keep the pressure steady for the entire time. If the pressure drops below the required level at any point, you must bring it back up and restart the processing time from the beginning.
Depressurize and Cool the Jars
After the processing time is over, you must let the canner depressurize on its own. Rushing this process will cause siphoning of liquid out of the jars and may make them unsafe.
- Cool Down: After the processing time is complete, turn off the heat and allow the canner to cool naturally until the pressure returns completely to zero (the gauge reads ‘0’ and/or the safety plug drops). Do not rush the cooling process by removing the weight or opening the vent. This can cause liquid to siphon out of your jars.
- Open Canner: Once the pressure is at zero, wait an additional 10 minutes before slowly removing the weighted gauge or opening the vent. Unfasten the lid, lifting it away from your face to avoid steam burns.
- Remove Jars: Wait 5 more minutes, then use the jar lifter to carefully move the jars to a towel lined countertop or another surface they can sit undisturbed. Leave space between the jars so air can move in between for proper cooling.
- Final Seal: Let the jars cool undisturbed for 12 to 24 hours. You may hear the ping sound as the lids seal, but that is not always the case.
- Check Seals: After 12-24 hours, remove the rings. Press the center of each lid. If the lid is firm and doesn’t flex, the jar is sealed. You can also check this by attempting to lift the jar by just the lid. If the lid comes off, the jar did not seal. If you can lift the entire jar by just the lid, it’s good to go.
- Store: Wipe the sealed jars, label with the contents and date, and store in a cool, dark, dry place. If you have any unsealed jars they must be refrigerated and used within the week or placed in the freezer.
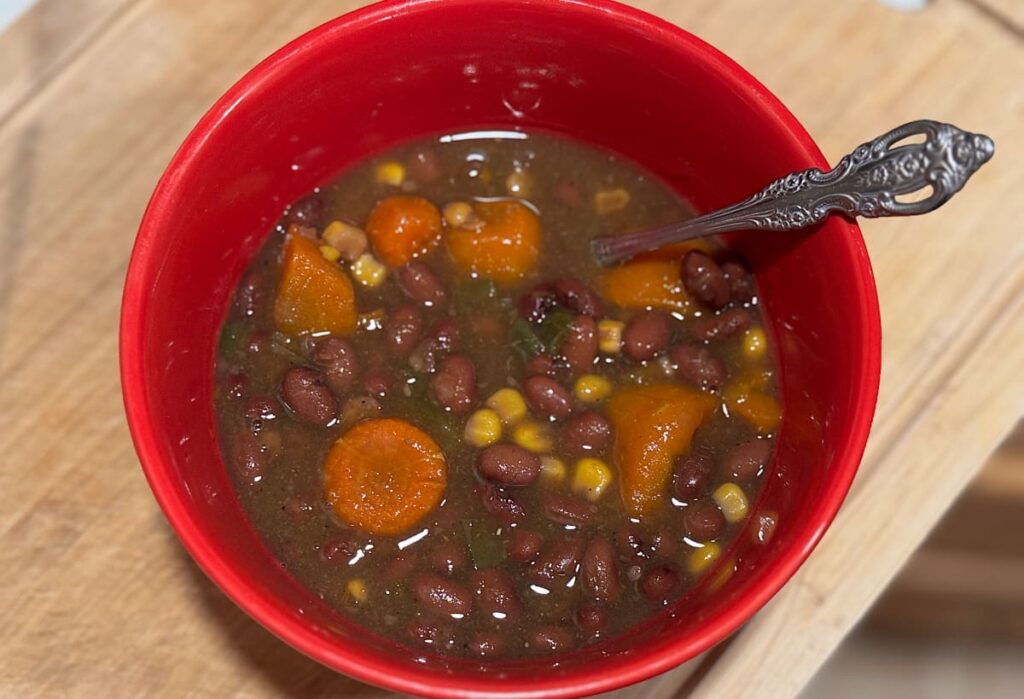
Enjoy your Homemade From Scratch Black Bean Soup!
The heating and canning process takes about 3-4 hours per canner load, but you’ll be so happy you took the time. The taste is better than any canned soup you can buy at the store.
The smiles you’ll get when your family take that first bite of soup is priceless. A few minutes of heating it up on the stovetop, and dinner is served. There won’t even be time for the infamous “is dinner ready yet?” question!
If you want to make it a fuller, heartier meal add leftover meat. You can top with avocado slices, cheese, or a spoonful of sour cream to give it an extra special twist. Or, like me, serve it with grilled cheese. Dip the grilled cheese into the soup for a delicious change to the basic grilled cheese.
What do you like to serve with your from scratch black bean soup? Share in the comments below!
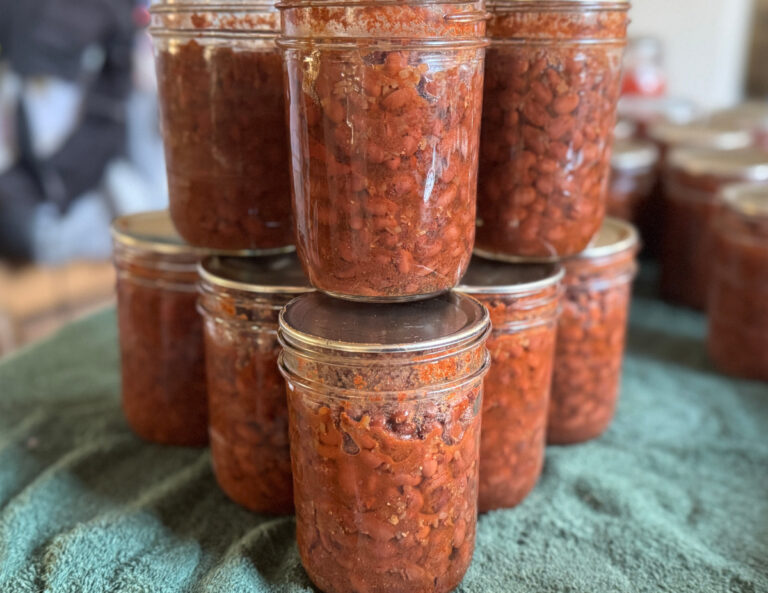
Be sure to check out my Seasoned Black Beans recipe for another fun and delicious black bean canning recipe.
Frequently Asked Questions
Q: Do I need to soak the black beans before making the soup?
A: Yes. Soaking the beans helps them cook more evenly and reduces overall cooking time. Since the soup will be pressure-canned, starting with fully hydrated beans is important for consistent density.
Q: Can I add meat to this black bean soup before canning it?
A: Yes, but your processing time will change. This soup is developed for vegetables and beans only, be sure to research the processing time for the meat and process at that pressure and time instead.
Q: Why do I have to pressure-can black bean soup?
A: Black bean soup is a low-acid food, which means it must be processed in a pressure canner—not a water bath canner—to reach temperatures high enough to prevent botulism and ensure safety.
Q: How long should I pressure-can black bean soup?
A: Processing time depends on your altitude and jar size. Most black bean soup recipes require:
- 75 minutes for pints
- 90 minutes for quarts
…with pressure adjusted according to your pressure canner type and altitude.
Always follow reliable guidelines such as the USDA, NCHFP, or a tested canning recipe.
Q: Can I blend the soup before canning?
A: You can partially blend the soup after opening the jar, but not before canning. Blended or thick puréed soups can be too dense for safe heat penetration.
Q: Can I adjust the vegetables in this recipe?
A: Yes—to a point. You may swap out or add vegetables as long as they are safe to can. Do not add any thickeners, dairy or anything else that is not safe to can at home.
Q: Why is my soup watery after canning?
A: This is normal. Beans and vegetables release liquid during processing. Many canners prefer to make a brothier base and thicken or blend the soup after opening the jar.
Q: How long will home-canned black bean soup last?
A: Your sealed jars are shelf-stable for 12–18 months when stored in a cool, dark place. They’re safe longer, as long as the jar stays sealed, but flavor, texture, and nutrition are best within that window.
Q: Can I use canned black beans instead of dried?
A: For pressure canning, no—you should use dried beans that you’ve soaked and cooked as part of the soup recipe. Canned beans get mushy and may affect density and safety. Using canned beans is best for making a fresh batch of soup, not for canning.
Q: What should I do if a jar doesn’t seal?
A: If a jar doesn’t seal within 24 hours:
- Refrigerate it and eat within 3–4 days, or
- Freeze it for later
Do not attempt to reprocess a full jar of soup, it will be mushy and not good to eat.