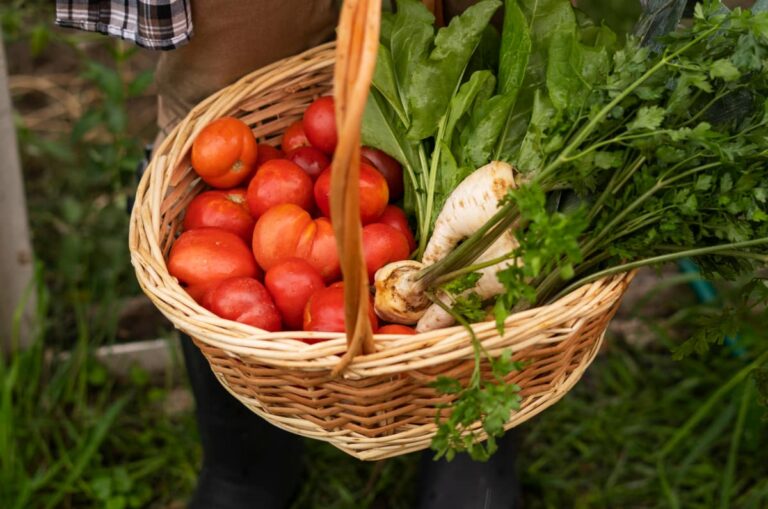
How to Start Seeds Outdoors: 10 Winter Sowing Tips for Beginners
If you’ve struggled with leggy indoor seedlings, transplant shock, or seed trays taking over your kitchen, winter sowing offers a simpler, sturdier path forward. It may seem a bit strange and counterproductive to start seeds outdoors. You might be surprised at how well it works. These winter sowing tips for beginners will help you avoid common mistakes and grow resilient plants with strong root systems, all by letting nature lead.
What Is Winter Sowing and Why Does It Work?
Winter sowing is a method of starting seeds outdoors in winter using simple containers like milk jugs or clear plastic bins. These containers act as mini greenhouses, protecting seeds while still exposing them to natural cold, moisture, and light.
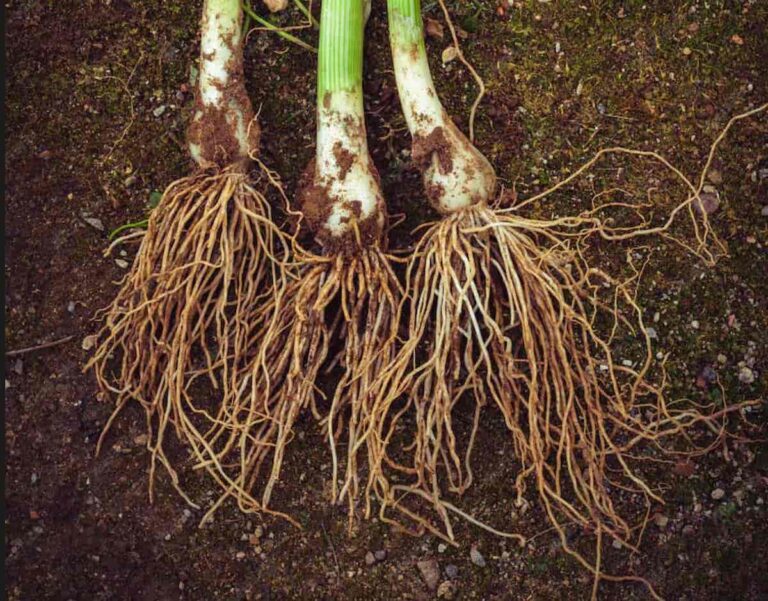
This process mimics how seeds grow in the wild. The repeated freeze and thaw cycles naturally break dormancy, telling seeds exactly when it’s safe to sprout. The result is slower, steadier growth with root systems that are far more robust than most indoor-started seedlings.
Tip #1: Start With the Best Seeds for Winter Sowing
One of the most important winter sowing tips to start seeds outdoors is choosing the right seeds. You want to choose cold hardy vegetable and herb varieties. Other good choices are herbs and flowers that typically reseed themselves in nature.
The best seeds for winter sowing include:
- Cold-hardy vegetables like kale, cabbage, broccoli, spinach, onion, and lettuce
- Hardy herbs such as parsley, cilantro, dill, lavender, and chamomile
- Perennials and native plants that naturally reseed outdoors
If a seed can survive winter conditions naturally, it’s usually a great candidate for winter sowing. Tender crops like tomatoes, peppers, and basil are better suited for indoor seed starting. You can start them using the winter sowing method, but they don’t tend to do well and may not produce much before your first frost hits in the fall
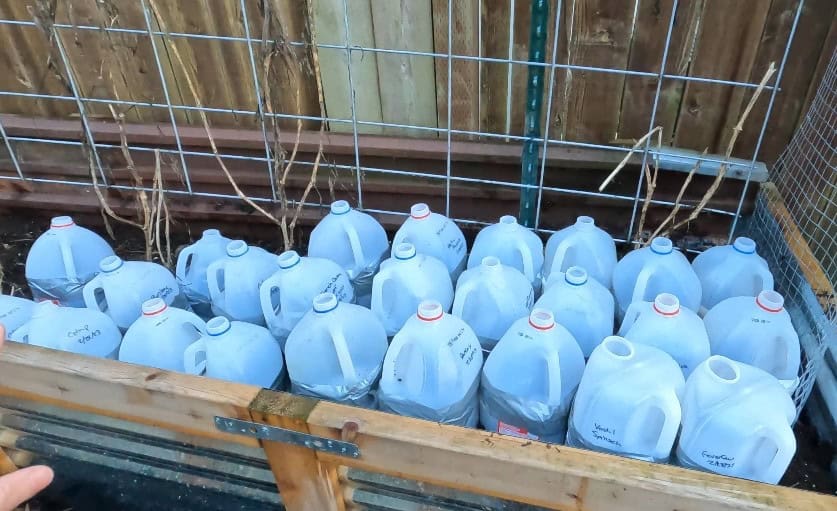
Tip #2: Use Simple Containers That Drain Well
Winter sowing containers don’t need to be fancy. In fact, recycled containers often work best. They’re easy to find it’s a great way to get a second (or even third) use out of them.
Choose containers that:
- Are clear or translucent to let in light
- Can easily have drainage holes made
- Can handle freezing and thawing without cracking
- Milk jugs, salad containers, and clear bakery containers are all excellent choices. I’ve also used clear plastic tubs with Solo cups and Ziploc bags.
Think protection, not perfection. Don’t go for Pinterest worthy. Go for functional using what you have or what you can easily find.
Tip #3: Ventilation Is More Important Than Warmth
A common beginner mistake is sealing containers too tightly. While warmth sounds helpful, airflow matters more.
Proper ventilation:
- Prevents mold and fungus
- Regulates temperature swings
- Mimics real outdoor conditions
Crack lids, leave hinges partially open, or poke a few small air holes. Seeds don’t need tropical heat. They need fresh air and time.
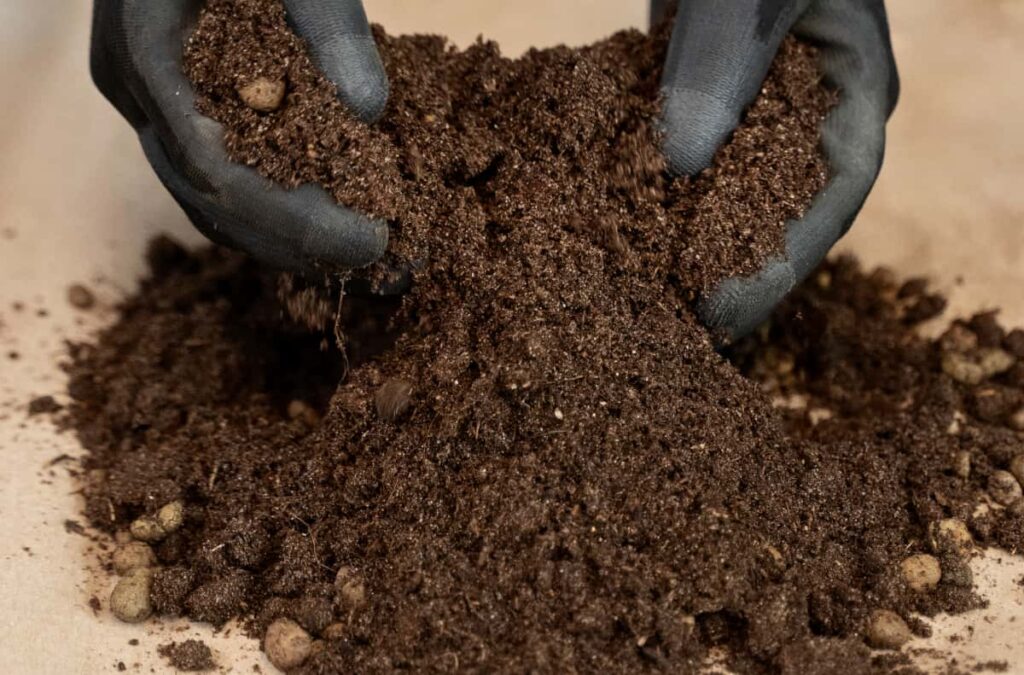
Tip #4: Use Light, Well-Draining Soil
Strong seedlings start with healthy roots, and healthy roots need the right soil.
Use a seed-starting mix or light potting soil that:
- Drains easily
- Doesn’t compact when wet
- Allows roots to grow freely
Avoid heavy garden soil, which can freeze solid and suffocate young roots. It will also keep too much moisture in, drowning the seeds and seedlings.
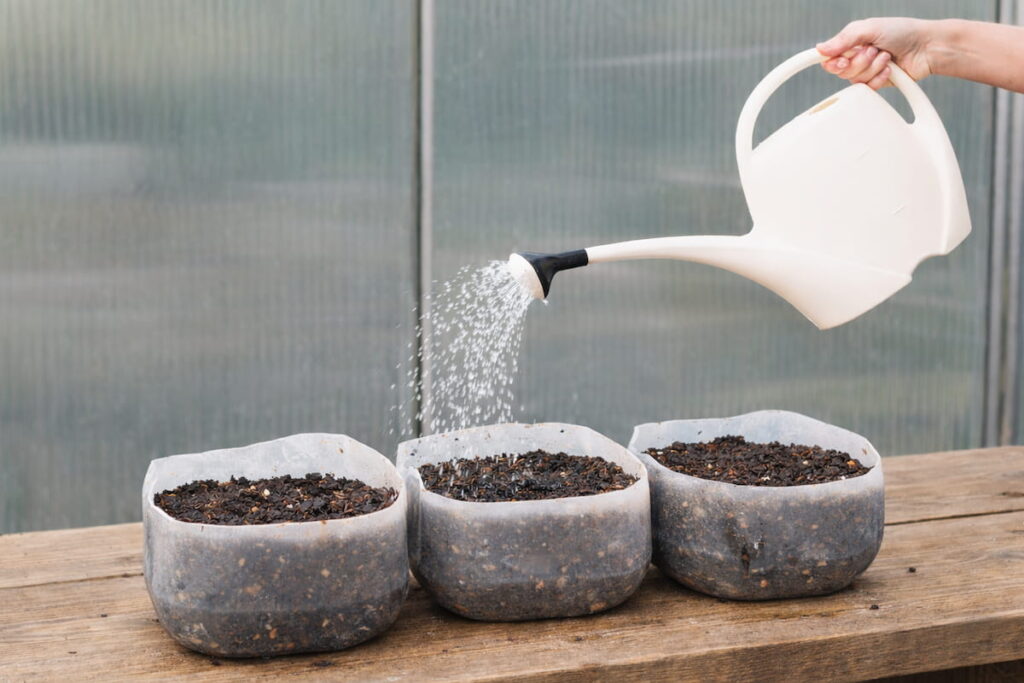
Tip #5: Water Once, Then Step Back
Winter sowing rewards restraint. It is mostly hands off, but it does require a bit of maintenance to get started.
Before placing containers outside:
- Thoroughly moisten the soil
- Let excess water drain completely
After that, snow and rain usually provide all the moisture the seeds and seedlings will need. Check occasionally during dry spells but avoid overwatering. Too much attention often causes more harm than good with overwatering and unnecessary disturbance.
Tip #6: Trust the Cold to Do Its Job
Cold is not a problem to solve. For winter sowing it’s a necessary part of the process.
Freeze and thaw cycles:
- Break seed dormancy
- Signal proper germination timing
- Encourage deep root development
Always leave the seed containers outdoors. Moving them inside, or under cover, interrupts the natural cues seeds rely on. You’re relying on these natural cycles as well. Let them do their thing!
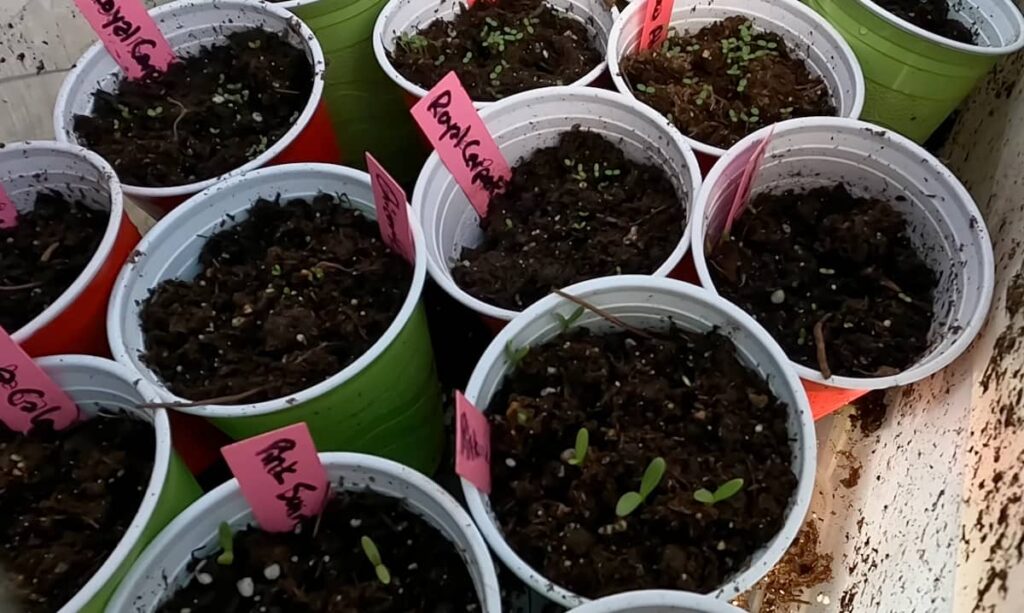
Tip #7: Label Everything Clearly
By early spring, winter sowing containers all look identical. I promise you’ll forget what’s planted where, even though you were certain you weren’t. I’ve done it more than I care to admit.
Create a label with:
- Seed name
- Sowing date
Use a permanent marker or pen and place labels inside containers whenever possible. Weather fades ink, even permanent marker. Yep, you guessed it. I’ve also had this happen many times. Learn from my mistakes and put the label inside the container.
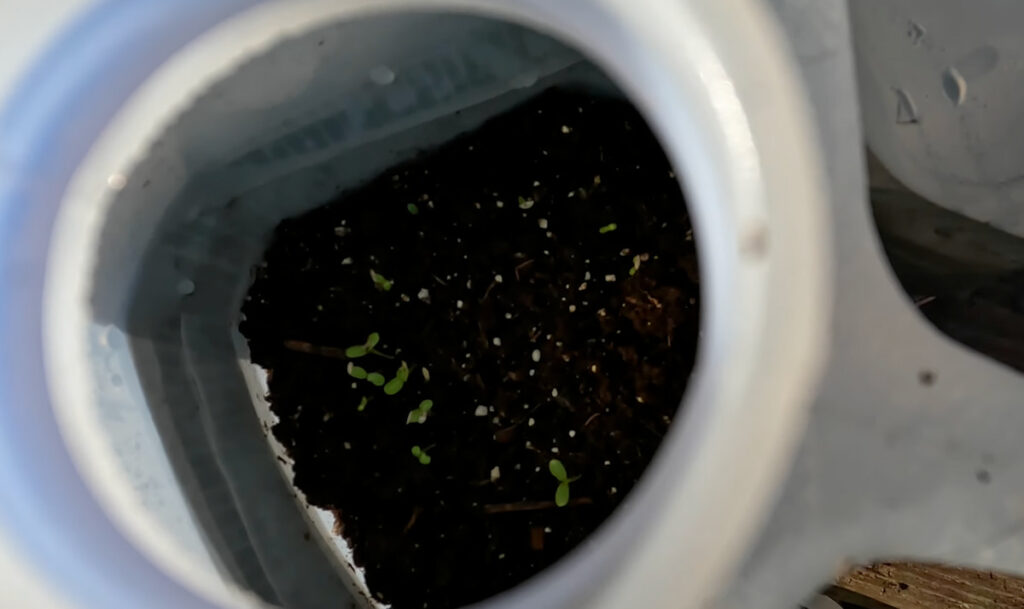
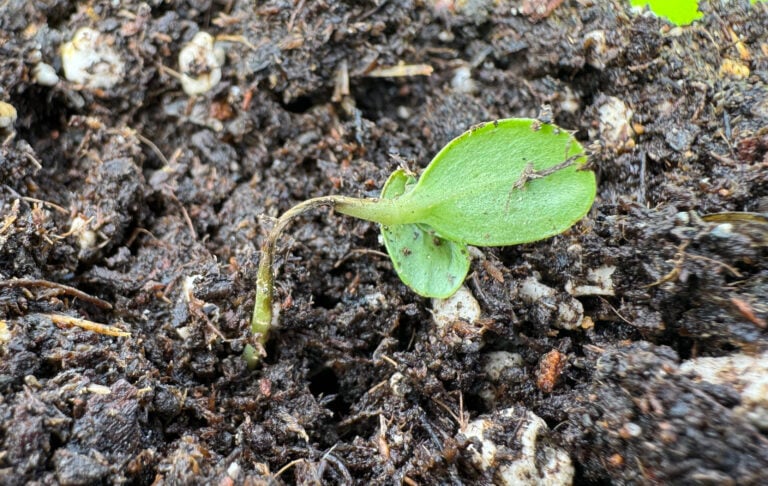
Tip #8: Be Patient With Germination
Winter-sown seeds germinate on nature’s schedule, not yours. The time on the seed packet is not going to apply here. The germination times on the packets mostly account for controlled, indoor settings. In this case, you want the seeds to follow your natural weather cycle. And that requires patience.
Some seeds will sprout early. Others wait weeks longer. This staggered timing produces tough, adaptable seedlings that can handle changes without stressing out or dying.
Patience is extremely important.
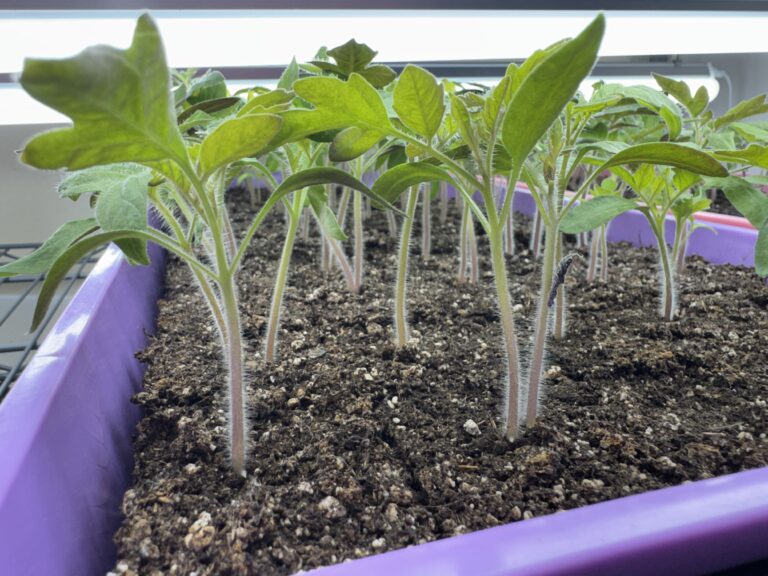
Tip #9: Transplant When the Time Is Right
One of the biggest advantages of winter sowing is how easy transplanting is. Because they are already adapted to the weather outside, there is no hardening off. A lot can go wrong during hardening off. It’s really nice to be able to skip that step.
Seedlings are ready to be transplanted when:
- They have several true leaves
- Roots are strong, white, and hold the soil together
Because winter-sown seedlings are already hardened off, they settle into the garden quickly.
Tip #10: Keep Notes and Learn Each Season
Every winter sowing season teaches something new. Your weather patterns will be different from year to year. You may try different plants, or different varieties of the same plant. Or the same seeds may just perform differently.
It’s really important to keep a garden journal to document the journey. You won’t remember everything, even with the best of intentions. Journals are an invaluable resource to learn from previous years. If I could pick one gardening tip, this would be it.
In your journal track:
- Germination timing
- Which seeds performed best
- How plants handled transplanting
- Any issues that arose with the seedlings
- How the plants grow and produce over the season

Go Start Seeds Outdoors
Winter sowing can be an extremely rewarding way to seed start. If you’re someone with a busy schedule, or limited space, and think seed starting isn’t something you can do. Give it a try and start seeds outdoors this year. You don’t need shelf space inside, or time to check on them every day and water.
As with all gardening adventures, start small and learn as you go. With these tips, by spring you’ll have sturdy seedlings with root systems that encourage your plants to thrive.


I’ve given up on seed starting but I think I’ll give it another shot now
I hope you do! It’s nice to have a hands off option to start some seeds. Good luck, I hope you have a great garden year!