DIY Healing Salve: How to Make Your Own All-Natural Remedy
This DIY healing salve is easy to make, fast to put together, and uses plant material that you can easily find or grow. Because I do use oil infused plant material, some prep work may be needed before you have all the ingredients ready. You can buy oil already infused with herbs if you’d rather have them ready made. I’ve done that before with a quick search on Etsy, just make sure you’re getting quality oils or your salve may not turn out to be as effective as you’d like.
*As an Amazon Associate I earn from qualifying purchases at no cost to you.
Why Should You Make Your Own Healing Salve?
I’m sure there are a lot of opinions about this, I’ll just give you my experience. Over the counter first aid ointments (I won’t name the most popular of them but I’m sure you know what I’m talking about) tend to have a lot of complex ingredients. If you can read and pronounce them all I applaud you!
Some of those ingredients can be skin irritants. Chemicals can be helpful in healing, but sometimes our bodies have a hard time with them and that’s where the irritation comes in. Our bodies evolved over time using various natural remedies. This means our bodies tend to recognize them better than man-made remedies.
That doesn’t mean you can’t have a reaction to plants; anyone that’s rubbed up against poison ivy knows better! But it means if you pick the right plants your body may have a better reaction to it than a chemical counterpart. I believe natural healing methods are at least worth trying!
Best plants for Healing Wounds
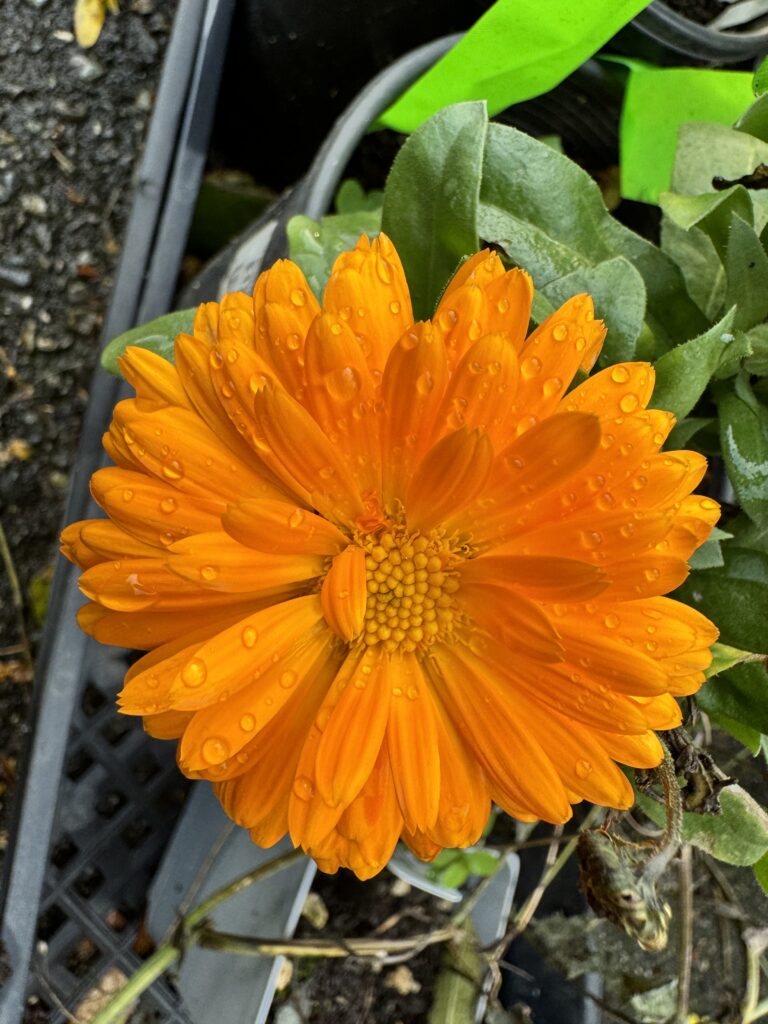
My go-to plant for wound healing is calendula. Calendula if a beautiful flower that’s easy to grow. It’s technically an annual but easily reseeds itself, acting more like a perennial plant. Calendula is great for many things, but I like it best for wound healing. When making a wound care salve, I highly recommend you don’t skip this plant.
One of my other go-to plants for a wound healing salve is comfrey. It is easy to grow and once you have it, you’re not likely getting rid of it. Plant it where you don’t mind it living long term. Comfrey is excellent at wound healing, but this is one to be careful with as you do not want to use it on any deep or puncture wounds. Comfrey is really good at speeding up the process of cell regeneration. It’s so good that if you use it on any deep wounds it’ll have the skin closing up and healing before the tissue below it can. This can create an abscess.
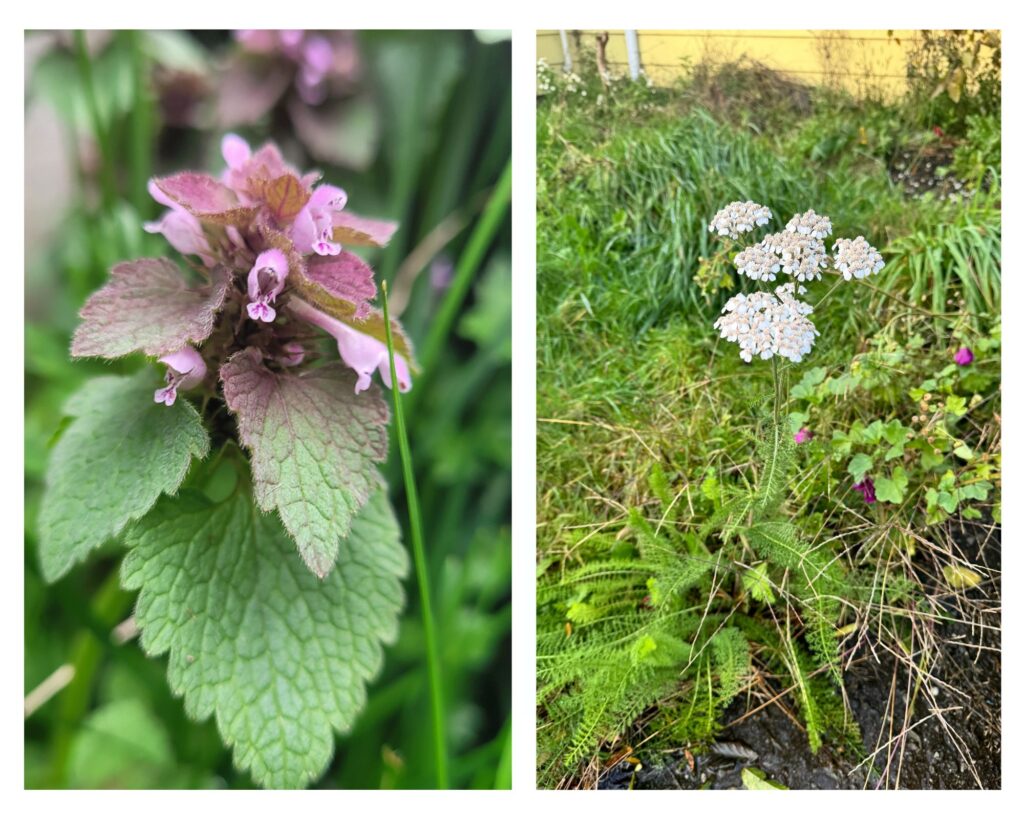
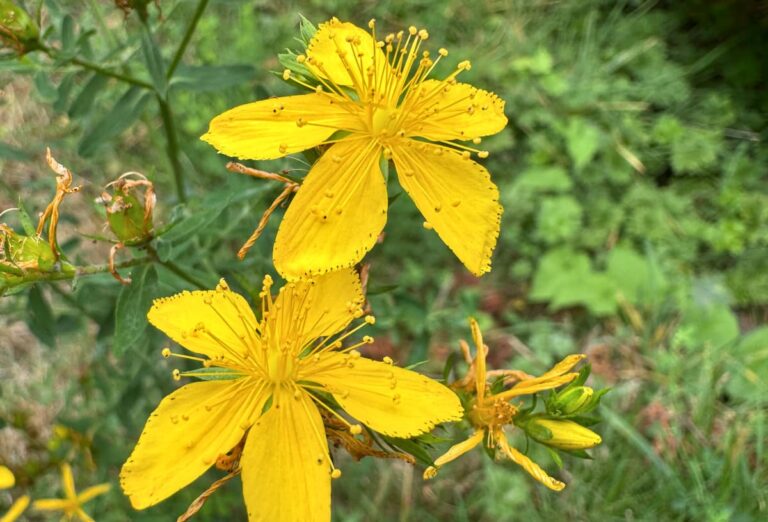
Calendula and comfrey are the plants I always use on a basic wound salve, but there are plenty of others you could add. Lavender is great for healing if you are not allergic to it. Many people are, so I don’t tend to use it as much. Many members of the mint family are great such as thyme, oregano, and purple dead nettle.
Plantain could also be a good choice. Plantain is really good at drawing things out, it’s perfect for helping with stings and drawing out infections.
Another plant I would add to a healing salve would be yarrow. Yarrow is good at healing, but it’s great at stopping bleeding. This can be useful if you have a decent cut or scrape. Purple dead nettle can also help stop bleeding, the two of these plants together could be really great in a healing salve.
There are other plants that could be added, there’s an array of plants that are great for wound healing. Do your research on plants local to you or that your body responds well to and use those for your salve.
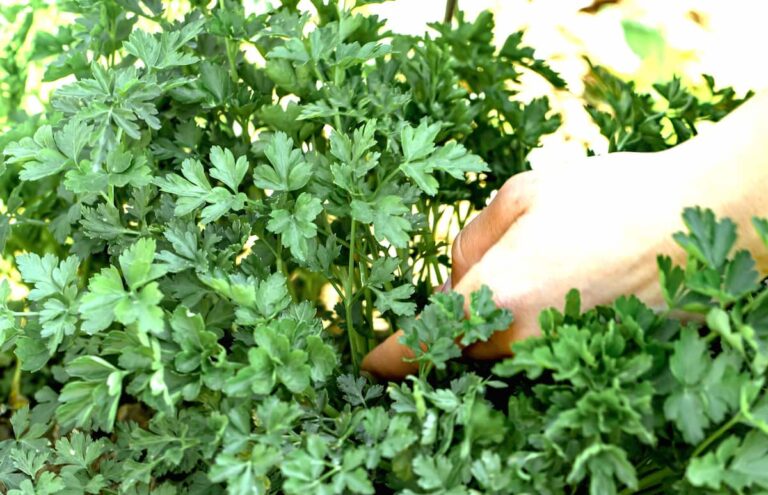
For this DIY healing salve I’m choosing to use calendula, plantain and comfrey. I’m also going to make a separate salve with just calendula I can use for my baby. Comfrey isn’t considered safe for infants so until she gets a little older, I’ll keep a separate wound salve just for her. I don’t know if plantain is baby safe or not, so I’m choosing to leave it out as a precaution.
How to Make a DIY Healing Salve
Ingredients Needed
Infused oils of whatever herbs you choose to add to your salve. In this recipe I’m using avocado oil infused with calendula, plantain and comfrey. Each herb is infused separately, we’ll mix them when making the salve. I will also make a second salve with just calendula that I can use on my little one. This tutorial will go over how to make the salve with whatever herbs you choose. Oils are nourishing for the skin and the best way to extract the medicinal properties from the plant for a salve.
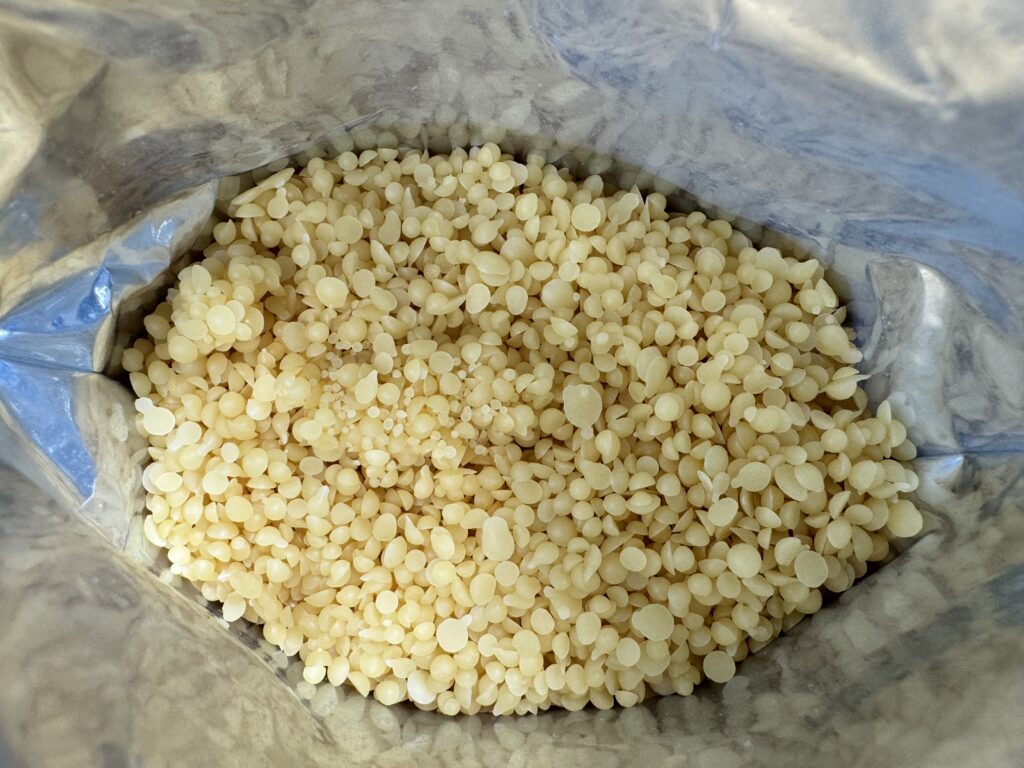
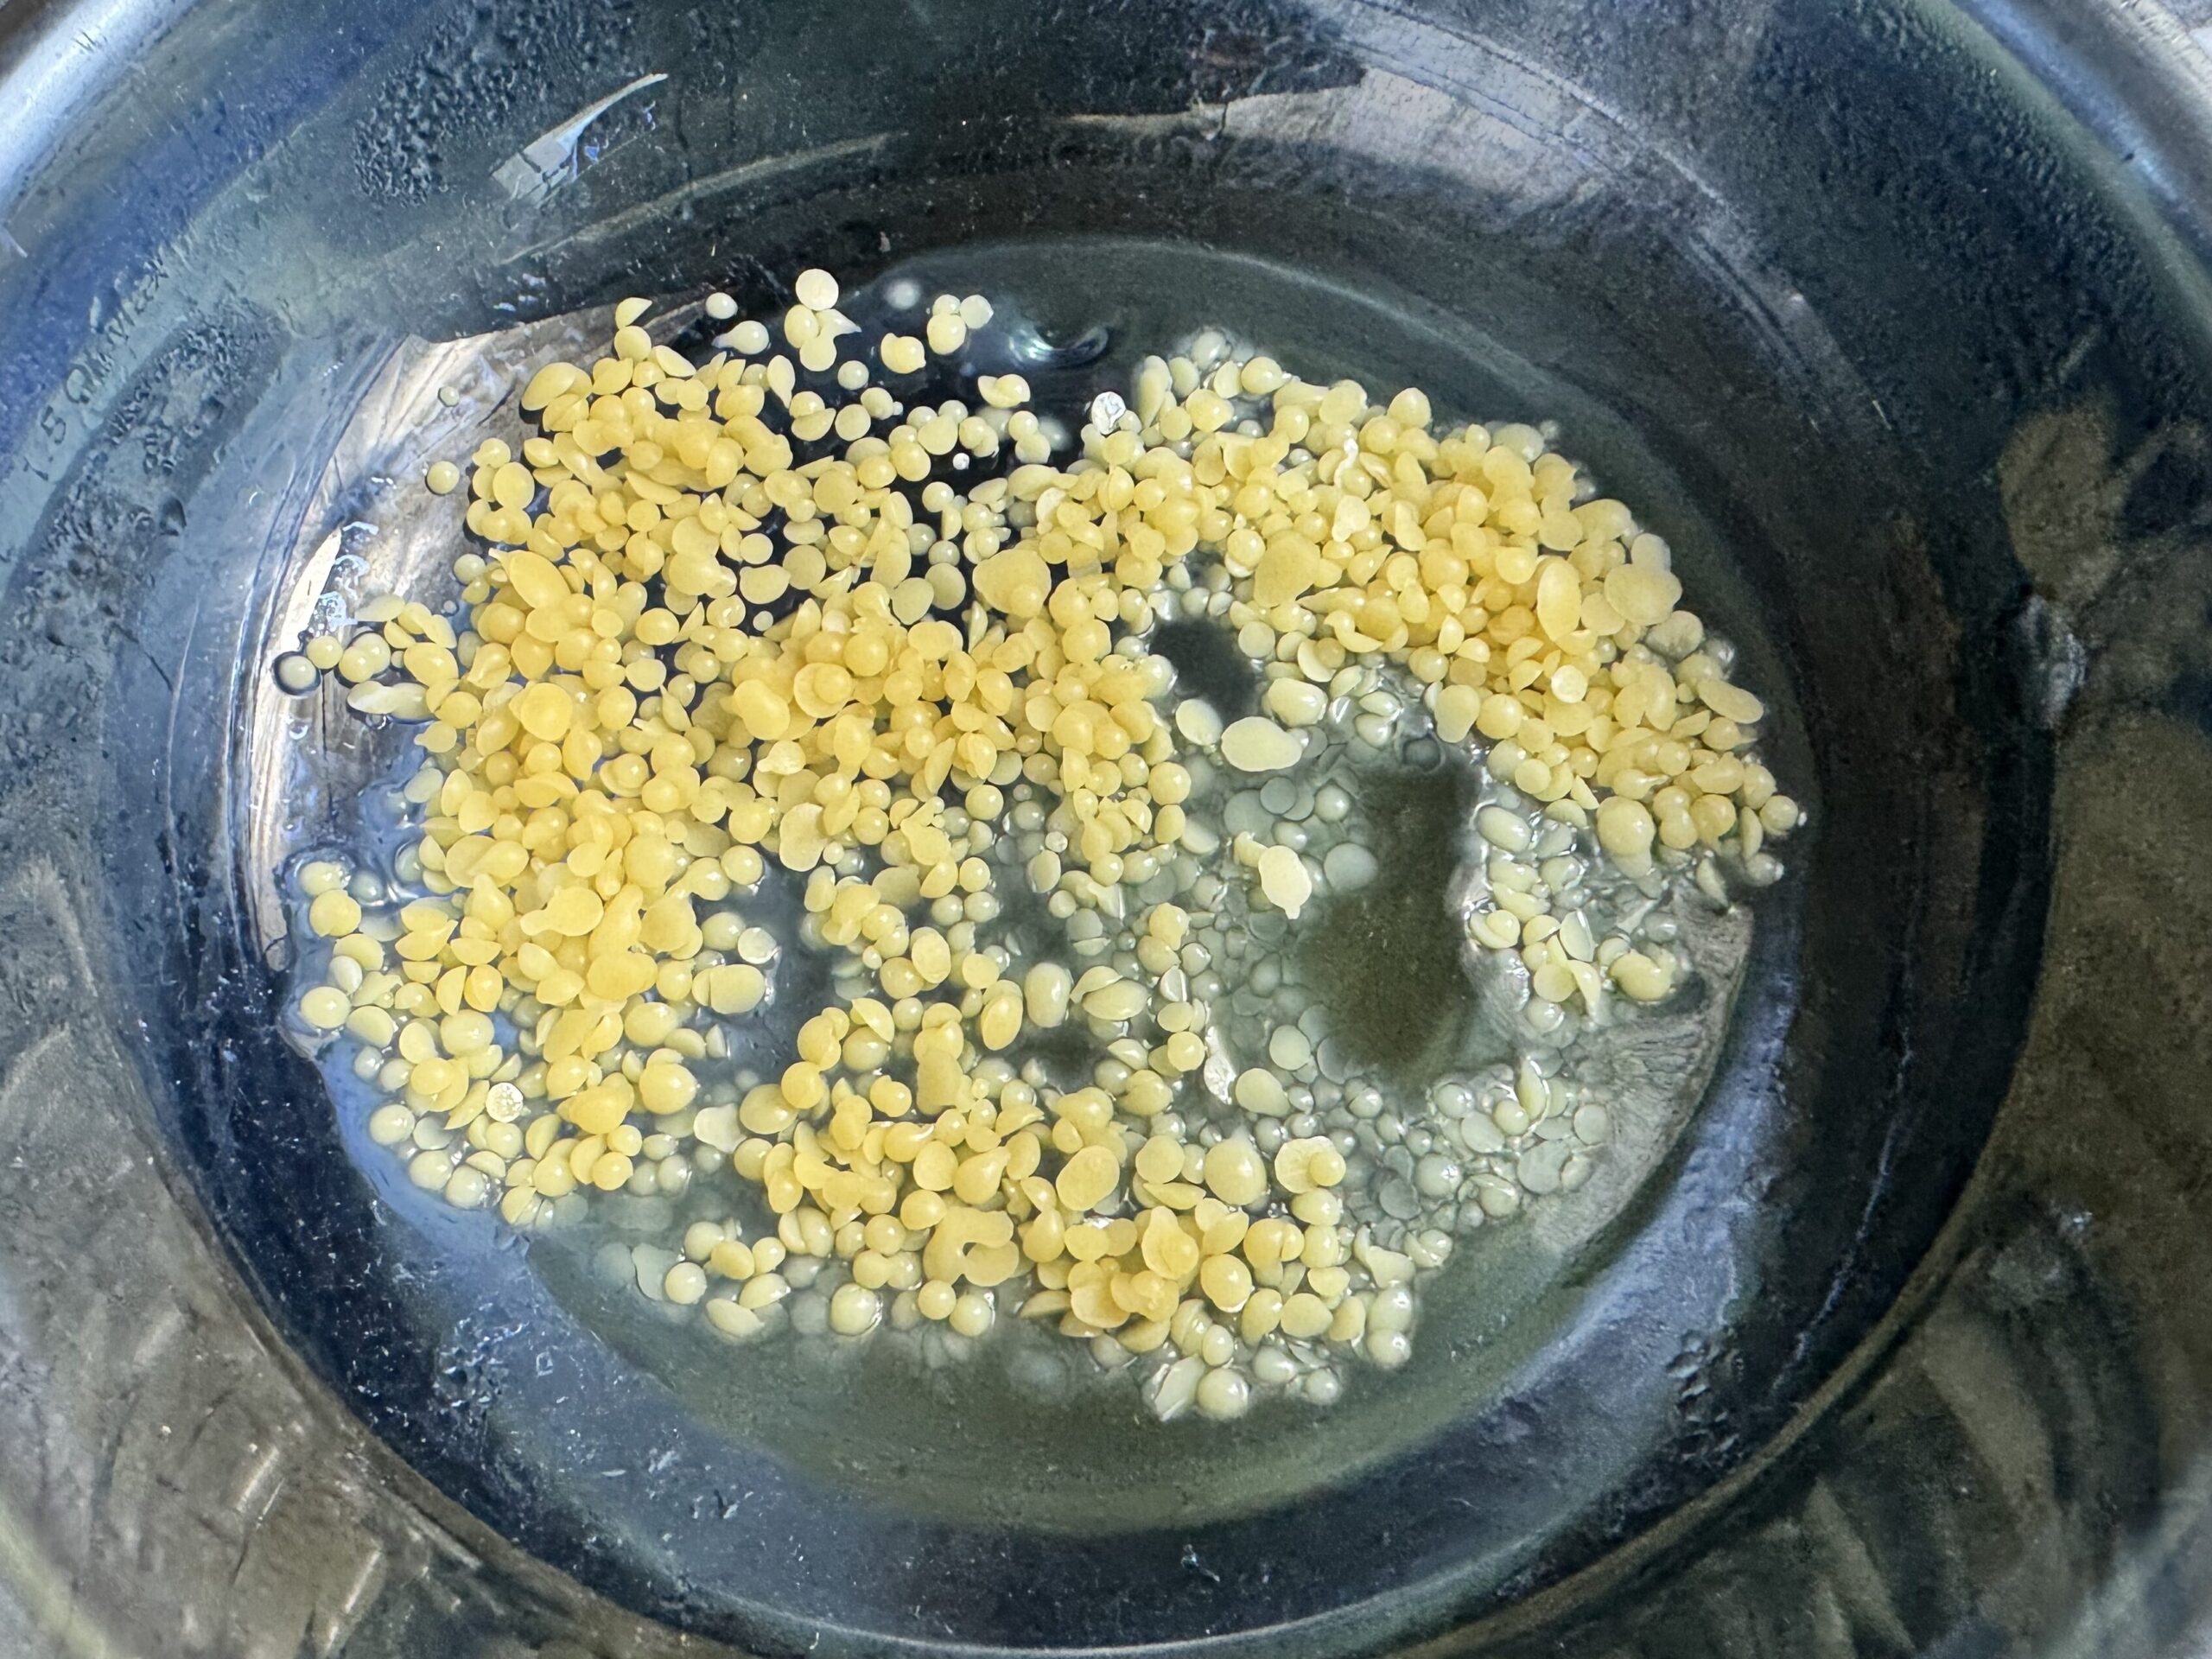
The other ingredient needed is beeswax. The beeswax mixes with the oils to make a consistency that is easy to spread on the skin. Beeswax is also good for the skin and has anti-inflammatory properties that make it good for wounds as well. It’s best to use good quality beeswax in pellet form. If you have a block or large chunks, it takes a lot longer to fully melt the wax. It’s also harder to measure exact amounts with a block or large piece.
Other Tools Needed
You will need a small pot with water, a stove or hot plate to heat the water, and a bowl or other heat proof container to make the salve in.
A bain-marie technique is used to make the salve. This technique uses a bowl set over a pot of hot water to heat the beeswax and oils. You don’t want to have the oil and beeswax directly on the heat or you’ll burn them. You need the gentle heat of the bain-marie to make the salve and retain the medicinal properties. For the bain-marie you’ll need a small pot with a heat proof bowl that’s slightly larger and can sit on top of the pot without touching the water.
You’ll need a spoon to stir the oil and wax together and to test the consistency of the salve.
Lastly you’ll need a container to keep the salve in once it’s done. My favorite type of container is a small glass jar, I usually use the 4 oz size you can find here. I’ve also used these jars with great success. I’ve also known people to use these small metal containers and really like them, but I have have always elected for glass.
Let’s Make the DIY Healing Salve
Get the ingredients Ready and the Water Heating
Start by gathering all the materials needed for your DIY healing salve. I find the more organized you are at the beginning, the smoother the process goes.
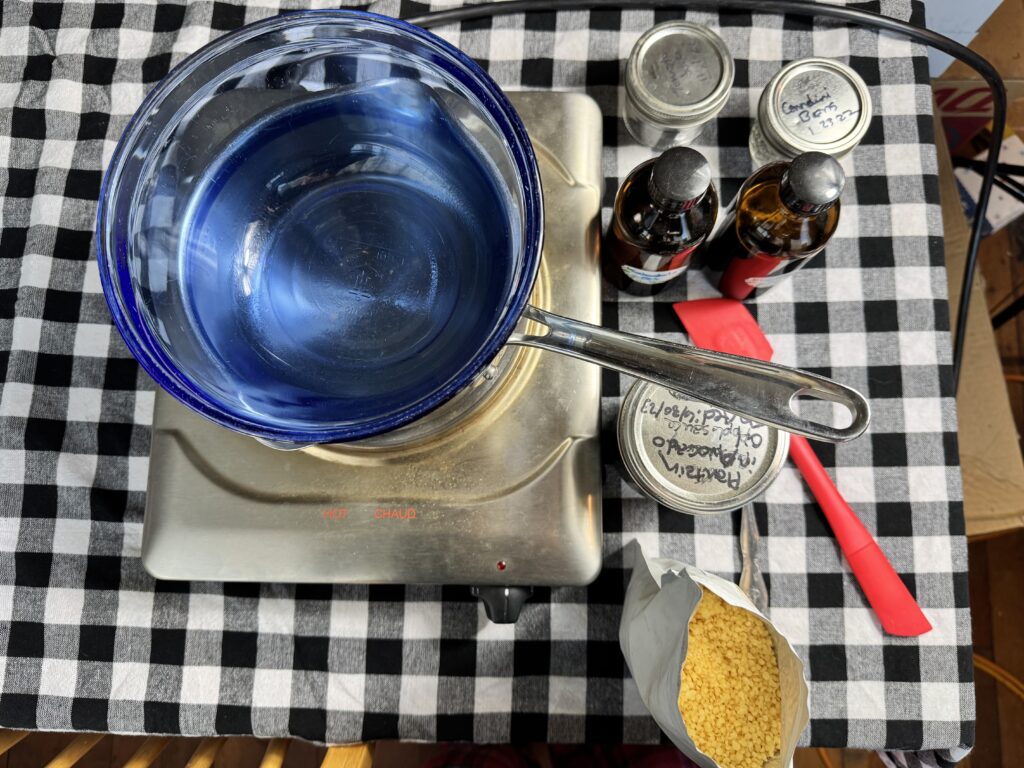
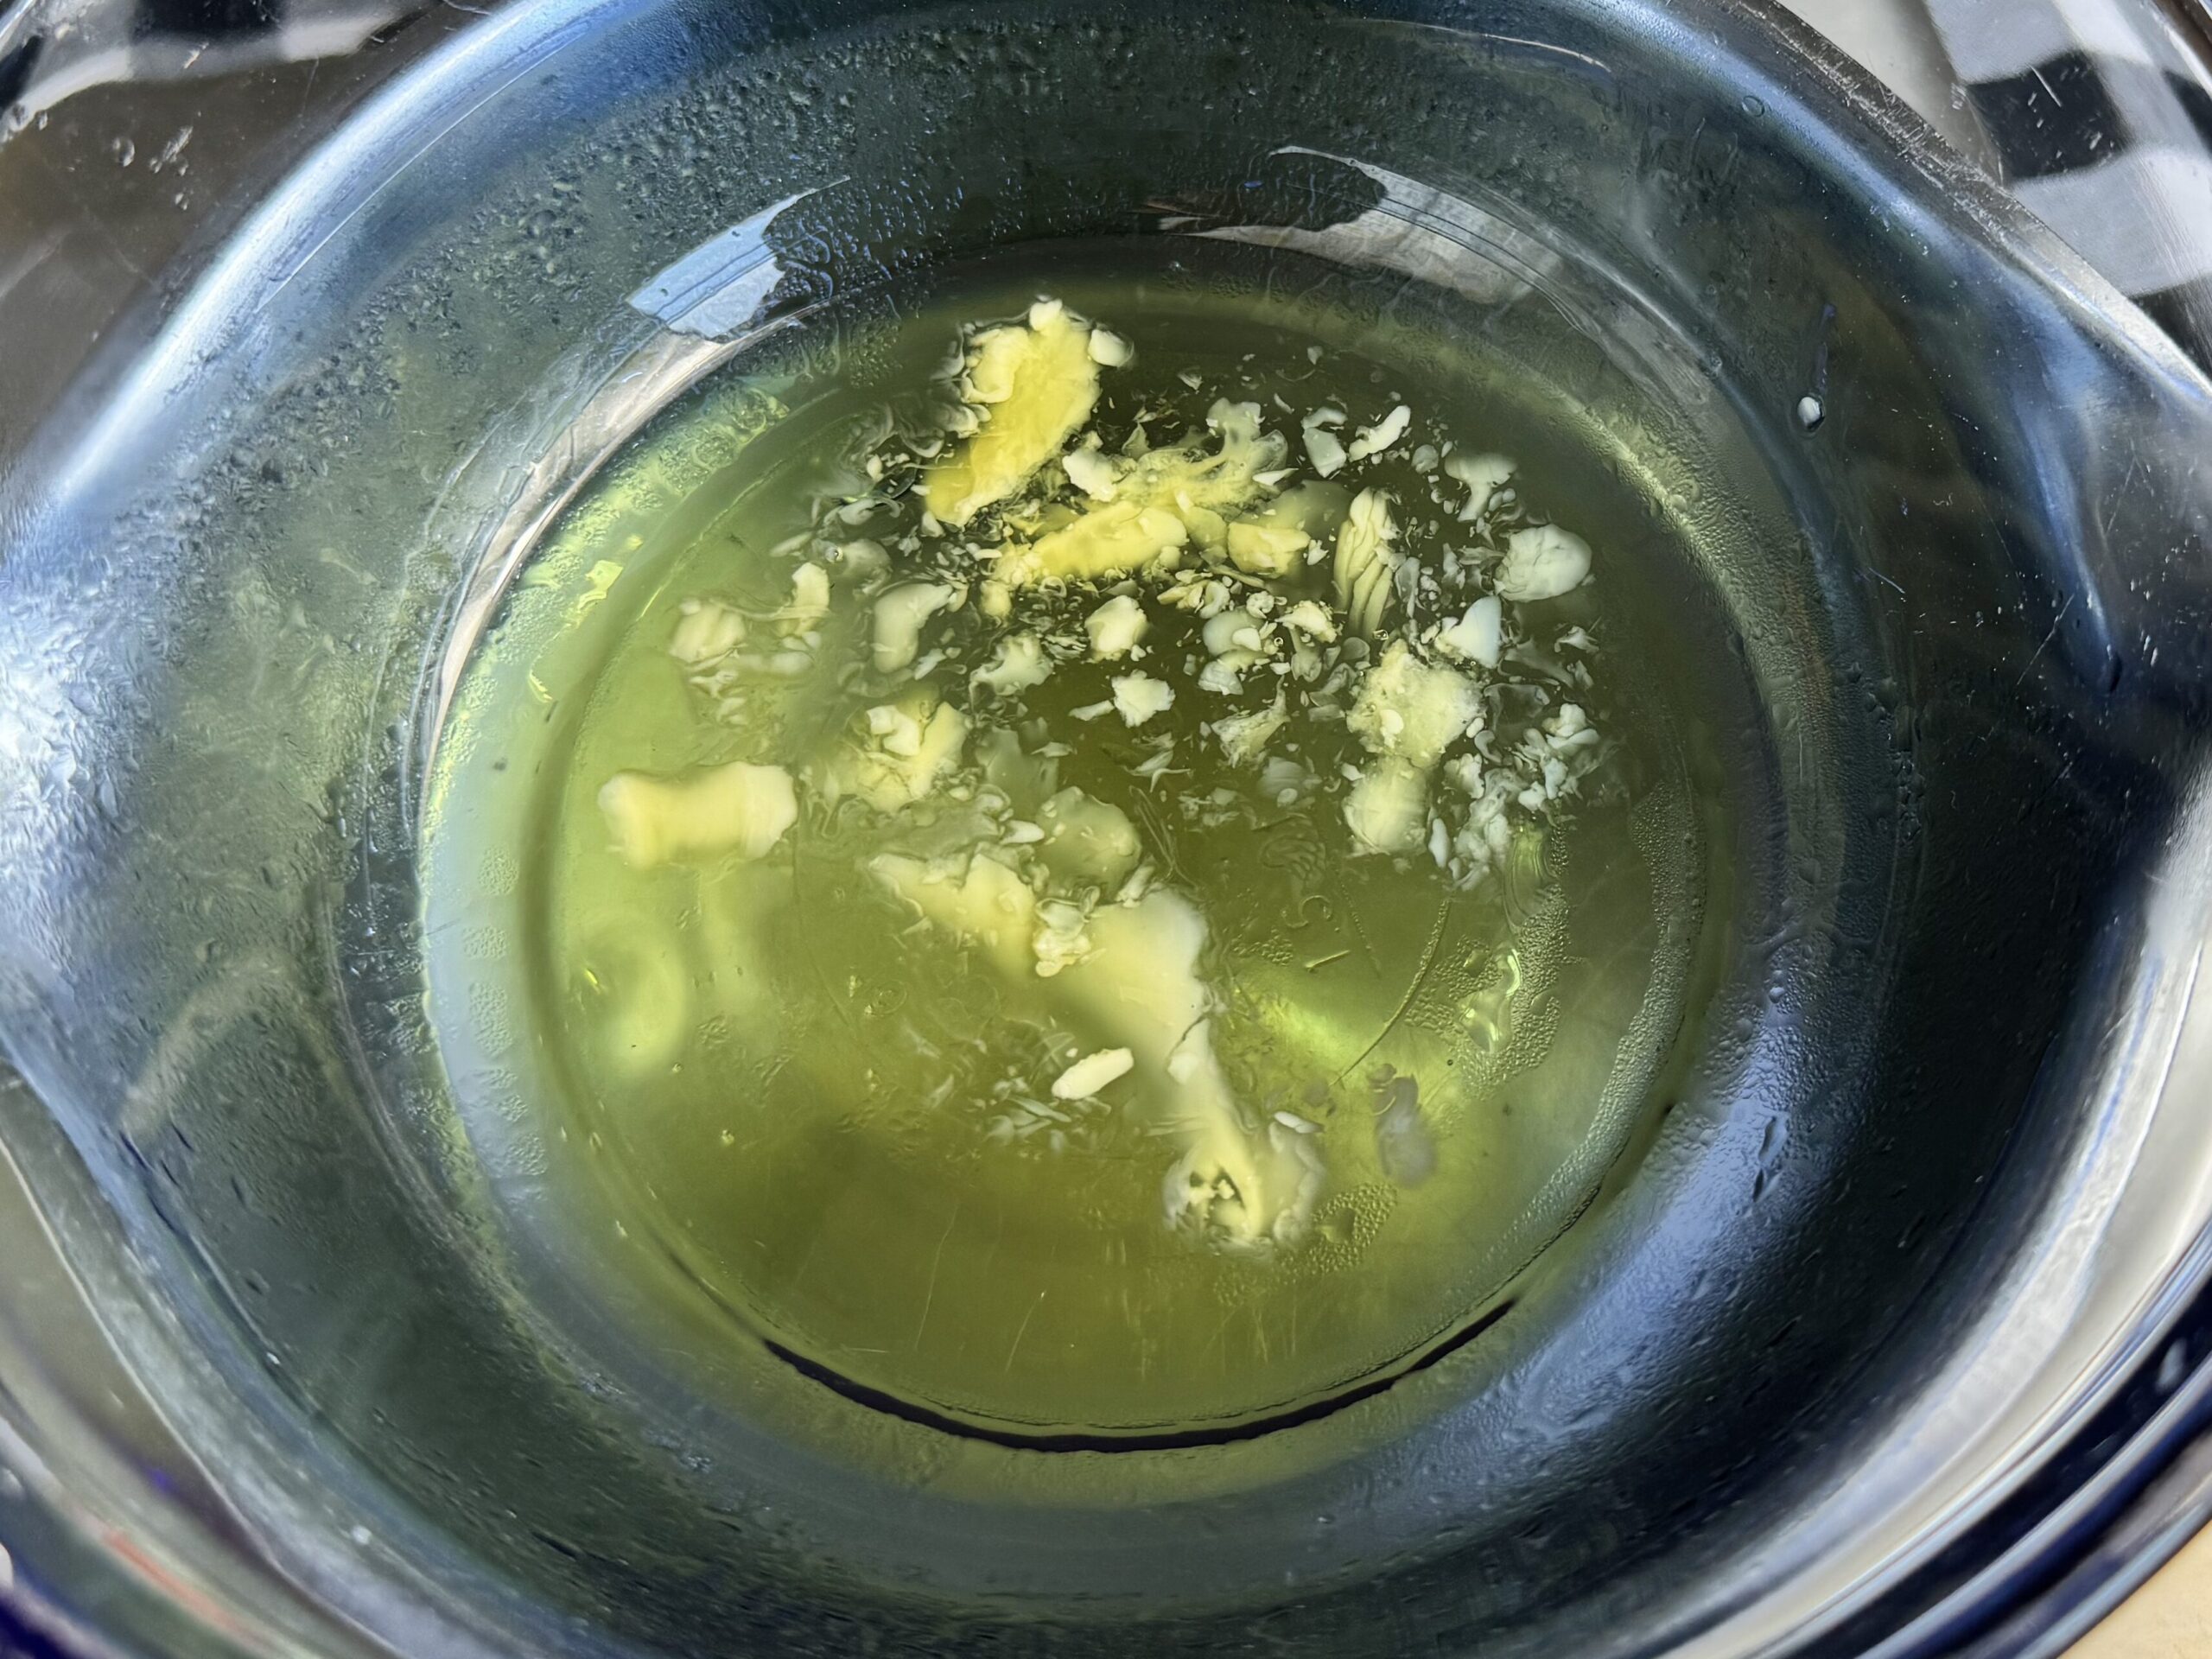
Get the pot of water going on your stovetop. Fill your small pot with about 2 inches of water, no more because you don’t want the water actually touching the bowl you will set on top of it. You don’t want it at a hard boil, just heat it up so the water starts steaming. The steam of the water will be what heats the bowl and it’s contents. We don’t want to cook the oils and beeswax, just heat it enough to melt the beeswax and mix all the ingredients together.
When your water is warm, place a heat proof dish on top of it.
Add Beeswax and Oils
Add your beeswax first and melt. How much really depends on how hard or soft you like your salve. I like mine firm, but not so firm it isn’t easy to to get a little on your finger to use. For a 4 oz jar I use 1 1/2 tablespoons of beeswax pellets.
When your wax is melted, add your infused oils and mix well. Some of the beeswax may solidify when colder oil is added. This is okay and it will remelt and mix together nicely. I used 6 tablespoons of oils, 3 of calendula, 2 of comfrey and 1 of plantain. The formula I use is about 1 part beeswax to 2 parts oil. If you like a softer salve, decrease it to about 1/2 part beeswax to 2 parts oil.
Take a spoon and dip it into the mix. Place the spoon in the fridge for about a minute then check the consistency of the salve. It should be firm but still spreadable. If it’s too soft for you’re liking, add a bit more beeswax. Make sure you add very small amounts as it’s easy to add too much and get too firm of a salve and stir constantly while it melts. If it’s too firm, add a bit more of your oils and recheck.
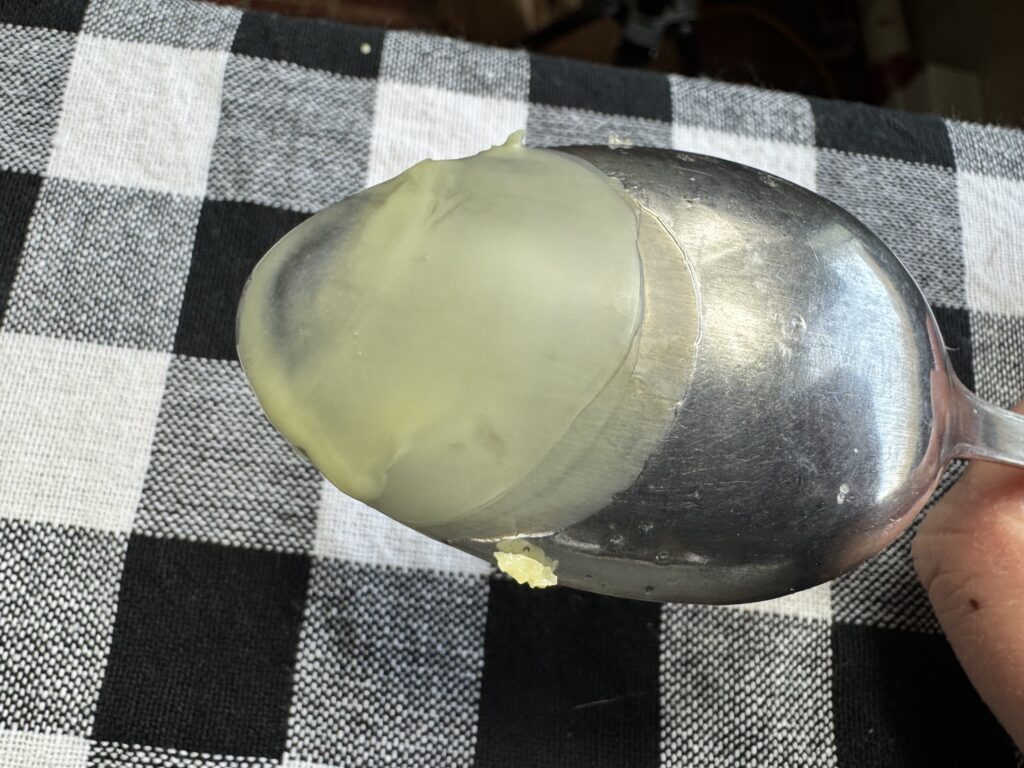
If you needed to add additional beeswax or extra oils, once the beeswax is melted and everything is thoroughly mixed do the spoon test again. Repeat this until the salve is the consistency you want it to be. If you accidentally make it too firm, add a bit more oil and that will soften it up.
Store for Use When Needed
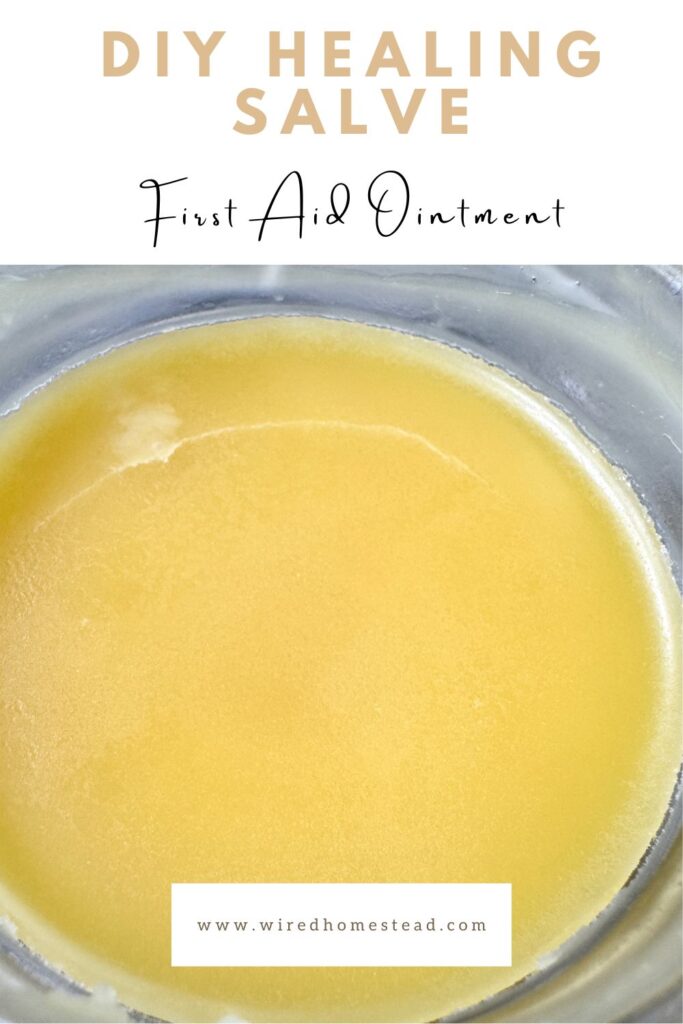
Once the salve is the right consistency, pour it into the container you want to store it in. Work quickly because as soon as you take it off the heat it will start to cool and solidify.

I recommend cleaning your spoon and bowl right away so the residual wax doesn’t cool down too much and become harder to get off. I usually just take a paper towel and give it a good wipe down and then clean with soap.

That’s it!
It’s so easy to make your own DIY healing salve and first aid ointment. Best of all, you know exactly what’s in it and can customize it to your specific needs. Treating minor cuts and scrapes isn’t necessarily a “one size fits all” type of thing and I like the ability to choose what’s best for me and my family. I also like that I can pronounce everything that went into it, it’s all natural, and there’s no antibiotics in it. The plants have antibiotic properties, but it’s not the same as using one specific antibiotic like you’d find in most over the counter pharmacy first aid ointments.
Go forth, experiment safely, and take basic first aid into your own very capable hands!
Pin It For Later


Love this! I make my own tallow lotion but would love to start using herbs too. Thanks for sharing all of the herbs you use.
This is a wonderful post! You have so much great information here. I love the calendula, comfrey and plantain combination. And I use yarrow so much, one of my favorite herbs! It grows all over my pasture here, as does plantain. I just moved to this new place here and calendula is on top of my list to grow. Comfrey is such an amazing herb too! The goats and chickens love to eat it! Thanks for sharing!