Growing Celery at Home: Simple Guide from Seed to Harvest
Celery isn’t the vegetable most people think of when they think summer vegetable garden. But it’s worth growing celery at home. It’s one of my favorite vegetables to grow, and it actually has flavor, unlike the bland stuff you get at the store. You might be amazed at just how much you love this vegetable once you harvest some you grew. Let’s learn how to grow this overlooked, but important vegetable.
*As an Amazon Associate I may earn from qualifying purchases at no cost to you.
Pin It For Later ⤵️

Choosing the Right Celery Seeds
Good celery starts with good seeds. Because celery has a long growing season, choosing the right variety makes a big difference. If you have not calculated your growing season, use the Farmer’s Almanac Frost Dates webpage to help you calculate the number of days in your growing season. You can also check out my post for more details about Growing Seasons.
Traditional green celery varieties are often the most forgiving and produce sturdy stalks with strong flavor. Utah tall celery is my personal favorite variety. Pink or yellow varieties can be a lot of fun to grow, as well. I love colorful vegetables! Most celery can grow perfectly well in an in-ground garden or a container. It’s a great vegetable choice for any garden.
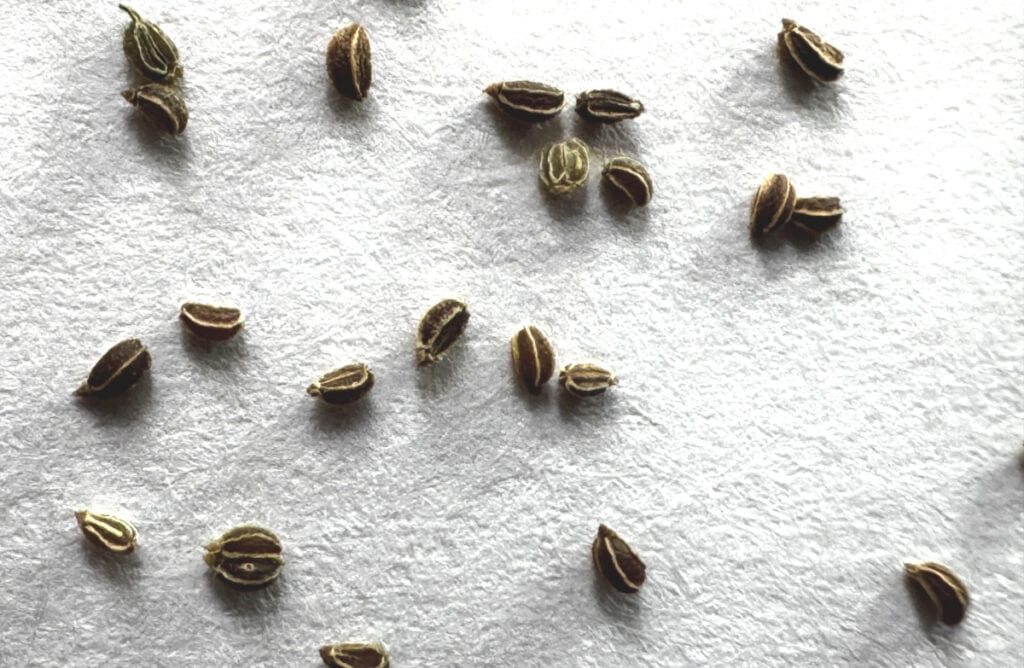
Pay attention to the days to maturity when selecting your seed variety. When purchasing seeds, make sure they are fresh and packed for that year. However, you can use celery seeds for at least 2 years past the year on the packet. I have done so with Utah tall celery with great success. However, the older the seeds get the lower the germination rates will be. Seeds are not good indefinitely. When in doubt, fresh is best.
When and How to Start Celery Seeds Indoors
Celery almost always needs to be started indoors, unless you live in a place that you can grow year-round. It grows too slowly to direct sow in most climates.
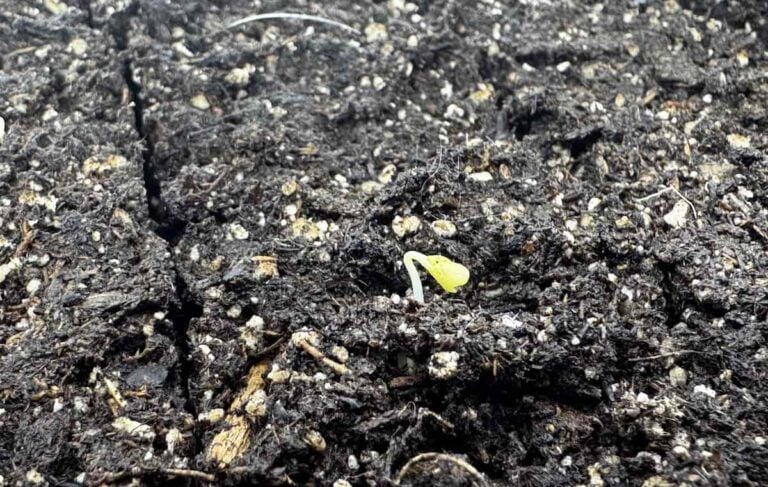
Plan to start seeds about 10 to 12 weeks before your last expected frost date. Celery seeds are very small and need light to germinate. Instead of burying them, scatter seeds gently over the surface of moist soil and press them in lightly with your fingers. If they end up getting lightly covered, don’t worry about it. I’ve still had good success.
Warmth is important at this stage. Celery seeds germinate best in consistently warm conditions. At least 65 degrees F is ideal. Uneven sprouting is normal, so don’t worry if your seeds pop up at different times. Some seeds may even take two or even three weeks to germinate. Keep the soil evenly moist, never let it dry out. Resist the urge to dig around looking for progress. Patience is key with celery, as it is with most gardening adventures. Except zucchini, but that’s for a different post!
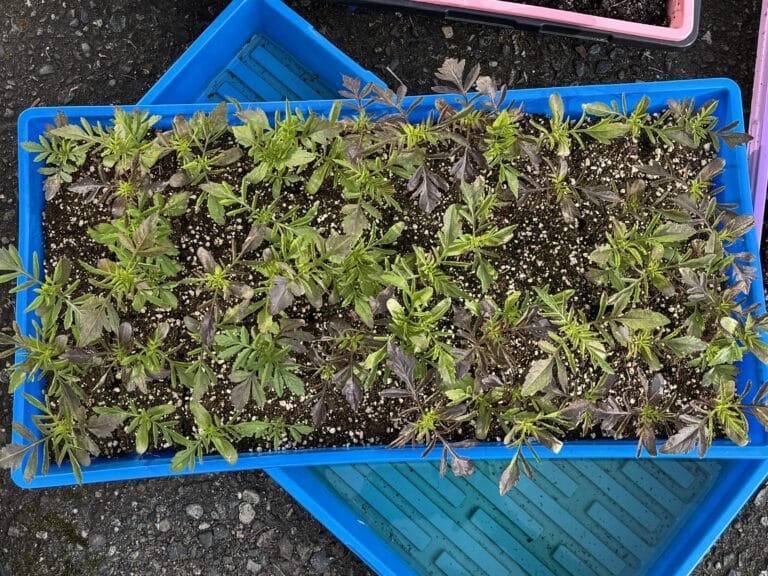
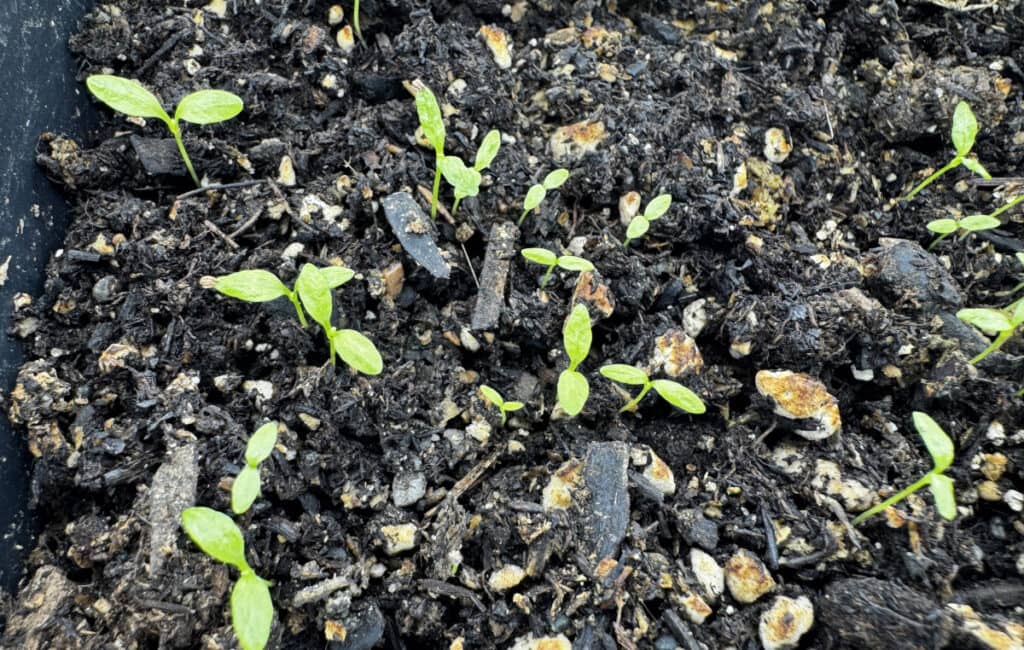
Caring for Young Celery Seedlings
Once seedlings appear, they grow very slowly. Strong light is essential to keep them from becoming leggy. Have a good grow light and keep it close to the small seedlings. A sunny window isn’t going to be enough to prevent leggy plants. My favorite grow lights are these Barrina lights that I’ve been using for at least 4 years now.
Water gently but regularly. At first I recommend using a spray bottle. It’s a very gentle watering approach, especially before the seeds germinate. After that, bottom watering is a great idea to keep from disturbing the delicate seedlings too much. Celery seedlings should never dry out completely. Once they develop their first true leaves, a light feeding with diluted fertilizer (1/4 strength) can help them continue growing without stress.
This is the stage where celery really teaches patience. Pushing growth too hard too fast will often result in dead or unproductive plants. Slow and steady care is the key to building stronger plants.
Hardening Off and Transplanting Celery Outside
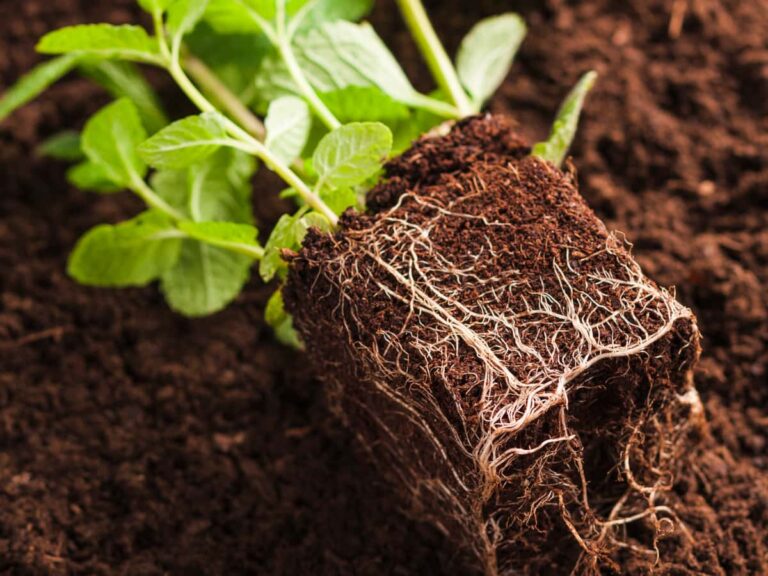
Celery does not like sudden changes. You can’t just throw them into the garden and call it good. Before moving plants outside, gradually harden them off by exposing them to outdoor conditions a little at a time. See my post about How to Transplant Seedlings for some good tips on how to harden off your celery seedlings without losing them.
Transplant celery once temperatures are mild and the risk of hard frost has passed. Cool weather is okay, but large temperature swings or hard frosts can cause celery to stunt growth. Plant seedlings at the same depth they were growing indoors. Space them far enough apart to allow air circulation and steady growth. It’s best practice to follow the spacing guidelines on the seed packet when planting outdoors.
Water well after transplanting and keep the soil consistently moist, but not soggy, as your plants become established.
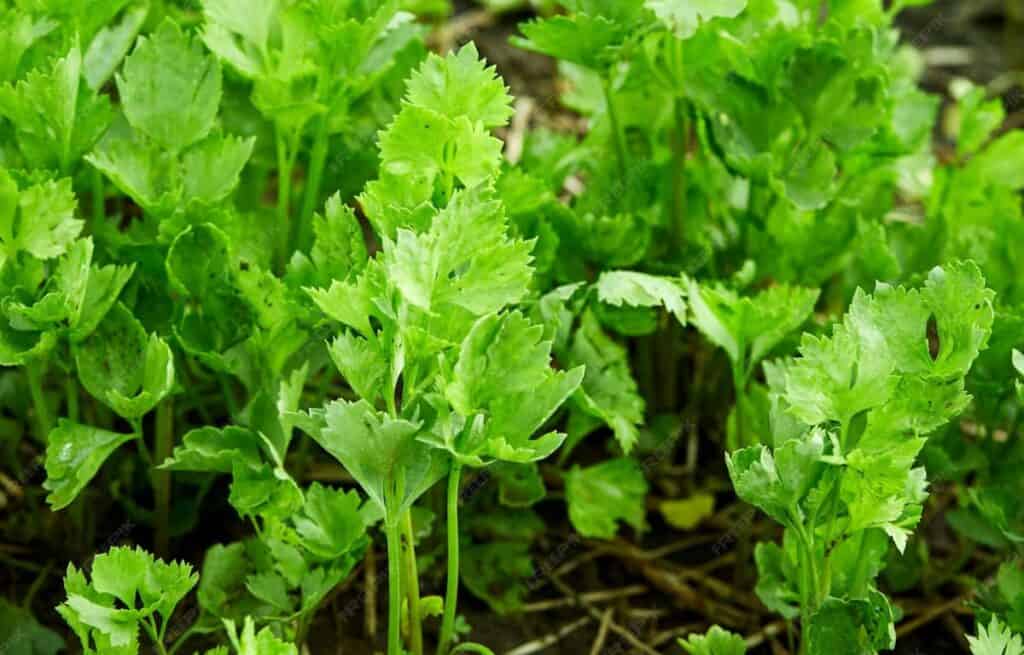
Growing Celery in the Garden
Celery thrives in rich soil with plenty of organic matter. Before planting, work compost into the soil to improve both nutrients and moisture retention. Mulching after planting can also help with moisture retention, allowing a longer time between waterings. If you’re a hands off gardener like me, mulch will become one of your best friends.
Consistent watering is the most important part of growing celery in the ground. Celery is mostly water, so it shouldn’t be any surprise that it likes a moist environment to grow. Dry soil leads to tough, stringy stalks and bitter flavor.
Mulch can also help keep a more even soil temperature. Remember, celery doesn’t like drastic changes so keeping the soil a more even temperature regardless of the weather make it happier.
During the growing season, occasional side-dressing with compost or gentle fertilizer supports steady growth without overwhelming the plants. You don’t need to do this more than a couple of times if you mixed a good compost into the soil before you planted it. Fertilize every month according to the fertilizer’s instructions if you didn’t.
Growing Celery in Raised Beds
Raised beds are an excellent option for celery, especially in areas with heavy or compacted soil. The key difference between this and an in-ground garden is moisture management.
Raised beds drain more quickly, which means you need to pay closer attention to watering. Deep beds filled with rich, moisture-retentive soil work best. Compost and mulch also help keep moisture where the plants need it. Spacing your plants properly is just as important. Crowded plants compete for water and nutrients and do not allow appropriate air flow.
With regular watering and good soil, raised beds will produce some of the best celery stalks in the garden. I’ve grown them in raised beds and had some amazing celery as a result.
Growing Celery in Containers
Celery can grow surprisingly well in containers. Choose a pot deep enough to support the root development and wide enough to prevent crowding. One plant per 1 gallon pot would be perfect. Or you could fit 2-3 plants in a 5 gallon pot.
Use a high-quality potting mix that holds moisture without becoming soggy. Containers dry out faster than garden beds and raised beds, so watering may be needed daily during warm weather. Check the soil moisture by putting your finger in two inches deep. If it’s dry, water deeply. If it’s still wet, check each day until you feel it start to dry out. Then water. Light, regular feeding helps maintain growth throughout the season.
Since containers leach nutrients fast through the bottom of the container, you may need a light fertilizer every 2-3 weeks. Don’t over do it, more is not better. Feed slowly, a little bit at a time for each feeding.
Container-grown celery may end up being smaller than its ground grown counterpart, but it is often beautifully tender and flavorful. When you taste it, you won’t even notice a difference.
Watering and Feeding Celery
Celery is mostly water, and it behaves like it is. Inconsistent watering is the fastest way to end up with poor results.
Aim for evenly moist soil at all times. Avoid letting plants dry out completely, especially during hot weather. Celery doesn’t like super hot weather. Mulching can help keep it cooler, shade cloth is a great option if needed, or planting it where it doesn’t get full sun in the hottest part of the day. All of these options can help reduce stress and make your growing celery plants happy.
Feeding should be light but consistent. Too much fertilizer leads to rapid, but weak growth, while too little slows development. Balanced care keeps celery growing steadily and predictably. Keep fertilizers at about ½ strength at each feeding.
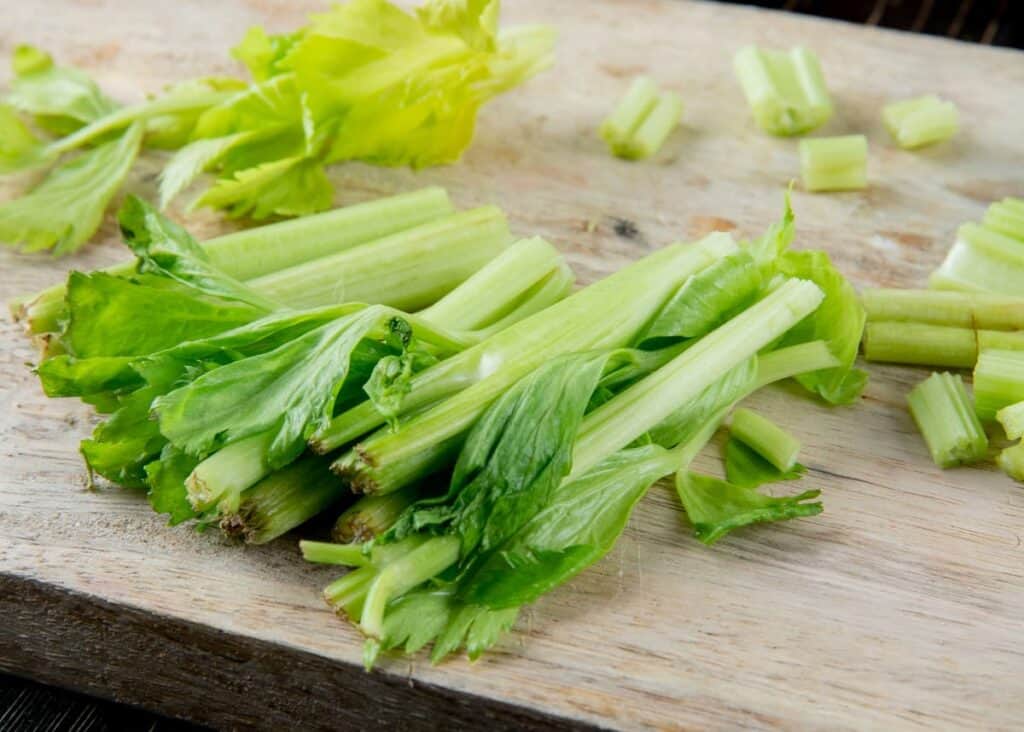
Harvesting Celery
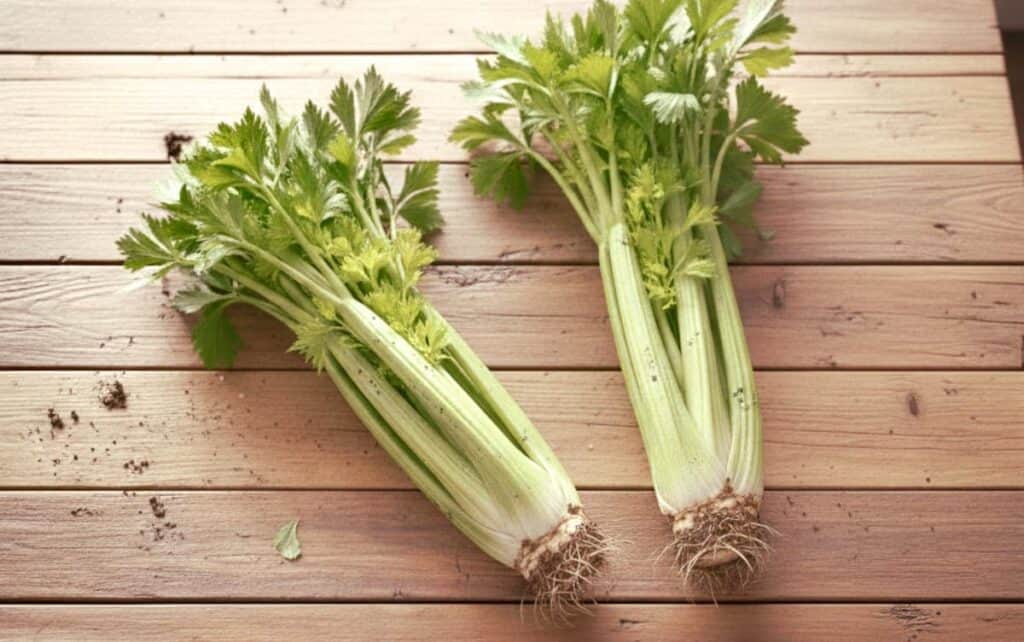
Celery is ready to harvest once stalks reach a usable size. You can harvest outer stalks individually as needed or cut the entire plant at the base when it matures. You get to determine when it’s ready. As soon as you feel the stalks are large enough for you to use, it’s ready to go.
Homegrown celery can sometimes be smaller than store-bought, but the flavor is so much better. Younger stalks tend to be more tender, and harvesting regularly encourages continued growth and production.
Fresh celery keeps best when refrigerated soon after harvest. You can freeze it for long term storage to use for soups or stews.
Final Thoughts on Growing Celery
Celery can really test your patience. It doesn’t respond well to shortcuts. But when given steady care, it becomes a rewarding crop to grow. Plus, when you taste the celery you’ve grown yourself you’ll realize how bland the store bought celery is!
If your first attempt isn’t perfect, that’s part of learning. Don’t give up! Each season brings a better understanding of what celery needs. Once you get it right, there’s something deeply satisfying about cutting crisp stalks straight from your own garden.
It’s one of my favorite vegetables to grow. I know it will become one of yours, too!
Frequently Asked Questions
Q: Why is celery considered hard to grow?
A: Celery isn’t actually hard, it just has specific needs: a long growing season, steady moisture, and rich, fertile soil. It also germinates slowly and needs cooler weather. Those factors together make it feel fussy compared to fast growing plants like lettuce or radishes.
Q: How long does it take for celery to grow from seed?
A: Celery can take around 130–140 days from sowing to harvest in many climates, so it’s a true long‑season crop. That’s why most gardeners have to start seeds indoors before transplanting outside.
Q: When should I start celery seeds indoors?
A: Start celery seeds 10–12 weeks before the last expected spring frost in your area.
Q: Why aren’t my celery seeds germinating uniformly?
A: Celery seeds are tiny and slow to sprout. They need light rather than being buried deeply, and warming the seed tray can help.
Q: Can celery be grown in containers or raised beds?
A: Yes! Celery grows well in containers and raised beds as long as the pot or bed has deep, moisture‑retentive soil. Containers will need more frequent watering and fertilizing because they dry out faster and leech nutrients faster.
Q: How much water does celery need?
A: A lot. Celery is mostly water, so it needs consistently moist soil throughout the season. If it dries out, stalks can become tough, stringy, or hollow. Mulch can help keep soil moisture consistent.
Q: What kind of soil does celery like?
A: Celery prefers rich, well‑drained soil high in organic matter, with a slightly acidic to neutral pH (around 6.0–7.0). Amending with compost or well‑rotted manure before planting can make a big difference.
Q: Can I regrow celery from the base of a store‑bought bunch?
A: Yes! Placing a celery base in water will often sprout new leaves and roots that can be moved to soil. However, it will still take several months for that regrowth to become celery that’s harvestable.
Q: What pests and diseases should I watch for?
A: Common issues include aphids, slugs, snails, and fungal problems if airflow is poor. Row covers early in the season can help protect tender young plants, and gentle organic treatments can manage pests.
Q: Can I harvest celery little by little?
A: Absolutely. You can harvest individual outer stalks as they reach usable size, or cut the whole plant at the base when fully mature. Both methods work depending on how you use it in your kitchen.
Pin It For Later ⤵️