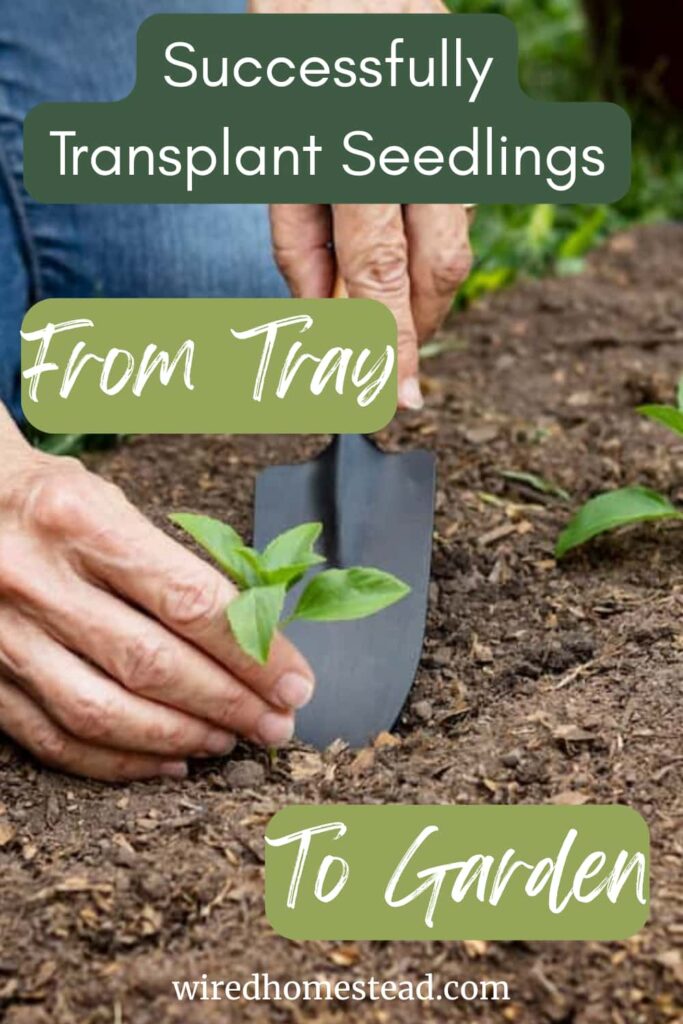
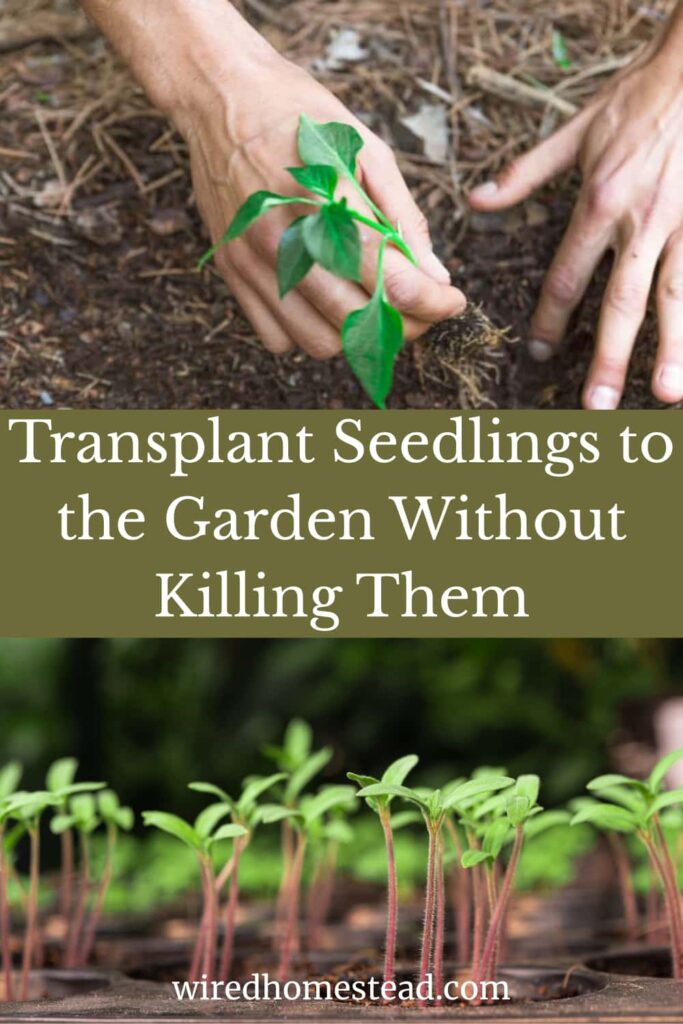
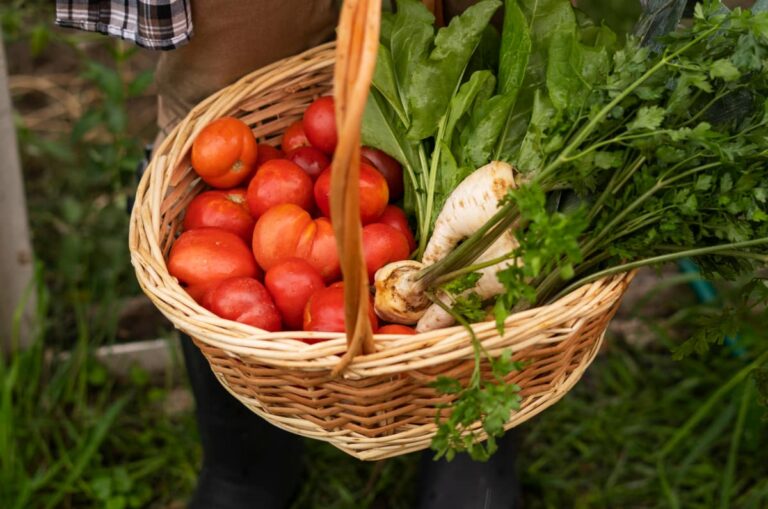
How To Transplant Seedlings Without Losing Your Plants
Transplanting seedlings to the garden can seem like an impossible task. We’re told “do this,” “No don’t do this do that.” What are you to think? In this post we’ll talk about how to transplant seedlings according to best practices. Let’s talk about how to harden off seedlings. We’ll also talk about how to tweak the process to your own needs for the real world. It really isn’t a one-size-fits-all process.
Pin It For Later ⤵️
Transplanting isn’t just a task to check off; it’s a transition between one environment to another. It’s the point where seedlings leave the comfortable, controlled conditions of your house or greenhouse and meet the real, unpredictable environment of the garden. If it’s done gently and at the right time, plants adjust well. When you rush the process, they let you know.

When Are Seedlings Ready to Transplant?
If you’re anything like me, the start of garden season is an exciting time and you just can’t wait to get plants out in the garden. However, there are some guidelines that will make your transplanted seedlings much more successful.
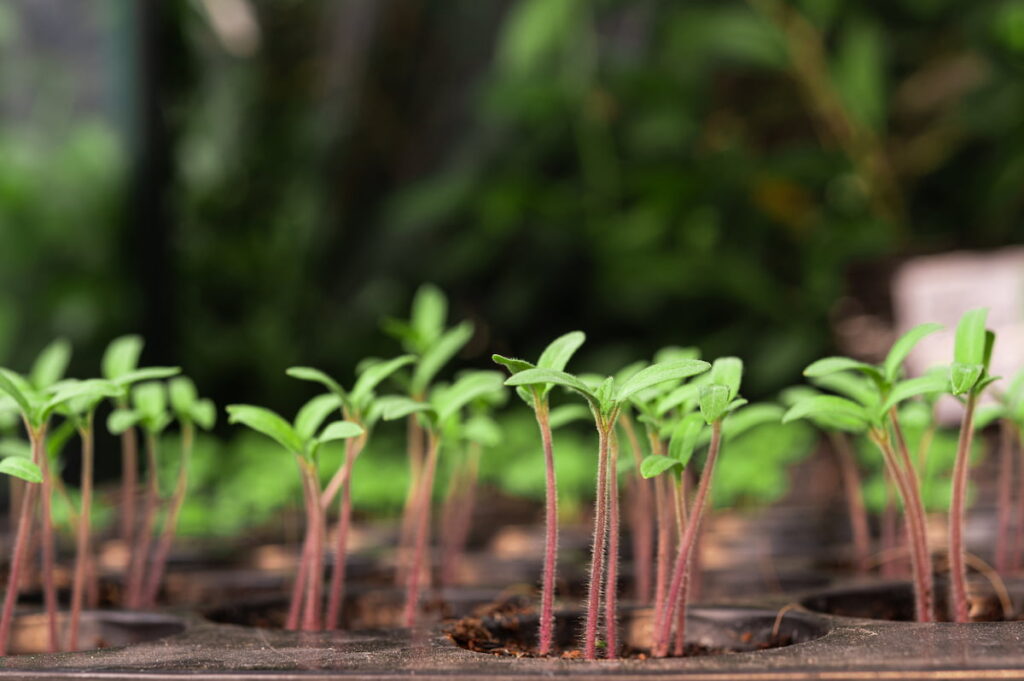
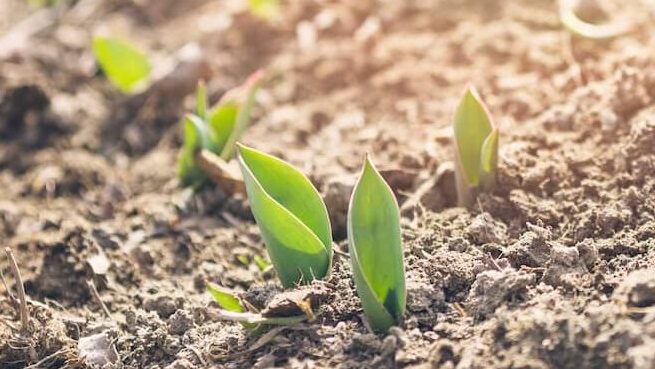
When seedlings have a few sets of true leaves, the familiar-looking ones that make it easy to identify a plant, and a stem that feels sturdy between your fingers, they’re usually ready. I also peek at the roots. The roots of the plant should also hold the soil together when you pick it up.
Seedlings that are leggy or pale almost always struggle outside. Aside from tomatoes and peppers, leggy seedlings rarely do well. If you get leggy seedlings it’s best to start again and move your grow light closer to the seedling. Tomatoes and peppers can sprout roots along their stems. If they end up getting leggy you can just plant them deeper in the ground. That will actually end up benefiting them because they’ll grow more roots. Healthy, abundant roots = a healthy, productive plant.
Hardening Off: Preparing Seedlings for the Real World
Seedlings grown indoors or in a greenhouse live a very sheltered life (pun intended). Hardening off is the process of slowly introducing them to outdoor conditions so they aren’t shocked by sun, wind, and temperature swings.
Hardening off is often skipped, I admit I’ve done that before, but it’s one of the biggest reasons seedlings fail after transplanting. Ask me how I know. This slow transition thickens leaf cuticles, strengthens stems, and helps plants adjust before they’re planted in the ground. Too much sun, wind, rain, hot, or cold at once make unhappy plants.
Slowly adjust them to the outside world
The ideal way to start hardening off seedlings is by placing seedlings outside in a sheltered spot for one to two hours a day, gradually increasing the time by an hour or two over 7 to 10 days. Avoid direct midday sun at first and bring plants inside if temperatures drop too low or strong winds pick up.
Now, step into reality of full-time jobs and full-time families and you’ll know that’s not really possible for most of us. I find that if I place seedlings out for half a day on the weekends, in a shady spot, that they do okay as long as it isn’t too cold. I start there, and if I can do it 3-4 days that’s great, but if it’s only 2 days that’s fine.
Add time each day and move them to experience the elements
The next day put them out in the same shady and sheltered spot before you go to work or before your busy day starts. Do this for a couple of days, then transition where you put them. Move them to a spot that’s more open where they get morning sun but not afternoon sun for a couple of days. Then move them where they get sun 2/3-3/4 of the day. During this time you’re bring them in every night to sleep in their comfortable indoor space.
Make sure you’re giving them plenty of water every day. They will loose more water the longer they’re outside, so it’s important to keep the soil hydrated.
After 7-10 days of progressively introducing more and more sun and more open weather conditions, the plants will acclimate and be ready to stay out. Leave them out for a couple days, all day and night, before you plant them in the ground or your pots. If you notice they seem unhappy, leaves wilting, scorching, or otherwise just looking sad, back up a step until they start looking happy again.
Choosing the Right Time and Weather
Timing your transplant can make a big difference in how they transplant. The best time to transplant seedlings is earlymorningor late afternoon, when temperatures are cooler and the sun is less intense. If that doesn’t quite work with your schedule, that’s okay. Just try not to do it in the high heat of the day. Or if you have a cloudy day in the forecast plant on that day, any time.
Overcast days are ideal. Light cloud cover reduces stress by reducing heat and the intensity of the sun. Plants get a bit of time to establish roots and acclimate to their new home before facing full sun exposure. Avoid transplanting during heat waves, cold snaps, or windy conditions whenever possible. Give your plants as gentle of a transition as you can.
Make sure soil temperatures are appropriate for the type of plant you’re growing. Warm-season crops like tomatoes and peppers need warm soil, while cool-season crops like broccoli and cauliflower can handle lower temperatures.
Preparing the Garden Bed or Containers
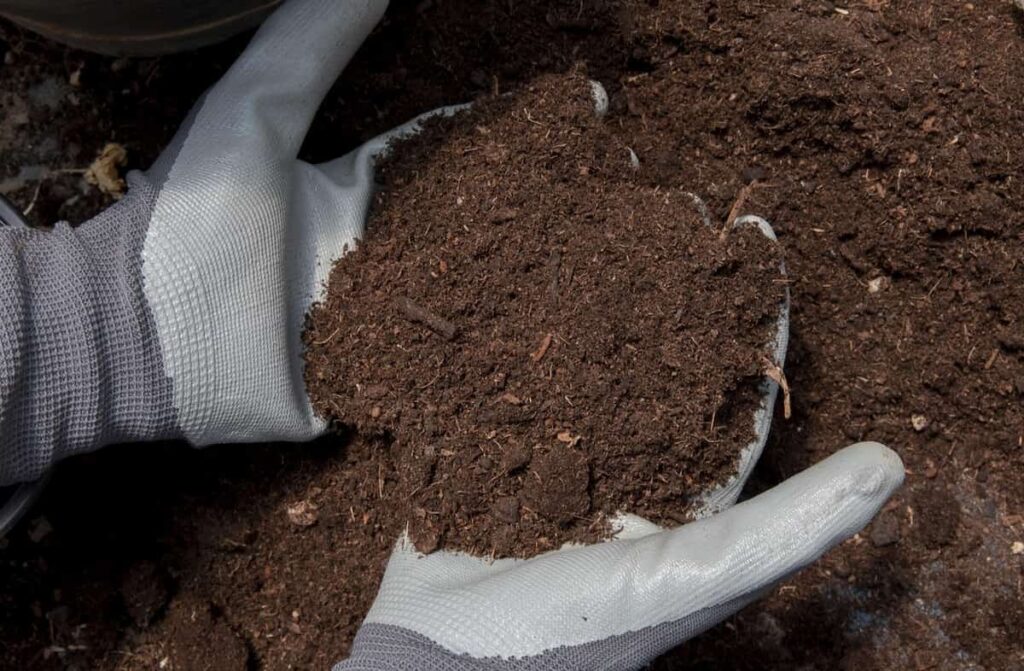
Before seedlings ever leave their pots, the garden bed or container should be ready. Loosen the soil if yours is really compacted, weed it, and mix in compost if needed. The goal is to have soil that’s soft, well-draining, and full of organic matter.
Check spacing carefully. Crowded plants compete for nutrients and airflow, leading to weaker growth and disease later on. When they are small seedlings it will look like your garden bed has a huge amount of wasted space, but the plants will fill it in. Just give them a little bit of time! Water the planting area before transplanting so the soil is evenly moist, not dry or muddy.
Having everything prepared ahead of time reduces the amount of disturbance time for seedlings during the transplant process.
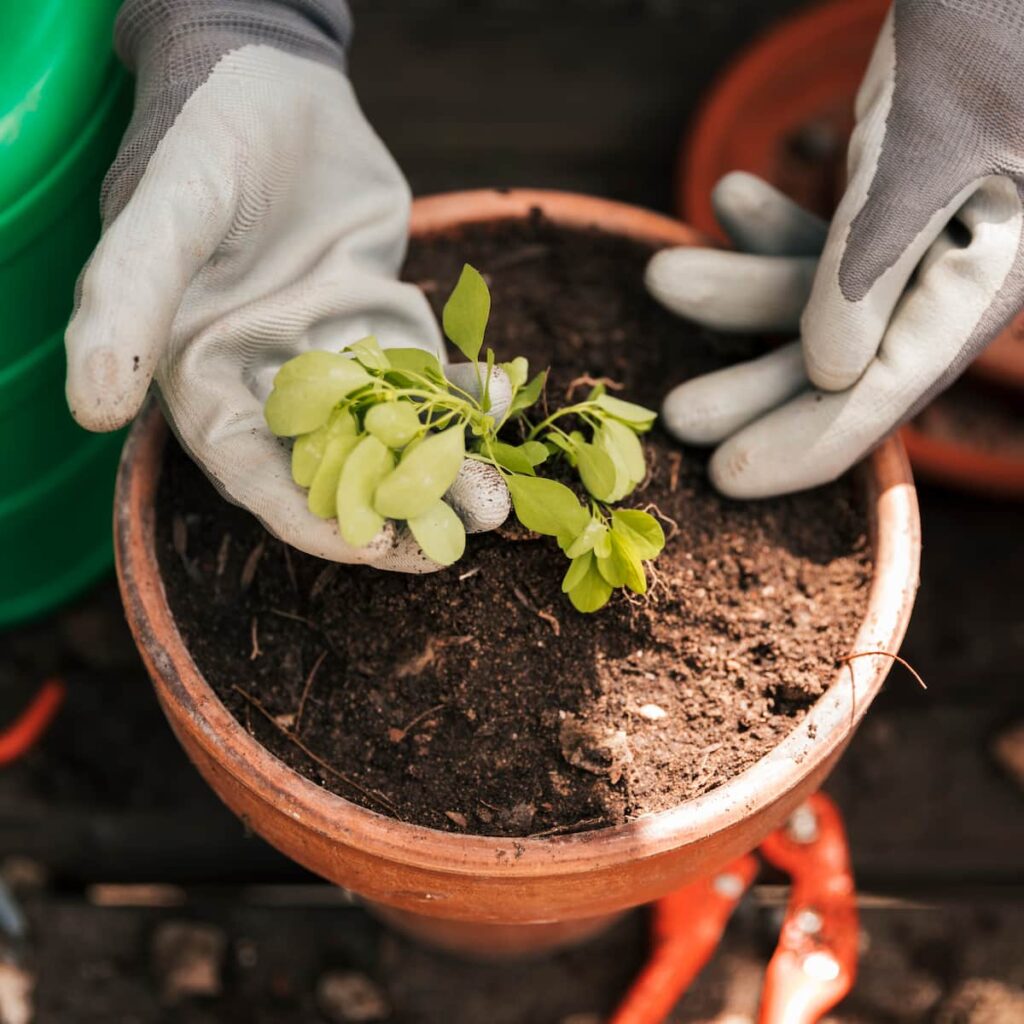
How to Transplant Seedlings Step by Step
Start by watering seedlings in their containers an hour or two before transplanting. Moist soil protects roots and helps the plant slide out easily. If you’re planting first thing in the morning, water them well the night before.
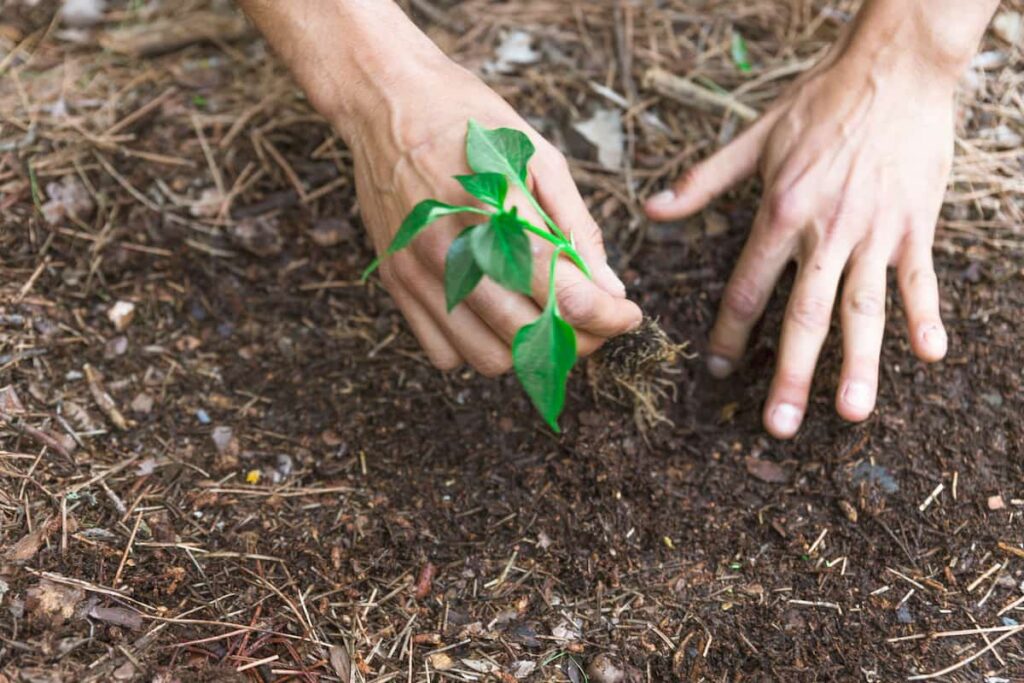
Gently squeeze the sides of the container and tip the seedling out, supporting the soil rather than pulling on the stem as much as you can. If you’re using soil blocks, you can just separate the blocks. I find them to be much easier than working with containers for most things.
Dig a hole in the garden spot or container you want to plant the seedling in that’s slightly larger than the root ball. Place the seedling in at the same depth it was growing before, with the exception of tomatoes and peppers. It’s better to plant these deeper to encourage strong root growth.
Fill in soil around the plant, firming it gently to remove air pockets. Finish by watering thoroughly to help the soil settle around the roots. Now your plants have been transplanted to their final spot!
Preventing Transplant Shock
Transplant shock happens when a plant struggles to adjust to its new environment. Signs include wilting, yellowing leaves, and/or slowed growth.
Some mild wilting is normal on the first day, or even the first couple of days, especially in warm weather. To reduce stress, water consistently, mulch around plants to retain moisture, and provide temporary shade if needed.
Avoid fertilizing immediately after transplanting. Tender roots can be damaged by a dose of strong nutrients. If you’ve added compost to your soil before transplanting, that will be all your plant will need to get going. Let them work on developing their root system for a couple weeks before you dose them with lots of nutrients.
The only exception to this is using Epsom salt for tomatoes. I have done that before and didn’t find that it produced any transplant shock effects. I’m also not convinced that they really benefited from it. If you are an Epsom salt believer, it’s okay to add this to the hole before transplanting your tomatoes.
The First Week Matters Most
The first week after transplanting is critical. Check moisture levels daily and water as needed to keep the soil evenly moist but not waterlogged. Water deeply, do not just test at the top. Stick your finger into the soil and if it’s moist an inch or two down, you’re good. If it’s feeling a little dry, go ahead and give the plant a good, deep watering.
Watch for pests, especially cutworms, slugs, and snails which often target newly transplanted seedlings. I have lost a lot of seedlings to slugs, so if this is a problem in your area try to get ahead of them.
If plants look droopy during the heat of the day but recover in the evening, that’s usually normal.
Once seedlings show signs of new growth, you’ll know they’ve settled in to their permanent home and are doing well.
Common Seedling Transplanting Mistakes
Many transplant failures come down to a few common mistakes. Transplanting too early, skipping the hardening off step, or accidentally damaging the seedlings when handling.
Overwatering can also create issues. While seedlings need moisture, soggy soil deprives roots of oxygen. Oxygen is necessary for the plants to take up nutrients.
Planting too deep or too shallow can also stress plants and slow growth. Tomatoes and peppers are the exception to planting too deep. The deeper you can go, the better root system they will develop. Don’t be shy about planting them a little deeper than you would other plants. Other plants should only be planted to the top of the soil level they were grown in.
Learning to slow down and observe your plants is one of the best skills a gardener can develop. Keeping a journal is a really good idea. You record what you did, what went well, and what didn’t. This can be invaluable information for future planting seasons.
Congratulations on Your Successful Seedling Transplants!
Transplanting seedlings is less about perfection and more about patience. Plants want to grow. When given the right timing, gentle handling, and a little protection at the start, they settle in quickly and reward you with strong growth.
Each successful transplant will help you build confidence. And before long, moving seedlings from tray to garden will feel like less of a risk and more like a quiet, peaceful start to the growing season. There’s nothing quite like watching those seeds sprout in your home. It makes me smile every time I see another one pop up. Hopefully it will for you, too!
Frequently Asked Questions: How to Transplant Seedlings
Q: How big should seedlings be before transplanting?
A: Seedlings should have at least 2 sets of true leaves before being transplanted and a healthy root system.
Q: Why are my seedlings wilting after transplanting?
A: Mild wilting is normal at first. Persistent wilting usually means heat stress, insufficient water, or poor root contact with soil.
Q: Can I transplant seedlings on a sunny day?
A: Yes, however it’s best to avoid strong sun if at all possible. If you must transplant on a sunny day, provide shade for the first few days or do it later in the evening when the sun has dropped and isn’t as intense.
Q: How long does transplant shock last?
A: Most plants recover within a few days to a week if conditions are right.
Q: Should I fertilize seedlings right after transplanting?
A: No. Too much too soon can hurt the plants as they start to get established. Wait until plants start to show new growth before feeding if you need to fertilize.
Q: What plants don’t like to be transplanted?
A: Root crops like carrots, beets, and turnips; as well as corn, beans, and squash prefer to be direct-sown. They do not like their roots to be disturbed. However, I have successfully transplanted corn beans and squash using soil blocks because it minimizes root disturbance.
Pin It For Later ⤵️


Great info! It will be time to start seeds soon!
This is such a great guide! Thank you for all the helpful information. Time flies, I better get started planting seeds! And I agree about the leggy plants. Especially the cabbages and broccoli and such, they really struggle when they are leggy.