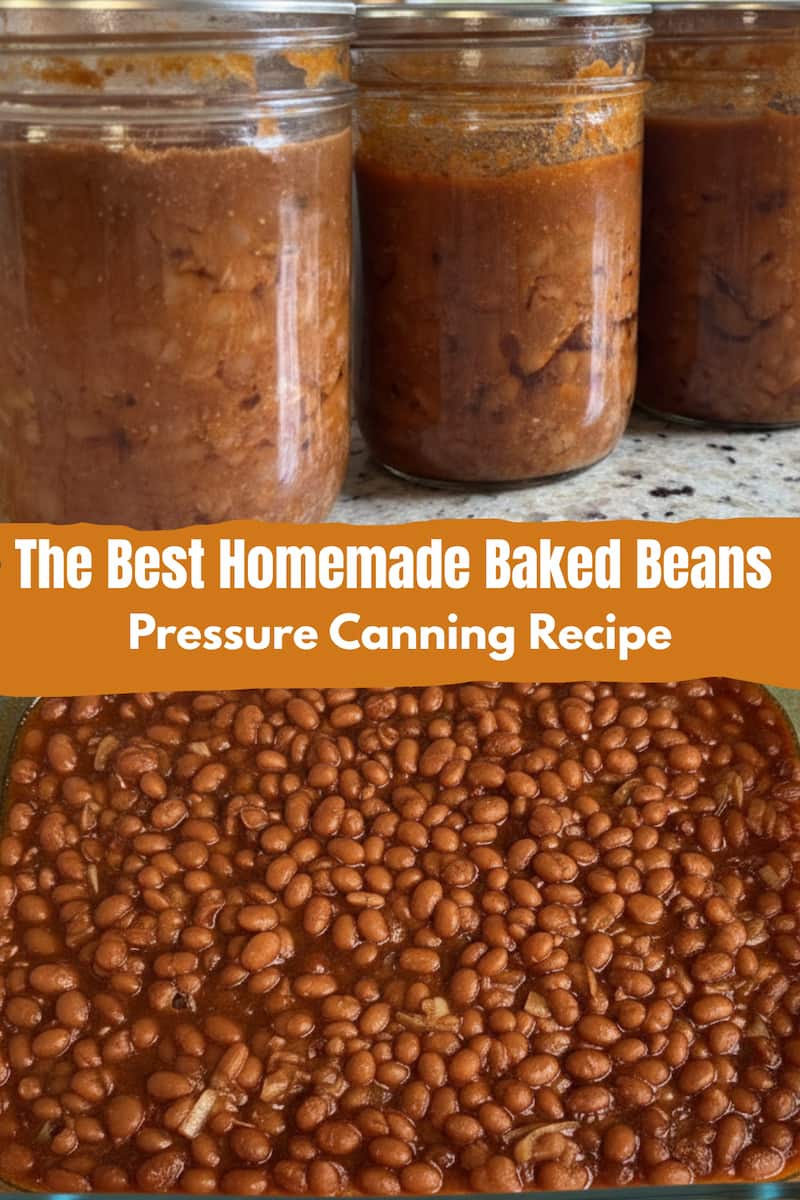
Make and Pressure Can Baked Beans- Better Than Store-Bought!
Tired of store-bought cans packed with sodium and high-fructose corn syrup? We’re going beyond a simple weeknight side dish; in this complete guide, you’ll learn exactly how to make and pressure can baked beans from scratch. Not only does this method lock in incredible flavor and nutrition, but it also gives you jars of fully cooked, shelf-stable baked beans—a convenience food that’s ready to heat and eat anytime. Get ready to enjoy the best, healthiest baked beans you’ve ever had!
*As an Amazon Associate I may earn from qualifying purchases with no cost to you.
Pin it for later ⤵️
Why You Should Make and Pressure Can Baked Beans
Health Benefits of Choosing Your Own Ingredients
One of the major reasons I love canning my own food is that I can control the ingredients that go into it. Store bought food is full of all kinds of things that, at the basic level, are a root cause of many diseases we struggle with today. Preservatives, high fructose corn syrup, dyes, and many other ingredients are not part of a healthy diet.
Even the most popular brand of baked beans contains caramel coloring, spices which includes a lot of sodium, and “natural flavor.” Natural flavor is not generally as good as it sounds. Natural flavor means that a natural source provided the flavoring, but the process likely included processing and the addition of chemicals to create the final flavor in the food. No one would want something that lists chemicals as the ingredients. Companies list it as “natural flavoring” per allowances by the FDA.
When you make your own you can use whole ingredients. I sweeten the beans with real molasses and reduce the salt level for a healthier version your family will love.

Convenience of a Ready-Made Meal with Lower Cost
The cost per jar of baked beans you’ll end up with is less than what you’d pay per can at the store. I don’t know about you, but food is expensive these days and I’m always looking for a way to cut the costs.
I won’t lie, initially making the beans does take some time. But the result is many jars of baked beans on your shelf and ready to go. It may seem like a lot of time, but it will end up saving you time in the long run because you do not have to keep running to the store to get another can of beans.
The convenience of having that ready-made meal already on your shelf is priceless. We’re all busy these days and having a healthy dinner ready to heat up in minutes is so valuable. A couple of minutes on the stove top and you’ve got a meal that’s healthy for you and your family. It’s also perfect for camping trips or just having the security of having food on your shelf should an emergency happen.
Superior Flavor
The home canning process is unique in that it can really bring out the flavor in food. The long cooking and canning process gives these baked beans a rich, deep, smoky flavor that easily outmatches store-bought versions.
Because these beans are pressure canned, there’s also some flexibility in the flavor to customize it the way you like it. If you like it a little sweeter, add a touch more molasses. Or if you like it smokier add a smoked bacon. The spices I list here are what our family likes, but feel free to adjust them to your own family’s preferences.
Take the Step of Growing Your Own Beans
Beans are actually quite easy to grow, even if you have a fairly small space to grow in. Just like vegetables, beans grown at home tend to have so much more flavor than store bought.
Take your beans to the next level, and increase your self-sufficiency, and try growing some navy beans for these baked beans. To learn how read Growing Beans for Drying and Canning.
Tips for Pressure Canning Safely
Before we get started, I wanted to talk about canning safely. This recipe is a low acid food (ph > 4.6), therefore it must be pressure canned. You cannot pressure can in an Instant Pot or pressure cooker, you must use an actual pressure canner. I have a Presto 16 quart canner and it works great for me.
If your pressure canner uses a rubber gasket or other rubber parts, like the Presto models, check them before canning to ensure they are not cracked or stiff. It’s best practice to replace the rubber parts every year. However, I replace the parts when they need it, which is usually every few years.
Most pressure canners come with a dial gauge to monitor the pressure. The gauge must be checked every year to make sure it is accurate. Some county extension offices will check them for a small fee. I recommend forgoing the dial gauge and getting a weighted gauge if your canner didn’t come for one. I have this weighted gauge for my canner and love it. The benefit of a weighted gauge is that it uses physics to calculate the pressure in the canner. There’s no need to get it checked so it eliminates the hassle of a dial gauge. I highly recommend them.
Follow the directions exactly. Things like using the exact headspace and cleaning the jars can’t be missed. Venting before building pressure, and letting the canner slowly release the pressure are extremely important. Don’t skip any of the steps or your final product may not turn out safe.
Finally, inspect all jars before using and verify the lids are still sealed. Do not use any jar that shows signs of bulging, gas build-up, or looks or smells odd. If in doubt, throw it out.
How to Make and Pressure Can Baked Beans
Want to know a secret to a well-stocked pantry? Home-canned dry beans! They’re inexpensive, nutrient-dense, and turn a two-hour cooking project into a two-minute dinner. Preparing them for long-term storage does require an important first step. Since beans are a low-acid food, you must use a pressure canner to make them safe. For the canning process to work effectively—meaning the heat properly penetrates every single bean to destroy the risk of botulism—you must correctly rehydrate and partially cook the beans before they go into the jar. Skipping this step can lead to an unsafe product. Here’s a detailed look at the necessary steps to prepare your dry beans for a successful canning run.
Navy beans are my preference for homemade baked beans, but any white bean will work. About 5 lbs of navy beans will yield approximately 16-18 pints or 8-9 quarts.
Ingredients Needed:
- 5 lbs navy beans (yields 16-18 pints or 8-9 quarts)
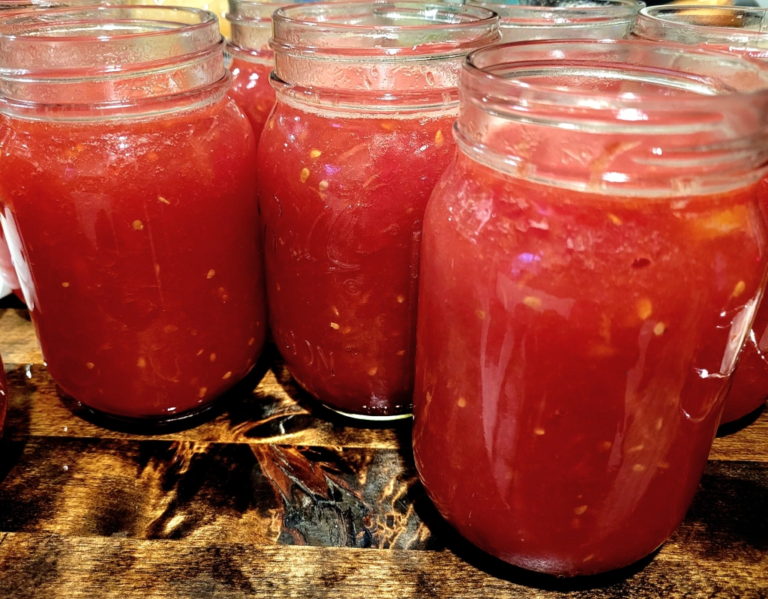
- 3 15 oz cans tomato sauce
- 6 tbsp salt
- 1 large onion
- 1 1/2 lb bacon
- 4 1/2 Tbsp mustard powder
- 1 1/2 c brown sugar
- 1/3 c apple cider vinegar
- 1/2 c molasses
- 4 c reserved water from boiling the beans
Preparing the Beans for Canning
The preparation process for dry beans requires an important rehydration and pre-cook step to ensure safe canning.
1. Select and Sort the Beans
Start by picking through your dried beans. Discard any shriveled, discolored, or damaged beans, as well as any small stones or foreign matter. Rinse the sorted beans thoroughly under cool water.
2. Rehydration (Soaking)
The rehydration step is crucial. This ensures the beans are adequately moist for proper heat penetration during the pressure canning process.
- Place the sorted and washed beans in a large pot or large container. I like to use a rubbermaid container like this to soak my beans. About 5 pounds of beans will yield 16-18 pints or 8-9 quarts.
- Cover the beans with fresh water (they will expand, so use about 3-4 times the amount of water).
- Allow the beans to soak for 12 to 18 hours in a cool place (you can place the pot in the refrigerator but I leave it on the counter).
- After soaking, drain and discard the soaking water.

3. Pre-Cooking (Boiling)
After the beans rehydrate, you must boil them. Don’t skip this step; it is part of the scientifically tested process for safely pressure canning dry beans
- Cover the drained, soaked beans with fresh water.
- Bring the water and beans to a boil and boil for 30 minutes to an hour, or when you see the bean skins start to crack.
- The boiling process will create froth in the pot. You can skim this off or leave it, it’s up to you.
- This pre-cooked mixture of hot beans and hot liquid is now ready to be packed into your canning jars.
Safety Note on Preparation:
Do not place raw, dry beans directly into the jar and cover with water (sometimes called “raw pack”). Scientists determine safe pressure canning times by using beans that have already soaked and boiled for a minimum of 30 minutes. Starting with dry or under-hydrated beans can result in an unsafe product that may not reach the required sterilizing temperature in the center of the jar.
4. Prepare the Sauce and Bake the Beans
- Preheat your oven to 350°F (180°C).
- Prepare the Sauce: In a bowl or container large enough for all the beans and sauce, mix the sauce ingredients together: tomato sauce, salt, onion, bacon, mustard powder, brown sugar, apple cider vinegar, and molasses.
- Combine Beans and Sauce: Take your beans that were just boiled (from Step 3) and drain off the cooking liquid, reserving 4 cups of the liquid.

- Mix: Add the boiled beans and reserved liquid to the sauce and stir gently until all the beans are evenly coated.
- Transfer the bean and sauce mixture to a large, oven-safe baking dish, Dutch oven or 9×13 pans. You may need more than one to fit all the beans.
- Bake the beans in the preheated oven for 3 1/2 hours. This baking step deepens the flavor of the sauce and allows the beans to absorb more of it, resulting in a richer finished product.
- Keep them Hot: After baking, remove the beans from the oven. The beans must be kept hot while you proceed to pack them into the canning jars.


5. Hot Packing the Jars
- While the beans are hot, ensure your jars are clean and warm.
- Use a spoon to loosely fill the hot beans and sauce into hot jars, leaving a 1-inch headspace (the space between the food and the rim of the jar).
- Remove any air bubbles using a non-metallic utensil. I usually use a chopstick but any thin, non-metalic utensil will work. Check and adjust the liquid level to maintain the 1-inch headspace.
- Wipe the rims of the jars clean with a clean, damp cloth.
- Center new lids on the jars and apply screw bands finger-tight. Do not over tighten or that could affect the seal.
6. Pressure Canning the Beans
Ensure your pressure canner works correctly and has recently been tested. Consult your canner’s instruction manual for specific loading and venting procedures, especially if you live at an altitude above 1,000 feet.
- Prepare Canner: Place the canner rack in the bottom of the pressure canner. Add the amount of hot water recommended by your canner manufacturer (usually 2 to 3 inches).
- Load Canner: Using the jar lifter, carefully place the hot jars onto the rack in the canner. Lock the canner lid into place, but do not put the weight or pressure regulator on yet.
- Vent the Canner: Turn the heat to medium-high. Once the canner is steaming, allow steam to escape steadily from the vent pipe for 10 full minutes. This is called venting and is crucial to ensure all air is removed from the canner.
- Place your canner weight or pressure regulator on the vent pipe once the 10 minutes are up.
- Allow the pressure to rise to the correct amount for your altitude. I’m below 1,000 feet so my pressure is set at 10 lbs with a weight, or 11 lbs with a dial gauge. If you are above 1,000 feet you’ll can at 15 lbs pressure with a weighted gauge, or 12 lbs pressure with a dial gauge.
- Once the correct pressure is reached, begin your timing:
- Pint Jars: Process for 75 minutes.
- Quart Jars: Process for 90 minutes.
- Adjust the heat as necessary to keep the pressure steady for the entire time. If the pressure drops below the required level at any point, you must bring it back up and restart the processing time from the beginning.
7. Depressurize and Cool the Jars
After the processing time is over, you must let the canner depressurize on it’s own. Rushing this process will cause siphoning of liquid out of the jars and may make them unsafe.
- Cool Down: After the processing time is complete, turn off the heat and allow the canner to cool naturally until the pressure returns completely to zero (the gauge reads ‘0’ and/or the safety plug drops). Do not rush the cooling process by removing the weight or opening the vent. This can cause liquid to siphon out of your jars.
- Open Canner: Once the pressure is at zero, wait an additional 10 minutes before slowly removing the weighted gauge or opening the vent. Unfasten the lid, lifting it away from your face to avoid steam burns.
- Remove Jars: Wait 5 more minutes, then use the jar lifter to carefully move the jars to a towel lined countertop or another surface they can sit undisturbed. Leave space between the jars so air can move in between for proper cooling.
- Final Seal: Let the jars cool undisturbed for 12 to 24 hours. You may hear the ping sound as the lids seal, but that is not always the case.
- Check Seals: After 12-24 hours, remove the screw bands. Press the center of each lid. If the lid is firm and doesn’t flex, the jar is sealed.
- Store: Wash sealed jars, label with the contents and date, and store in a cool, dark, dry place. If you have any unsealed jars they must be refrigerated and used within the week.
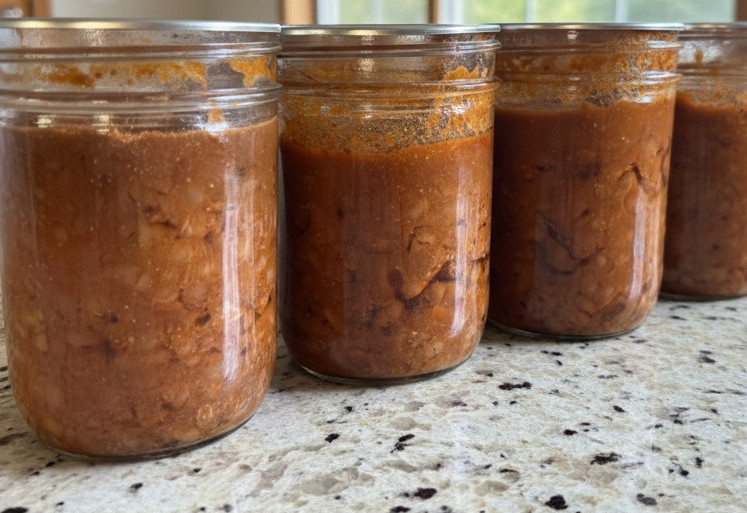
Enjoy Your Homemade, Shelf-Stable Beans
You’ll never be more than a walk to the pantry away from the best baked beans you’ve ever tasted. Say goodbye to the mystery ingredients and hello to a row of gorgeous, shelf-stable jars. That deep, slow-cooked flavor, combined with the unparalleled convenience of a shelf-stable meal, is well worth the effort. Now that you’ve mastered the art of pressure canning baked beans, you’ve gained a new staple for your pantry, your BBQs, and your emergency stores. Try add liquid smoke to make it more smoky. Or a dash of your favorite spice to jazz it up. Share your favorite flavor twist in the comments below!
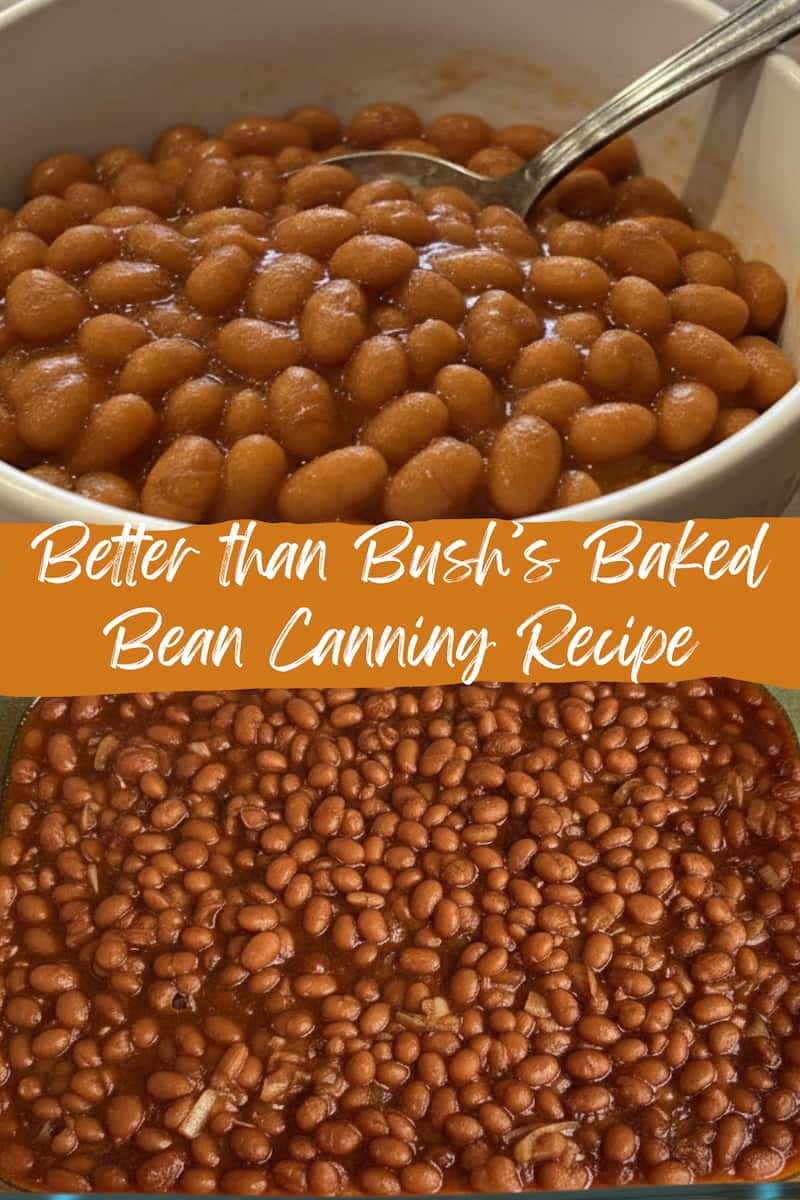
Pin it for later ⤵️


Thank you for sharing! I want to make these beans next week!
Your tutorial is awesome. It has all the details for safe canning and your bean recipe sounds delicious. Now I want to can some baked beans, yes! Love this recipe and I appreciate your detailed instructions!
Easy recipe that’s simple to follow. Thanks!
What do you mean by “3 cans sauce”? Is it tomato sauce?
Yes, I do. Thank you for pointing that out, I’ve fixed it.
What size cans of tomato sauce please?
3 15oz cans, I’ll update that!
Trying these for the first time today. I have them in the oven as I’m writing this. Boyfriend wanted me to add ketchup to the top after taste test and saying they had great flavor. Goofy. But my sauce seemed thin, so I might stir them a few times while they bake to see if it helps with the coating. Will keep you posted.
I love that you added something to make them your own! It will seem a bit thin at first, baking does help with that and the canning process finishes thickening it. I look forward to hearing how they turn out!
Wish I could add a picture! These look awesome and the flavor is out of this world, I will definitely be making more of these, thanks for sharing!!!
This makes my day! I’m so glad you loved the recipe. ❤️