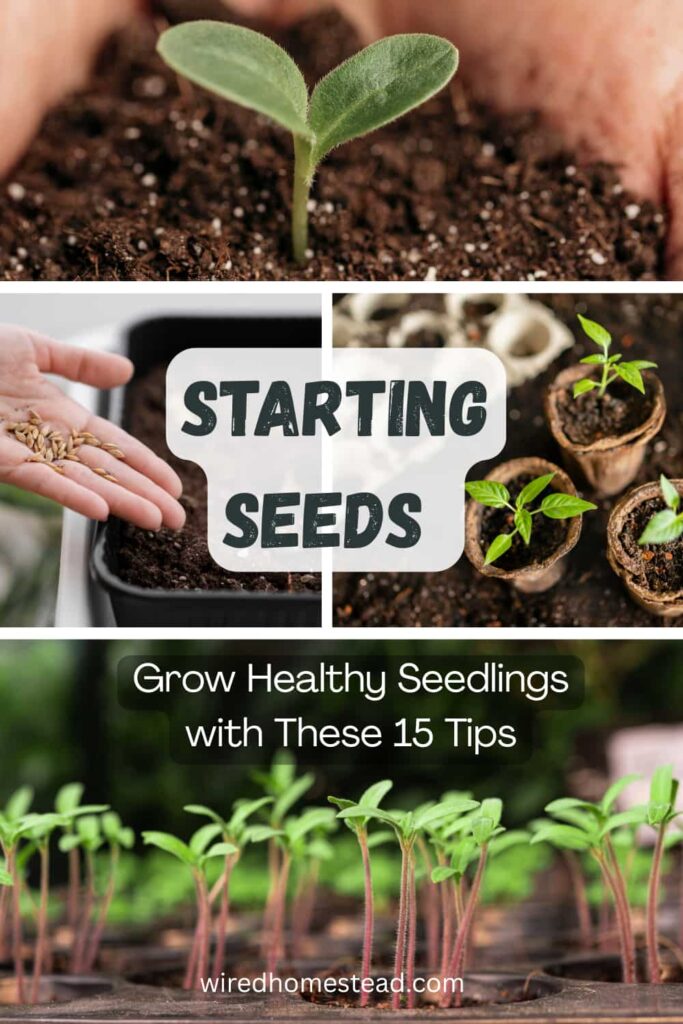
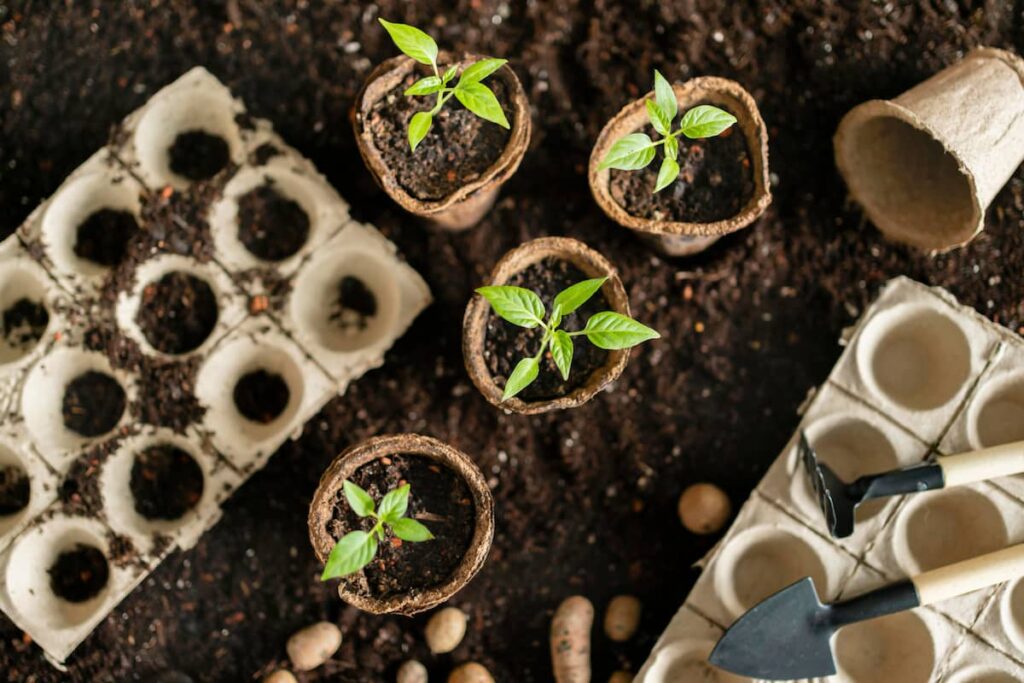
15 Tips for Seed Starting: The Ultimate Guide for Beginners
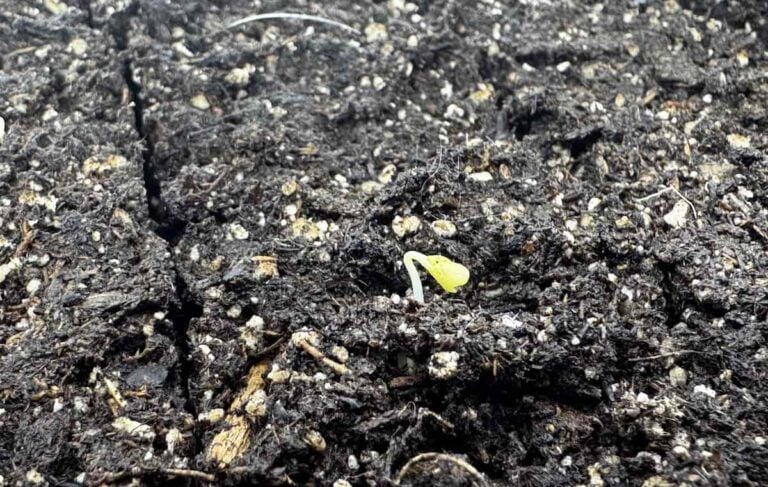
Seed starting always hits me fast in the late winter/early spring. One day it’s New Years and the next it’s time to start your garden! In this post I’ll talk about 15 tips for seed startgin that help me grow strong seedlings every year.
*As an Amazon Associate I may earn from qualifying purchases at no cost to you.
Pin It For Later ⤵️
Why Should You Start Your Own Seeds?
There are many reasons to start your own seeds.
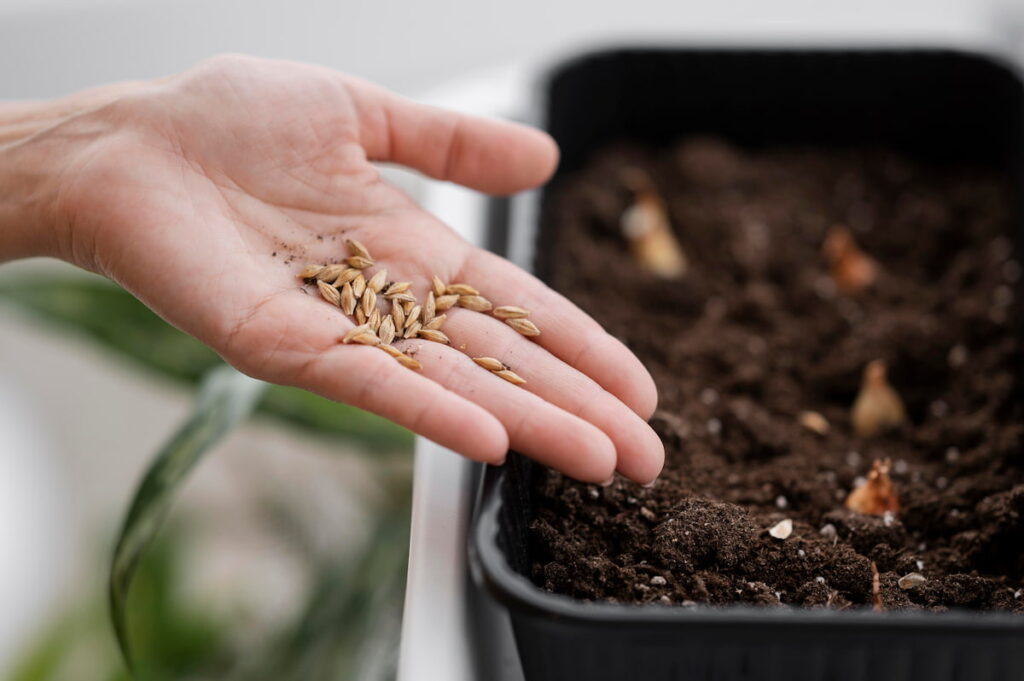
- Cost – it is much cheaper to buy a packet of seeds for $2-4 and get 20-30 seeds instead of buying 1 plant start for $5.
- Healthier Plants – starts you get at the store are bought by a large supplier providing plant starts for many places. The plants tend to be over fertilized. They look big and healthy when they hit the store shelves but are often not prepared for the actual weather when you’re buying them. This doesn’t often translate to good production when transplanted into your garden. Local nurseries may have plant starts they’ve grown on site, but they can sometimes have the same problem as store bought ones.
- More Variety – because stores and nurseries are trying to appeal to the widest range of people, while still making a profit, they only sell the most popular varieties of plants. When you start from seed, you get a larger choice in what varieties you’d like to grow.
- Better Adaption to Your Climate – along with more variety, when starting from seeds you can research and choose the seed varieties that are adapted to your climate. The most popular varieties found in stores may not be the best choice. While they sell well, they may not produce as well as a lesser known variety suited for your growing climate.
- Extend Your Growing Season – starting warm weather plants inside early gives you a head start on your growing season. This gives them a boost and ensures they have enough time to mature and produce fruit before the end of your growing season.

15 Tips for Seed Starting Success
If you’ve tried starting seeds before and it didn’t go so well, don’t give up! Try these 15 tips for successful seed starting and watch your seedlings thrive this year.
1. Choose the Right Seeds
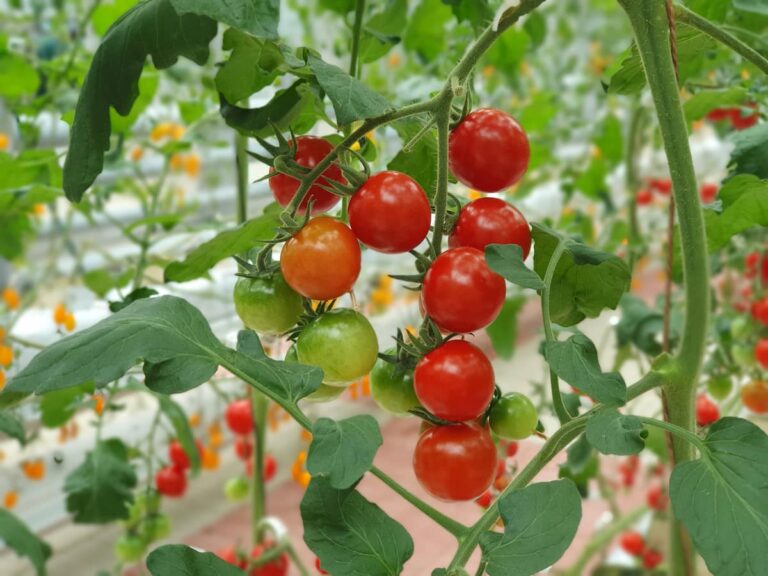
- Select seeds based on your climate, growing season, and space availability. Some plants (like tomatoes and peppers) are best started indoors, while others (like peas or beans) do well when sown directly in the ground.
2. Start Seeds at the Right Time
- Research the last frost date for your region and count backward to determine the best time to start seeds indoors. For example, seeds like tomatoes, peppers, and eggplants should be started 6–8 weeks before the last frost date.
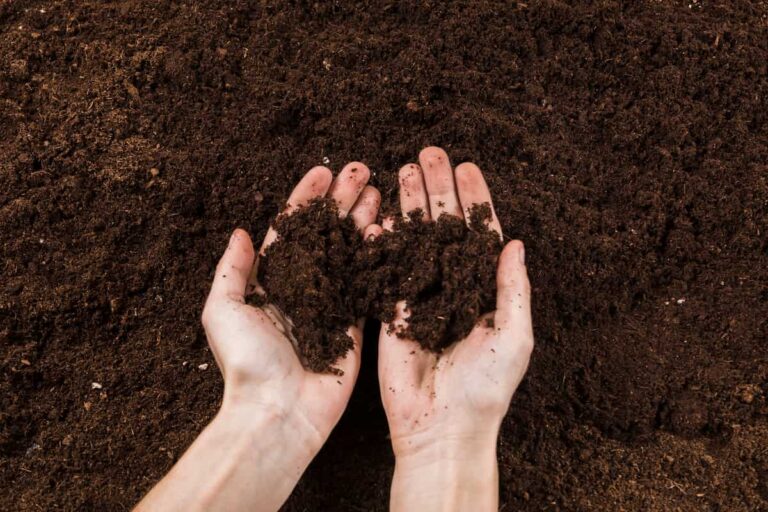
3. Use Quality Seed-Starting Mix
- Avoid using regular garden soil, as it can be too heavy and may contain pests. Instead, use a light, well-draining seed-starting mix, which is designed to provide the right texture and nutrients for seedlings to grow strong.
4. Provide Adequate Light
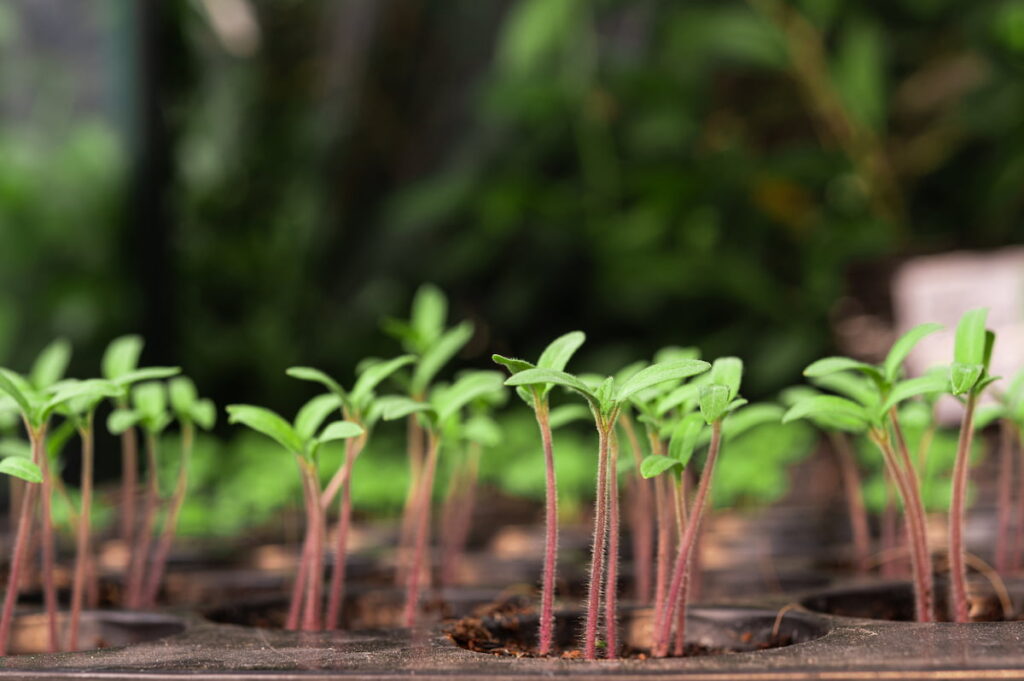
- Most seedlings need a lot of light to thrive. If you don’t have a sunny windowsill, use grow lights to give your plants 12–16 hours of light per day. A simple fluorescent light or LED grow light will help your seedlings grow strong and prevent them from becoming leggy (tall and weak). Keeping the light about 2-3 inches above the seedlings will also help prevent them from getting leggy. These Barrina lights have been my favorite lights and give me strong seedlings every year.
5. Maintain the Right Temperature
- Seeds need warmth to germinate, so make sure to keep them in a warm location. Most seeds do well in temperatures between 65°F and 75°F (18–24°C). You can use a seed heat mat to maintain consistent warmth, especially for heat-loving plants like peppers.
6. Water Gently and Consistently
- Keep the soil moist but not soggy. Use a gentle watering method, such as a spray bottle or a watering can with a fine nozzle, to avoid disturbing the tiny seeds. Keep the soil evenly moist until the seeds germinate but be careful not to overwater. Once germinated, bottom watering is a good, gentle method of watering that encourages root growth.
7. Thin Seedlings Early
- Once your seedlings have grown large enough to have a few true leaves, thin them out. This prevents overcrowding and ensures that each plant has enough space to grow strong roots. You can either transplant the extras or compost them.
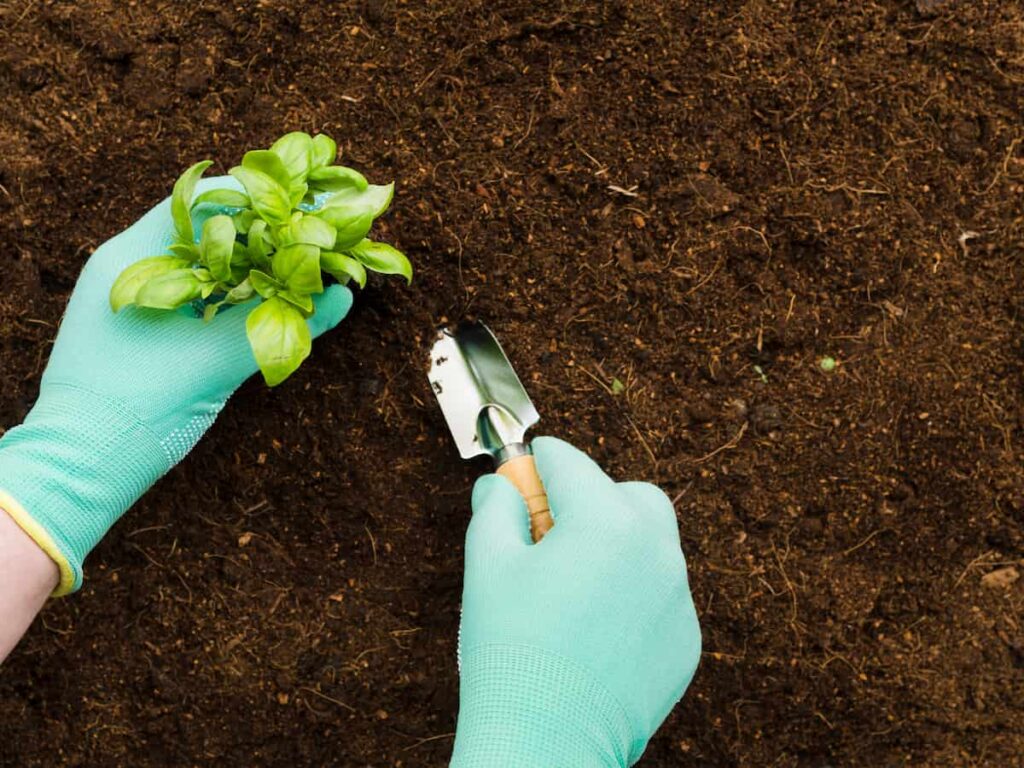
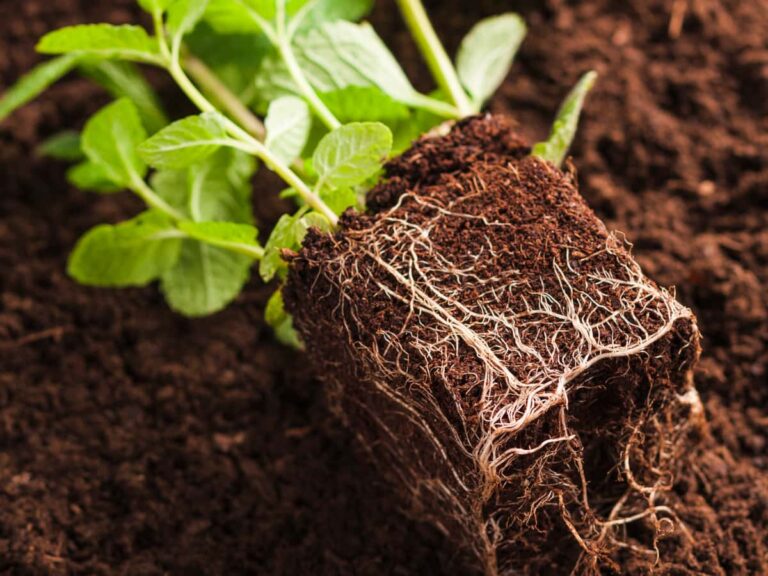
8. Harden Off Seedlings Before Transplanting
- Before planting your seedlings outdoors, gradually acclimate them to the outdoor environment to reduce transplant shock. This process is called “hardening off.” Start by placing seedlings outside in a shaded, protected spot for a few hours each day, and increase the time each day for about a week. For more detailed information see my post on How to Transplant Seedlings.
9. Use Containers with Drainage
- Use seed trays, pots, or other containers that have drainage holes. This will prevent the soil from becoming waterlogged, which can lead to root rot. If you’re using a non-draining container, make sure to poke holes in the bottom. I’m a big fan of Bootstrap Farmer’s 1020 seed trays with the mesh trays for drainage.
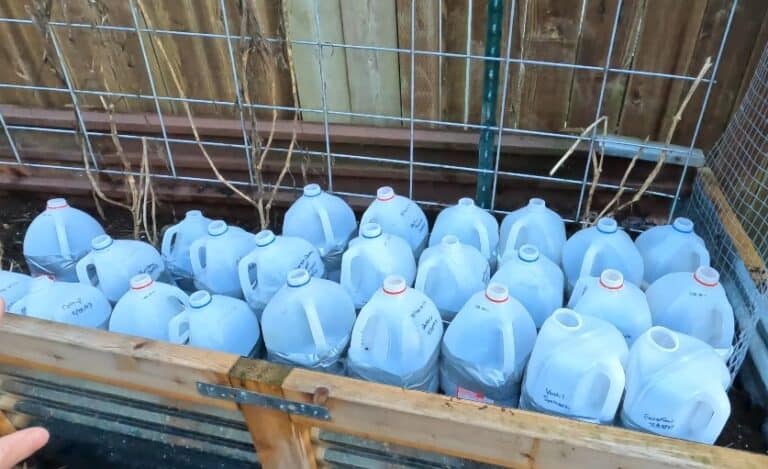
10. Label Your Seedlings
- Keep track of what you’ve planted by labeling your containers with the seed variety and the planting date. This will help you stay organized and know when to expect germination or when to transplant seedlings.

11. Monitor for Pests and Diseases
- Keep a close eye on your seedlings for signs of pests (like aphids or fungus gnats) or diseases (like damping-off). If you notice any issues, address them early with natural pest control methods or remove the affected plants to prevent the spread.
12. Keep Air Circulation Flowing
- Good airflow around your seedlings will help prevent mold and mildew. You can use a small fan to gently circulate air if you’re starting a lot of seeds indoors or have high humidity.
13. Fertilize Lightly Once the First True Leaves Appear
- Once your seedlings have a couple of true leaves (not the initial seed leaves), you can begin fertilizing them lightly with a diluted liquid fertilizer. Avoid over-fertilizing, as this can lead to leggy or weak plants.
14. Stay Organized
- Keep your seed-starting area neat and organized. Use trays to collect water and regularly check on the condition of your seedlings to ensure they’re getting the care they need.
15. Keep Track of Your Seed Starting Process
- Document when you start your seeds, when they germinate, and any other important details about your process. This will help you learn and adjust your methods for future seasons, improving your success year after year.
Start Your Best Seedlings to Date
Each year I learn more and more about how to successfully start seeds. I hope you take these tips I’ve learned over the years and grow your best seedlings yet. Or if you haven’t tried seed starting yet, I hope you do! It’s very rewarding and gives me a robust garden every year.
If you’re interested in seed saving at the end of the season, I encourage you to give it a try as well. Saving seeds from successful plants is the best way to develop plants that grow great in your climate. Each year your plants will become better adapted and hardier. Better yet, you don’t have to buy them again! The ultimate cost saver in growing from seed.
Check out my post on How to Save Marigold Seeds to learn how to never have to buy this important pest repelling flower ever again.
Pin It For Later ⤵️


Gosh…it’s already almost time for seed starting here and it hadn’t even crossed my mind until I saw this. Time to start getting ready. Good tips! 🙂
These are fantastic tips!
Perfect for a beginner like me! Thanks so much for this info!
Such great tips for starting ones own seedlings and so important! Especially hardening off properly in order not to loose those tiny plants one’s been babying.