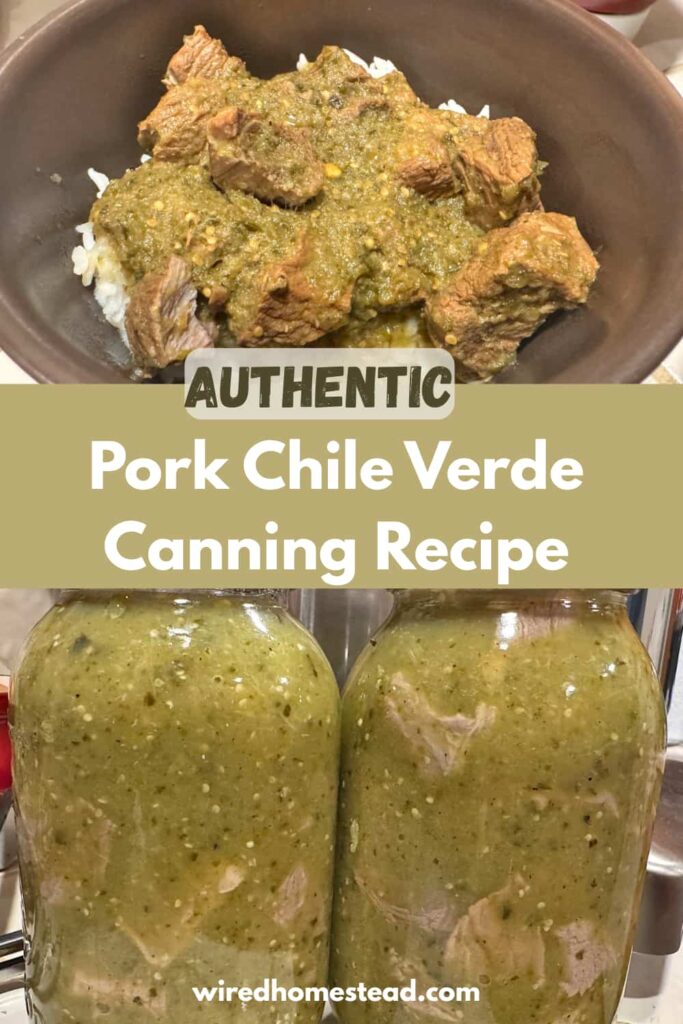
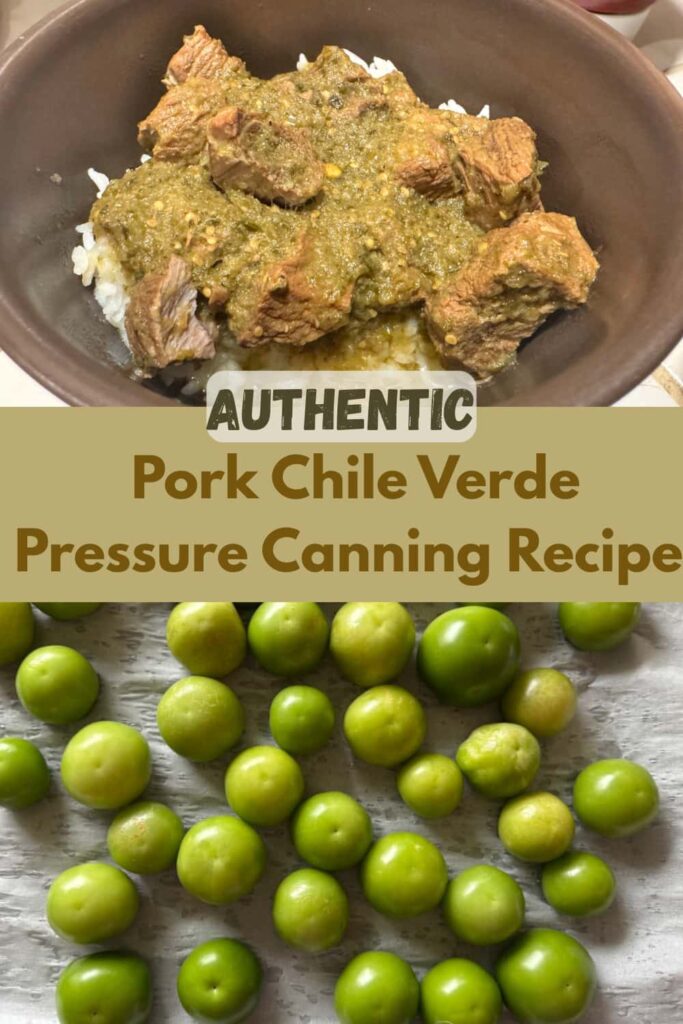
How to Pressure Can Pork Chile Verde: Ready-to-Eat Meals
If you love the spicy, savory flavor of homemade pork chile verde, imagine having jars of it ready to heat and eat on your pantry shelf! This guide will walk you through exactly how to pressure can pork chile verde safely and efficiently. Whether you’re looking to preserve a bumper crop of peppers or simply meal prep for quick dinners, we’ll cover the step-by-step process required to turn this favorite dish into a shelf-stable staple.
*As an Amazon Associate I may earn from qualifying purchases at no cost to you.
Pin It For Later ⤵️
Ingredients
- 3 1/4 lbs tomatillos
- 3 large poblanos
- 2 jalapenos
- 1 large onion
- 4 cloves garlic
- 6 1/2 – 7 lbs pork shoulder
- 2 Tbsp coriander
- 2 Tbsp Cumin
- 2 tsp salt
- 3/4 tsp pepper
- 2 c. chicken broth
Equipment
- 12 quart or larger stock pot.
- Ladle
- Canning funnel
- Pressure canner with rack – I use this Presto Canner and I love it!
- 12 Pint or 6 quart jars
- A paper towel or clean cloth dampened with vinegar to wipe jar rims
- Canning lids (either regular or wide mouth depending on your jars) I love ForJars brand lids.
- Canning rings – either regular mouth or wide mouth to match your lid size
- Canning Tongs
- A table or counter surface to let your jars cool for 24 hours
Tips for Pressure Canning Safely
Before we get started, I wanted to talk about canning safely. This recipe is a low acid food (ph > 4.6), therefore it must be pressure canned. You cannot pressure can in an Instant Pot or pressure cooker, you must use an actual pressure canner. I have a Presto 16 quart canner and it works great for me.
If your pressure canner uses a rubber gasket or other rubber parts, like the Presto models, check them before canning to ensure they are not cracked or stiff. It’s best practice to replace the rubber parts every year.
Most pressure canners come with a dial gauge to monitor the pressure. The gauge must be checked every year to make sure it is accurate. Some county extension offices will check them for a small fee. I recommend forgoing the dial gauge and getting a weighted gauge if your canner didn’t come for one. I have this weighted gauge for my canner and love it. The benefit of a weighted gauge is that it uses physics to determine the pressure in the canner. There’s no need to get it checked so it eliminates the hassle of a dial gauge. I highly recommend them.
Follow the directions exactly. Things like using the exact headspace and cleaning the jars can’t be missed. Venting before building pressure, and letting the canner slowly release the pressure are extremely important. Don’t skip any of the steps or your final product may not turn out safe.
Finally, inspect all jars before using and verify the lids are still sealed. Do not use any jar that shows signs of bulging, gas build-up, or looks or smells odd. If in doubt, throw it out.
How to Prepare Pork Chile Verde for Canning
Preheat the oven to 350ºF (180ºC).
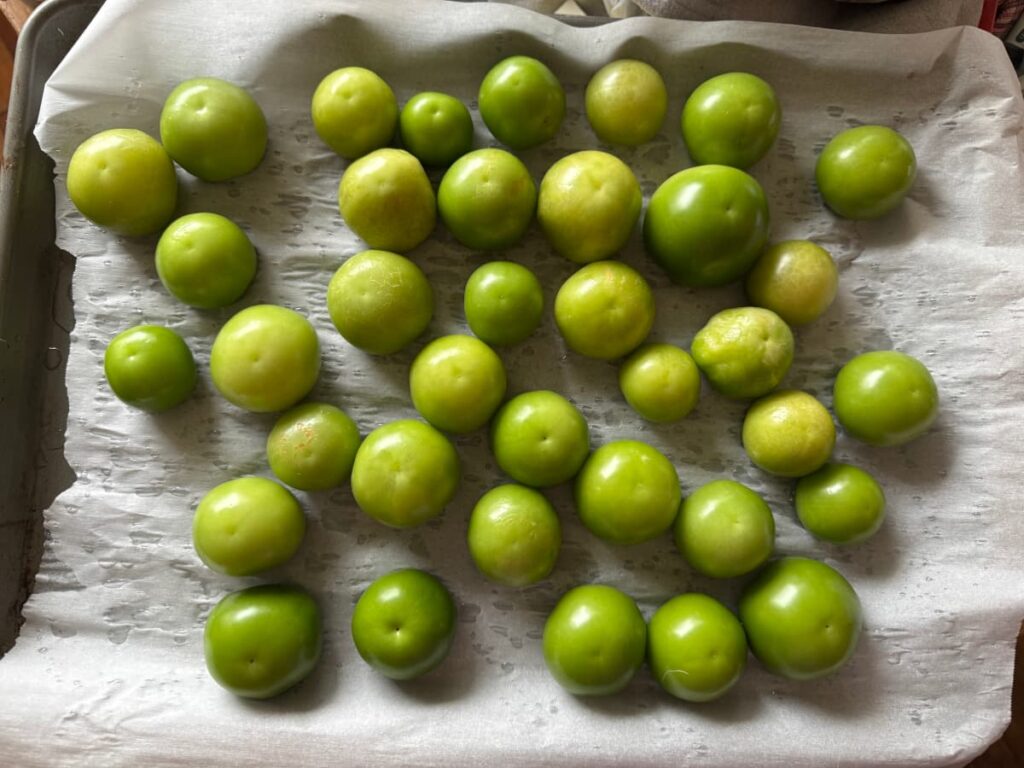
The first step is to roast the chiles, onions, and tomatillos. Roughly chop the onions and place them on a tray with the tomatillos. Place the peppers on a separate tray. Put them in the oven until they start to soften. This gives them a really nice roasted flavor that will give your chile verde a flavor boost.
While those are roasting, cut the pork shoulder into 1 inch pieces.
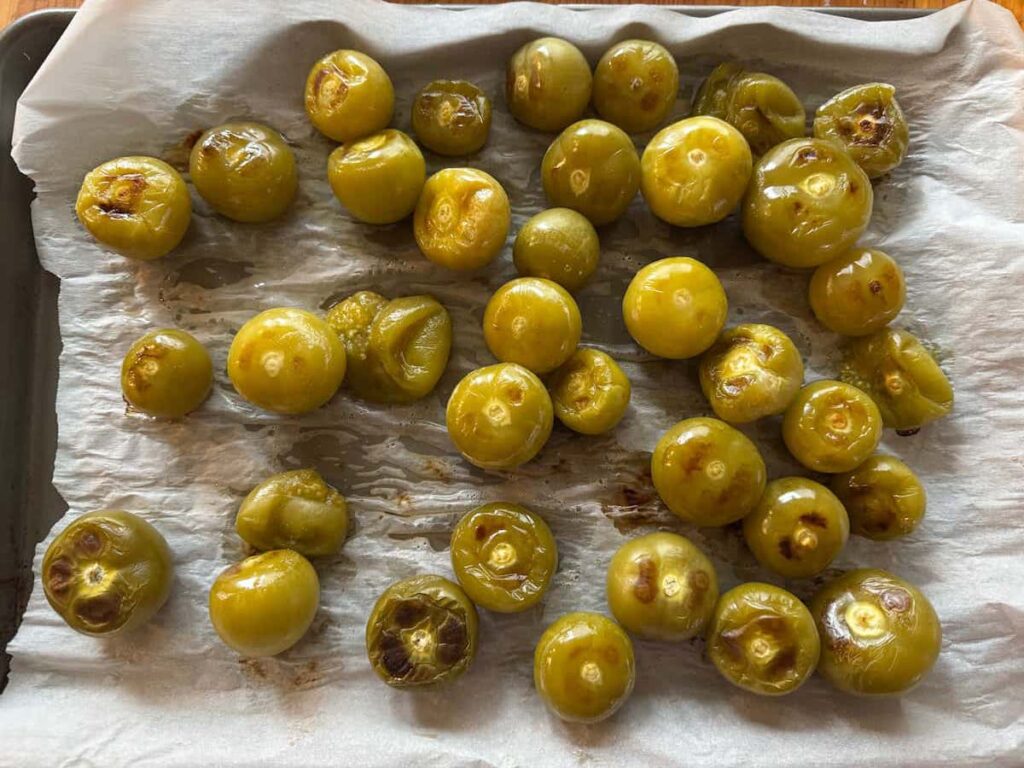
When the peppers, onions and tomatillos are roasted, take out the tomatillos and onions. Turn on the broiler real quick with the pepper still in the oven and blister the skins. Take out the peppers and let them cool slightly so you can touch them.
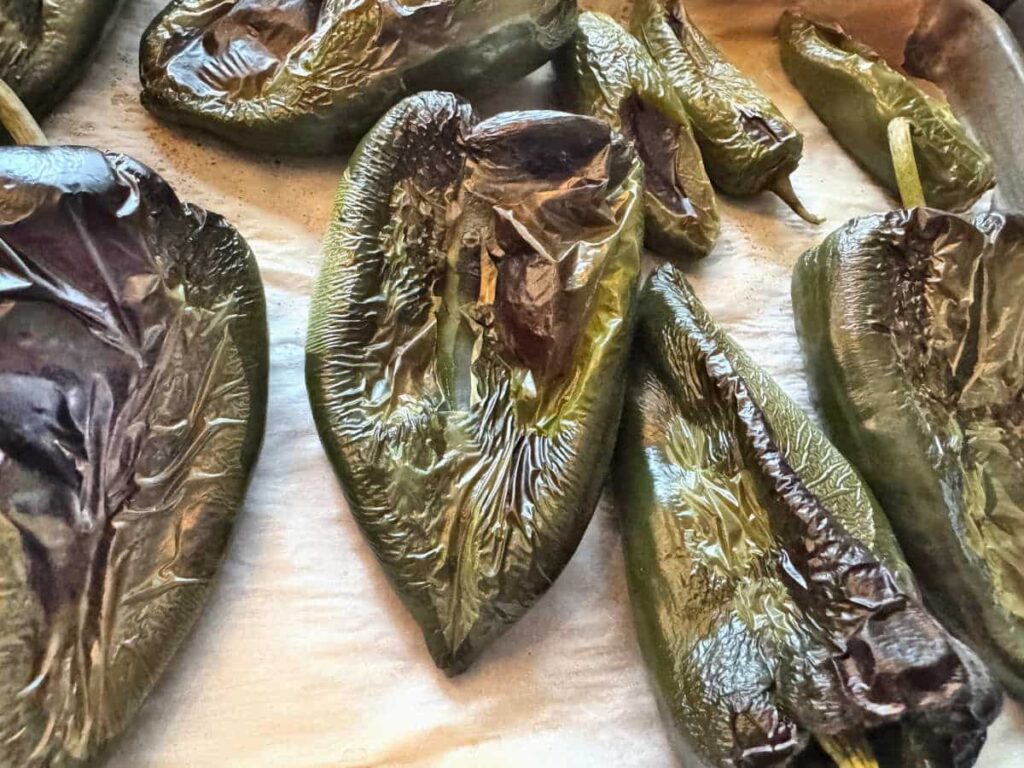
Once the peppers are cool enough to touch, peel what you can of the skins off. You aren’t likely to get all the skin, but just getting some will be fine. This helps prevent a bitter taste that the skins can cause.
Add the tomatillos, onions, peppers, and garlic to a blender and blend until smooth.
Pour the blended vegetables into the stock pot. Add the broth, seasonings, and diced pork.
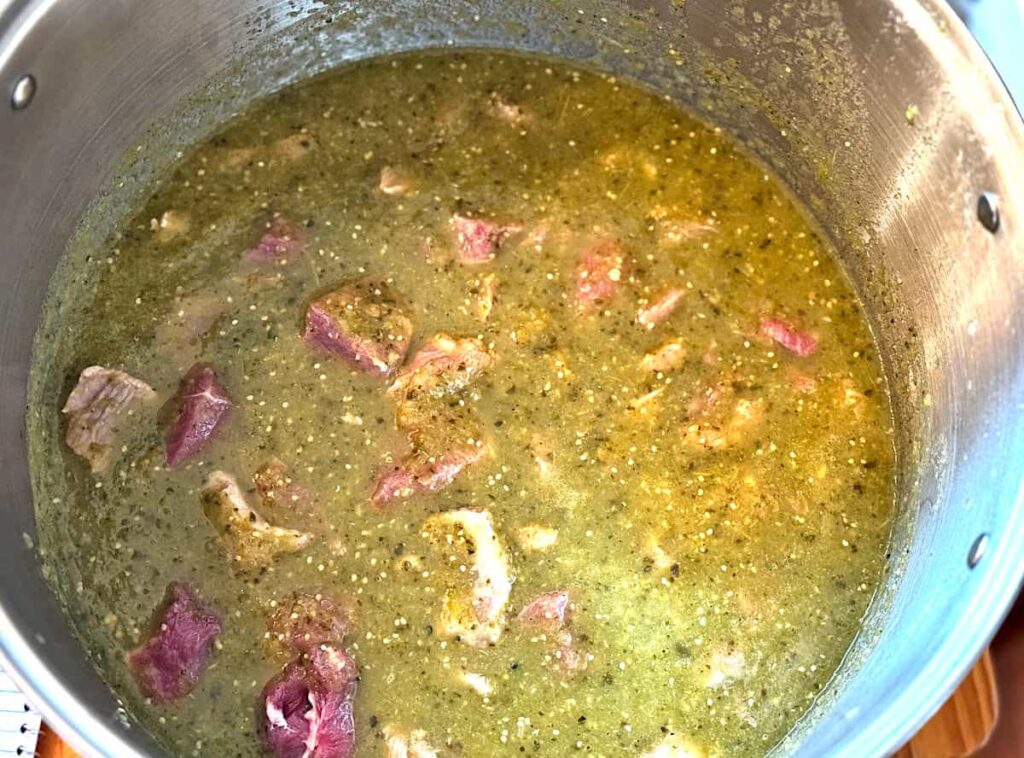
Heat until hot, but do not boil. Everything will cook in the pressure canner. The goal here is to get the chile verde hot but not cook anything.
While the chile verde is heating, prepare your canner and heat the jars.
How to Pressure Can Pork Chile Verde
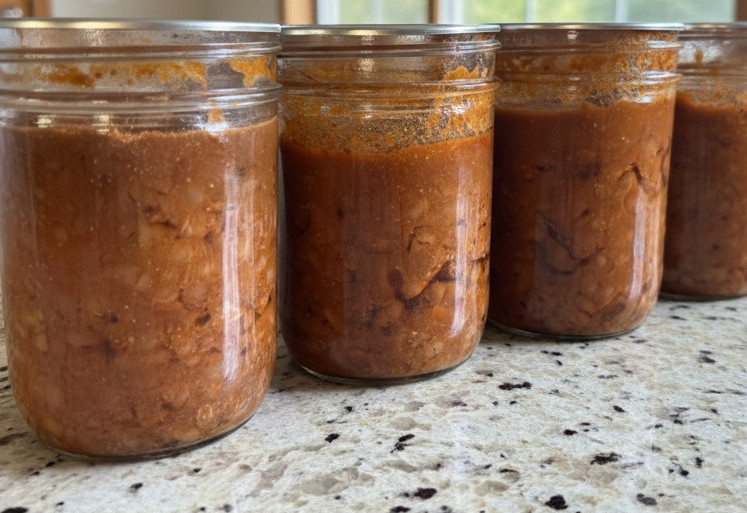
1. Hot Packing the Jars
- While the chile verde is hot, ensure your jars are clean and warm.
- Use a spoon or ladle to loosely fill the jar, leaving a 1 inch headspace.
- Remove any air bubbles using a non-metallic utensil. I usually use a chopstick but any thin, non-metalic utensil will work. Non-metalic is important to avoid any potential micro scratches in the glass. Check and adjust the liquid level to maintain the 1-inch headspace.
- Wipe the rims of the jars clean with a clean, damp cloth or paper towel. Use vinegar instead of water. Since this is broth based, the vinegar will clean the rim better than water.
2. Pressure Canning the pork chile verde
- Prepare Canner: Place the canner rack in the bottom of the pressure canner. Add the amount of hot water recommended by your canner manufacturer (usually 2 to 3 inches).
- Load Canner: Using the jar lifter, carefully place the hot jars onto the rack in the canner. Lock the canner lid into place, but do not put the weight or pressure regulator on yet.
- Vent the Canner: Turn the heat to medium-high. Once the canner is steaming, allow steam to escape steadily from the vent pipe for 10 full minutes. This is called venting and is crucial to ensure all air is removed from the canner. If the air isn’t removed, then the pressure inside the canner will not be correct.
- Place your canner weight or pressure regulator on the vent pipe once the 10 minutes are up.
- Allow the pressure to rise to the correct amount for your altitude. I’m below 1,000 feet so my pressure is set at 10 lbs with a weight, or 11 lbs with a dial gauge.
| Altitude (Feet) | Pressure (Dial Gauge) | Pressure (Weighted Gauge) | Processing Time (Quarts/Pints) |
| 0 – 1,000 | 11 PSI | 10 PSI | 90 / 75 minutes |
| 1,001 – 2,000 | 11 PSI | 10 PSI | 90 / 75 minutes |
| 2,001 – 4,000 | 12 PSI | 15 PSI | 90 / 75 minutes |
| 4,001 – 6,000 | 13 PSI | 15 PSI | 90 / 75 minutes |
- Adjust the heat as necessary to keep the pressure steady for the entire time. If the pressure drops below the required level at any point, you must bring it back up and restart the processing time from the beginning.
3. Depressurize and Cool the Jars
After the processing time is over, you must let the canner depressurize on its own. Rushing this process will cause siphoning of liquid out of the jars and may make them unsafe.
- Cool Down: After the processing time is complete, turn off the heat and allow the canner to cool naturally until the pressure returns completely to zero (the gauge reads ‘0’ and/or the safety plug drops). Do not rush the cooling process by removing the weight or opening the vent. This can cause liquid to siphon out of your jars.
- Open Canner: Once the pressure is at zero, wait an additional 10 minutes before slowly removing the weighted gauge or opening the vent. Unfasten the lid, lifting it away from your face to avoid steam burns.
- Remove Jars: Wait 5 more minutes, then use the jar lifter to carefully move the jars to a towel lined countertop or another surface they can sit undisturbed. Leave space between the jars so air can move in between for proper cooling.
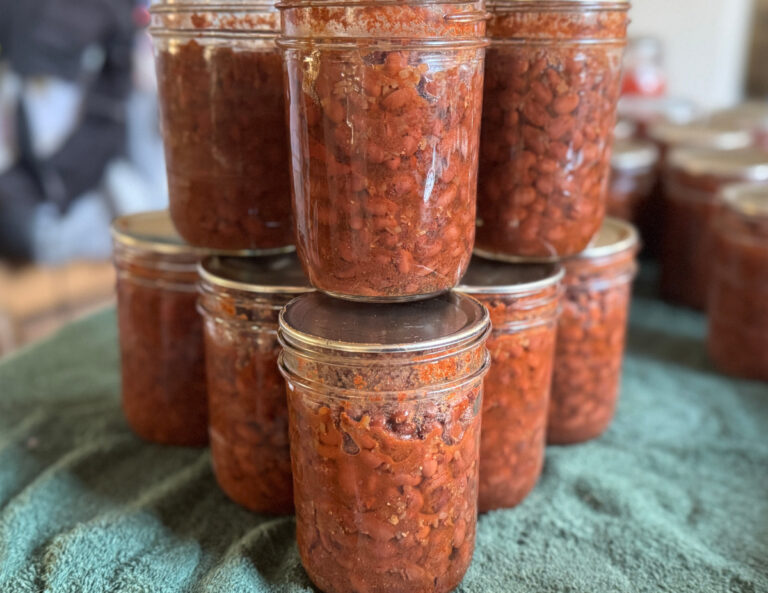
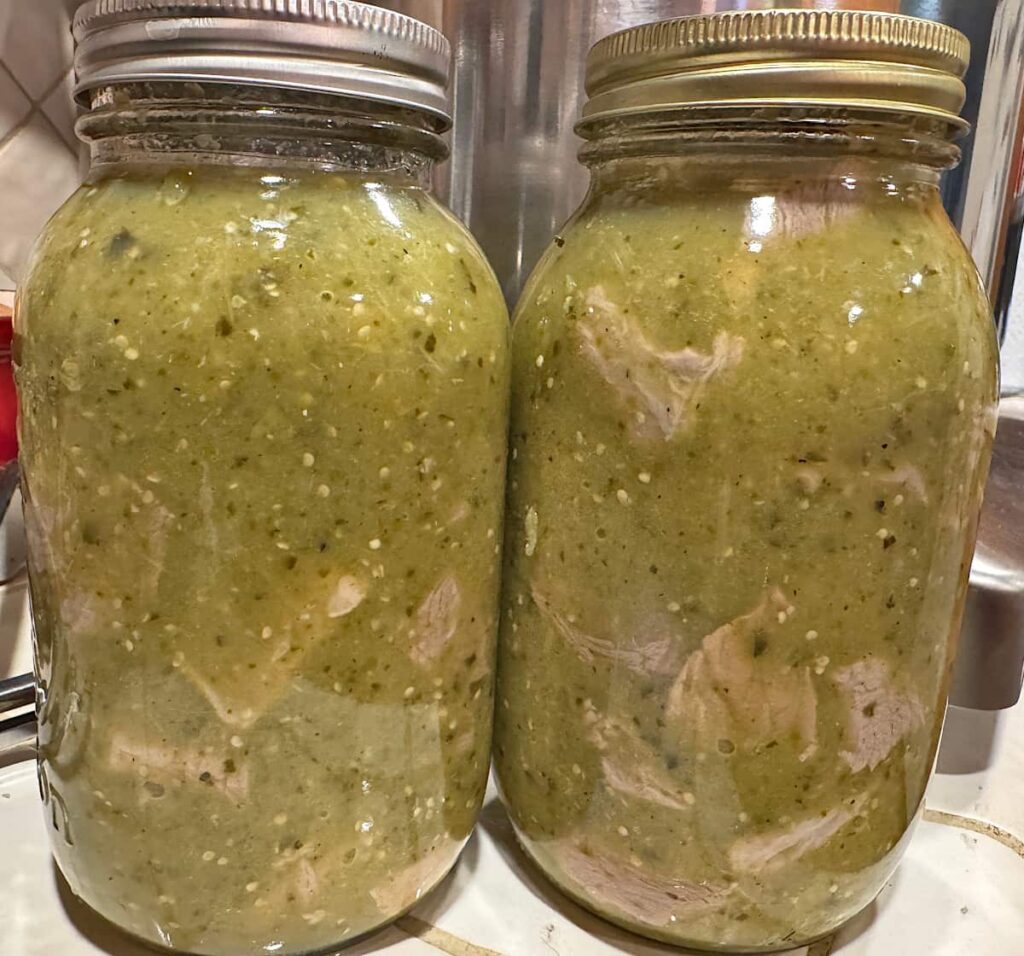
- Final Seal: Let the jars cool undisturbed for 12 to 24 hours. You may hear the ping sound as the lids seal, but that is not always the case.
- Check Seals: After 12-24 hours, remove the screw bands. Press the center of each lid. If the lid is firm and doesn’t flex, the jar is sealed.
- Store: Wash sealed jars, label with the contents and date, and store in a cool, dark, dry place. If you have any unsealed jars they must be refrigerated and used within the week.
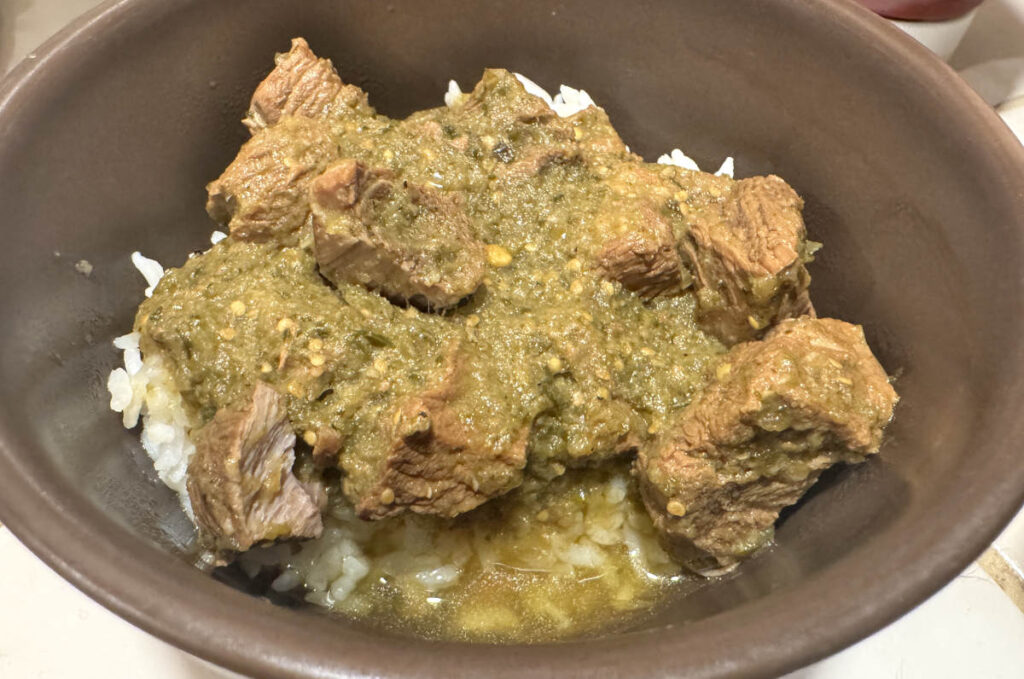
Time to Enjoy Your Pork Chile Verde!
Now that you know how to pressure can pork chile verde, you might be wondering “now what do I do with it?” I love serving it over rice. The rice soaks up the broth of the chile verde and makes for a wonderful, hearty meal. It’s also really good in a burrito. Or shred the the pork into a tortilla with cheese and beans, top with the sauce, and bake to melt the cheese for a delicious enchilada. You can also just serve it in a bowl as stew.
Other creative ways to use pressure canned pork chile verde is to top eggs for a spicy and delicious breakfast. Shred the pork and put it on a toasted bun, top with cheese and sauce, for a wonderful torta. You could also top some loaded nachos with it. So many possibilities!
Add a comment on how you like to eat pork chile verde! I’d love to hear even more ideas.

Frequently Asked Questions
Q: Why must I use a pressure canner for this recipe?
A: Pork chile verde is a low-acid food due to the meat and many vegetables. The only safe way to preserve low-acid foods and destroy spores like Clostridium botulinum is by heating them to temperatures higher than boiling water. Only a pressure canner can reach the necessary temperatures, typically 240ºF, 115.5ºC.
Q: Can I substitute chicken for the pork in this pressure canning recipe?
A: Yes, you can safely substitute cubed chicken (or beef) for the pork. Follow the same preparation method (raw pack or hot pack) and use the same processing times and pressure settings for meat (75 minutes for pints, 90 minutes for quarts).
Q: Can I add beans, corn, or potatoes to the jars?
A: Yes, you can. Processing time will remain the same. Make sure the beans have been properly prepared with an overnight soak and a 30 minute boil before adding to the chile verde. Potatoes must be raw and cubed, they cannot be mashed. It’s best to soak them overnight, as well, to reduce the amount of starch.
Q: How long will pressure canned pork chile verde last?
A: When properly processed and sealed, the chile verde is considered shelf-stable and safe to eat for at least one year. For the best quality and flavor, try to consume it within 12 to 18 months.
Q: Why did my jars lose liquid (siphon) during the canning process?
A: Liquid loss, or siphoning, is usually caused by rapid changes in pressure or temperature. This can happen if you heat the canner too fast, cool it down too quickly, or if you didn’t leave the recommended 1-inch headspace when filling the jars. As long as the lid is still sealed and there is at least half of the liquid remaining, the food is safe to eat, but it should be prioritized for earlier use.
Q: What is the best cut of pork to use for chile verde canning?
A: Pork shoulder (Boston butt) is the preferred cut. It has the right amount of fat and connective tissue to remain moist and tender after the long pressure cooking time in the canner.
Q: My gauge shows the pressure dropped during processing. Is the food still safe?
A: No. If the pressure drops below the recommended PSI at any point during the processing time, you must immediately bring the canner back up to the correct pressure and restart the timing from zero. Undercooked canning is unsafe.
Pin It For Later ⤵️
More Canning Recipes:
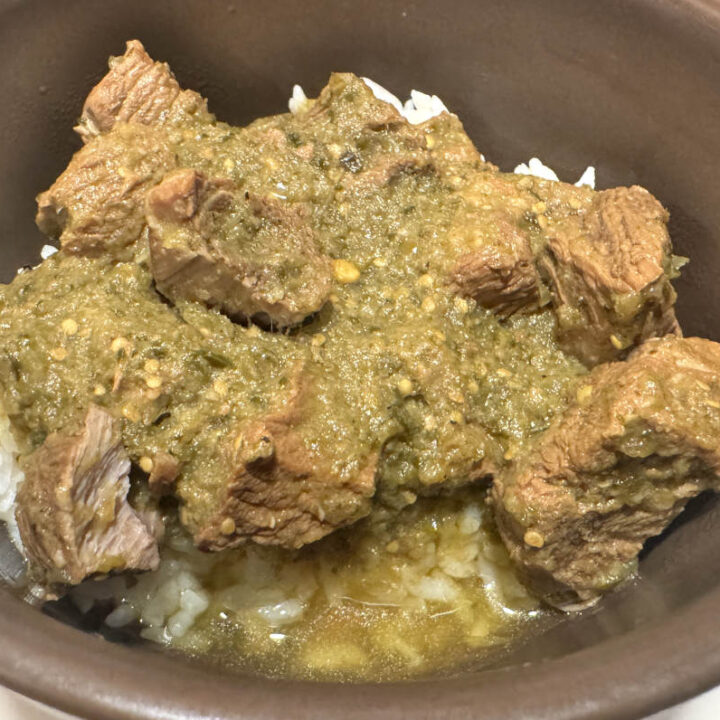
Pressure Canned Pork Chile Verde
Create a healthy, delicious meal that's ready to serve on even the busiest of days. This shelf stable pork chile verde is the perfect grab and go meal and can be served in many different ways. Use it for breakfast, lunch, or dinner for a nutritious and delicious Mexican inspired dish.
Ingredients
- 3 1/4 lbs tomatillos
- 3 large poblanos
- 2 jalapenos
- 1 large onion
- 4 cloves garlic
- 6 1/2 - 7 lbs pork shoulder
- 2 Tbsp coriander
- 2 Tbsp Cumin
- 2 tsp salt
- 3/4 tsp pepper
- 2 c. chicken broth
Instructions
1. Preheat the oven to 350ºF (180ºC).
2. The first step is to roast the chiles, onions, and tomatillos. Roughly chop the onions and place them on a tray with the tomatillos. Place the peppers on a separate tray. Put them in the oven until they start to soften. This gives them a really nice roasted flavor that will give your chile verde a flavor boost.
3. While those are roasting, cut the pork shoulder into 1 inch pieces.
4. When the peppers, onions and tomatillos are roasted, take out the tomatillos and onions. Turn on the broiler real quick with the pepper still in the oven and blister the skins. Take out the peppers and let them cool slightly so you can touch them.
5. Once the peppers are cool enough to touch, peel what you can of the skins off. You aren't likely to get all the skin, but just getting some will be fine. This helps prevent a bitter taste that the skins can cause.
6. Add the tomatillos, onions, peppers, and garlic to a blender and blend until smooth.
7. Pour the blended vegetables into the stock pot. Add the broth, seasonings, and diced pork.
8. Heat until hot, but do not boil. Everything will cook in the pressure canner. The goal here is to get the chile verde hot but not cook anything.
9. While the chile verde is heating, prepare your canner and heat the jars.
10. Ladle chile verde into the hot jars leaving 1 inch headspace.
11. Pressure can according to your altitude: 75 minutes for pints, 90 minutes for quarts