How to Prepare Soil For Planting And Maximize Growth This Season
If you want consistent harvests, soil preparation is not optional. It is the foundation of every good garden. Preparing garden soil for spring planting is about rebuilding its structure, feeding the soil biology, and correcting imbalances before seeds you ever put a seed or plant in the ground. Let’s walk through how to prepare soil for planting in a way that works with biology instead of against it. Plants do not struggle because they lack products. They struggle because their root environment is poorly structured, compacted, or biologically inactive.
*As an Amazon Associate I may earn from qualifying purchases at no cost to you.
Step 1: Wait Until the Soil Is Ready
One common mistake gardeners make is working soil when it is still too wet. Wet soil compacts easily, and compaction reduces the amount of porous space available for oxygen. Roots and soil microbes both require oxygen to survive. When the amount oxygen available in the soil disappears or greatly diminishes, microbial life declines and plants struggle to thrive.
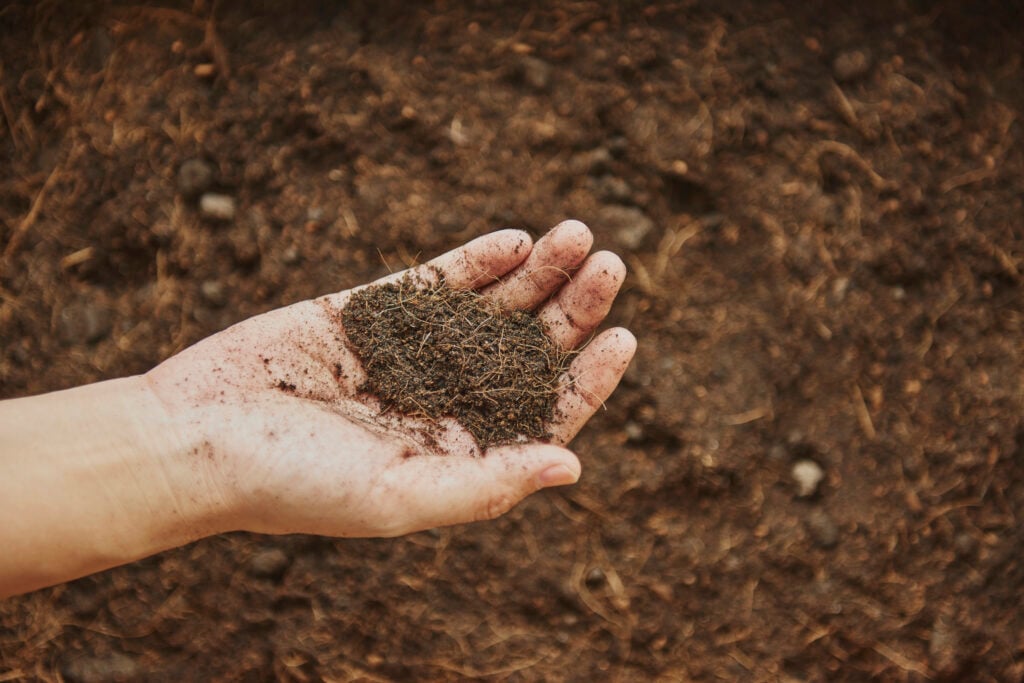
To test your soil readiness, take a handful of soil and squeeze it. If it forms a tight ball that does not crumble when pressed, it is too wet. But if it breaks apart easily, you can begin working it.
If you are unsure about timing, check for your last frost date. If you’re not sure how to find it, see this post Growing Seasons: A Beginner’s Guide to Successful Gardening for more information. You’ll want to start amending the soil before your last frost date, and especially before you start planting anything. Aim for amending the soil 1-2 weeks before you plan on planting in it.
But remember: both soil temperature and moisture matter more than calendar dates.
Step 2: Test Before You Amend
Before adding anything, understand what your soil already contains.
Testing answers three key questions:
- What is the pH?
- Are macronutrients deficient or excessive?
- Does your soil contain adequate micronutrients?
- Is organic matter low?
Most vegetables prefer a pH between 6.0 and 7.0. Outside that range, nutrients become less available to the plant, even if they are present.
If you have not tested your soil before, this is the season to start. A basic soil test prevents over-application of amendments and protects long-term soil balance. You can usually pick up a soil test from your local hardware store. Or you can get a really good one from Redmond Agriculture, the same company that sells Redmond Real-Salt. Amazon also sells test kits, but make sure that the kit is for your country. The My Soil Test Kit is a great option, but it is only for people in the U.S.
Step 3: Clear the Bed Intentionally
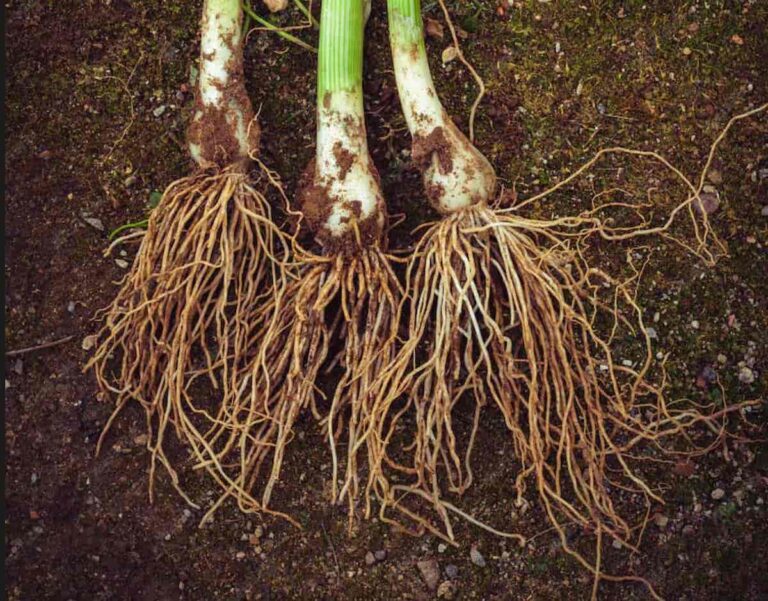
You’ll want to start by removing old plant debris, especially anything diseased. Ideally this would be done in the fall, but if you didn’t get to it that’s okay. You can still do it in the Spring. However, it’s good practice to leave the roots in the soil. Healthy roots can remain in the soil to decompose. As they break down they feed soil microbes, improving your soil ecosystem.
Soil pathogens thrive in poorly drained, compacted environments. Preparation reduces that risk significantly. If you’ve ever suffered from tomato diseases or any other plant disease, these steps will help you prevent future infections.
Take note of what you planted and where last season. If you had disease issues the previous year, it’s best to rotate crops so you do not spread that issue to your plants this year. The soil needs time to rebuild and create an inhospitable environment for the pathogens.
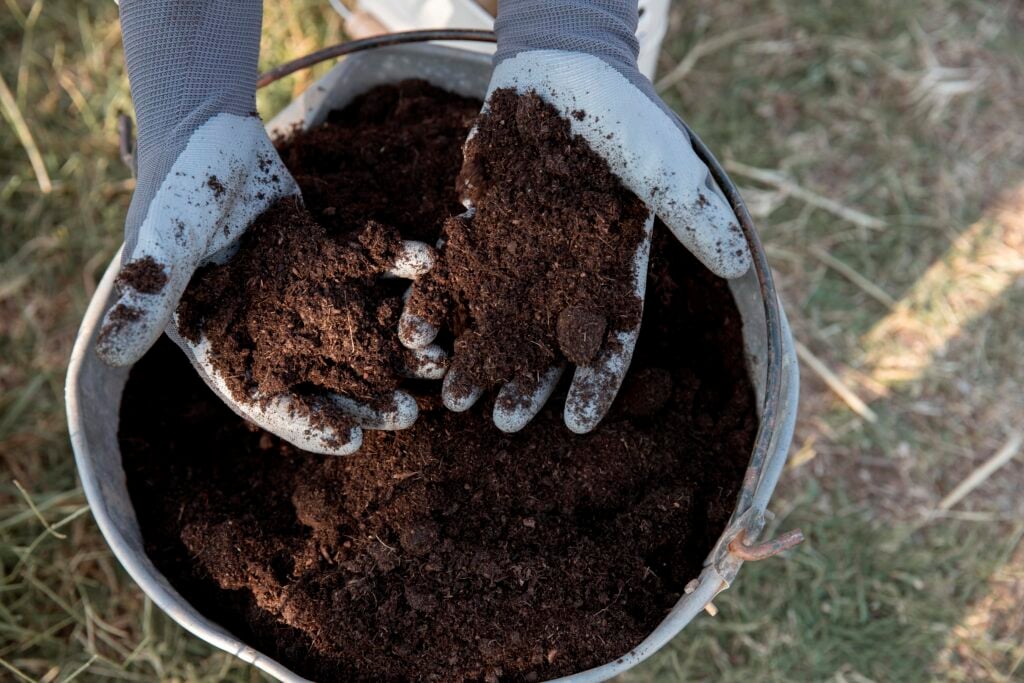
Step 4: Improve Soil Structure With Compost
If you only add one thing in spring, make it compost.
Compost improves:
- Soil aggregation
- Water retention in sandy soils
- Drainage in clay soils
- Microbial diversity
- Slow-release nutrient availability
The best compost for spring garden beds is fully finished, dark, and crumbly with no strong odor. You can get bagged compost from a local garden store. But if you check with your community you may be able to get some for free. Animal manure from a local farm that’s been aged at least 6 months is a great option. I’ve grown some of my best gardens in aged and composted horse manure I got for free from a local farm.
Apply 1 to 2 inches of compost across the surface and gently incorporate into the top 4 to 6 inches of soil.
Try to avoid replacing native soil entirely with bagged topsoil if you can. Structure matters more than appearance. You are building a living system, not filling a container.
If you are also working on long-term soil health, you may find the information in Practices That Damage Soil Biology & How To Rebuild It useful. In this post we discuss how to rebuild microbial activity.
Step 5: Loosen Without Tilling
Soil structure is made of organic and inorganic matter held together by fungal networks and microbial byproducts. Tilling destroys those aggregates. It also destroys the pathways that allow air into the soil and water to absorb into, and drain from, the soil.
If your soil is compacted, use a broadfork or garden fork to gently lift and aerate without flipping layers. This improves root penetration while preserving microbial habitat. If you work on improving your soil, eventually you will not need to use anything. The soil will stay loose, even if you were to jump on it.
Most of the time, loosening to a depth of 8 to 12 inches is sufficient for most vegetables.
Step 6: Add Targeted Amendments Only If Needed
After compost, consider targeted adjustments based on your soil test:
- Agricultural lime if pH is too low
- Elemental sulfur if pH is too high
- Bone meal if phosphorus is deficient
- Blood meal if nitrogen is low
This step answers the question many gardeners ask: when to amend garden soil in spring? Ideally you amend after testing and before planting, giving materials time to integrate with soil moisture and biology.
If you haven’t tested, just add compost and watch your plants. They will start showing you as they grow if they are missing a key nutrient in the soil.
Avoid applying high-nitrogen synthetic fertilizers before seeds emerge. Excess soluble nitrogen can damage seedlings and disrupt soil microbes.
Step 7: Allow Soil to Settle and Warm
After preparation, allow soil to rest for one to two weeks before planting whenever possible.
To warm soil naturally:
- Rake beds smooth and level
- Avoid heavy mulch until soil temperatures rise
- Use black landscape fabric temporarily if soil is very cold
Understanding soil temperature is part of knowing how to tell if your plants are stressed. Cold soil slows root growth, even when air temperatures feel mild.
Spring Soil Preparation Checklist
- Confirm soil is not too wet
- Test soil pH and nutrients
- Remove diseased debris and any other plant debris on the soil surface
- Apply 1 to 2 inches of finished compost
- Loosen soil gently without aggressive tilling (only if needed)
- Add targeted amendments if needed
- Allow soil to settle and warm
Now Your Soil is Ready For Planting
Now that you’ve done all the prep work, it’s time to see if it’s ready to plant. See 6 Simple Signs Your Soil Is Ready To Plant to determine if your prepared soil is now ready to plant in. Preparing the soil is step #1, now it’s time to get planting!
Frequently Asked Questions
Q: When should I start preparing soil for spring planting?
A: Prepare soil for planting once it is workable and no longer soggy. The soil should crumble easily when squeezed but not form a sticky ball. Working soil too early risks compaction, which limits root growth and reduces oxygen for soil microbes. Timing often depends on your local climate, so checking soil texture is more reliable than following a calendar date. Start checking the soil about 3-4 weeks before your last frost date and check at least weekly.
Q: Do I need to test my soil before planting?
A: In an ideal world, yes. Testing your soil gives you clear insight into pH, nutrient levels, and organic matter content. Without testing, amendments are guesses, which can create imbalances or unnecessary work. Understanding your soil allows you to make targeted improvements that support healthy plant growth and long-term soil biology.
Q: Should I fertilize before planting vegetables?
A: Adding compost is often sufficient for balanced soil. Additional fertilizer should only be applied if a soil test indicates that your soil is deficient in a specific nutrient and adding compost does not correct it.
Q: How much compost should I add to my garden soil in spring?
A: Apply 1 to 2 inches of fully finished compost and mix it into the top 4 to 6 inches of soil. Compost improves structure, moisture retention, and microbial activity. Adding more doesn’t always help and can even temporarily tie up nitrogen. Aim for a moderate layer that integrates well with your existing soil.
Q: Can I plant immediately after adding compost?
A: Yes, if compost is fully broken down and “finished” it is safe to plant directly into it. If it is not broken down, the compost may be too “hot” for your plants. This may burn the plants and cause damage. It may also not have the nutrient availability your soil needs if it is not finished.
If you added lime or other amendments, waiting one to two weeks is beneficial.
Q: Should I till my soil in spring?
A: Frequent or deep tilling can disrupt soil structure and harm beneficial microbes. A gentler approach, such as loosening with a broadfork or garden fork, is usually enough to improve aeration and root penetration while maintaining soil health. The goal is to work with the soil, not against it.
Q: How do I improve drainage in heavy clay soil before planting?
A: Incorporate organic matter like compost to increase pore space, which helps water move through the soil more effectively. In stubborn clay, adding small amounts of gypsum or coarse sand can also improve structure. Avoid overworking the soil, which can make compaction worse.
Q: Can I mulch before planting in spring?
A: Mulch is best applied after the soil has warmed and seedlings are established. Early mulch can slow soil warming and delay root growth. It can also inhibit seedling growth if they cannot push through the mulch when sprouting. Once plants are in the ground, mulch will help conserve moisture, suppress weeds, and support soil life.
Q: Do I need to adjust soil pH before spring planting?
A: If your soil test shows it is too acidic or alkaline, adjusting pH is important because extreme pH limits nutrient availability. Use lime to raise pH or elemental sulfur to lower it. Small, targeted adjustments before planting can set the stage for stronger, healthier plants.
Q: What’s the difference between preparing soil in fall versus spring?
A: Fall preparation gives amendments like compost time to break down over winter, enriching the soil by spring. Spring preparation works too, but it requires careful timing so soil can settle and warm before planting. Both seasons support healthy soil, but fall allows a head start on building structure and biology.