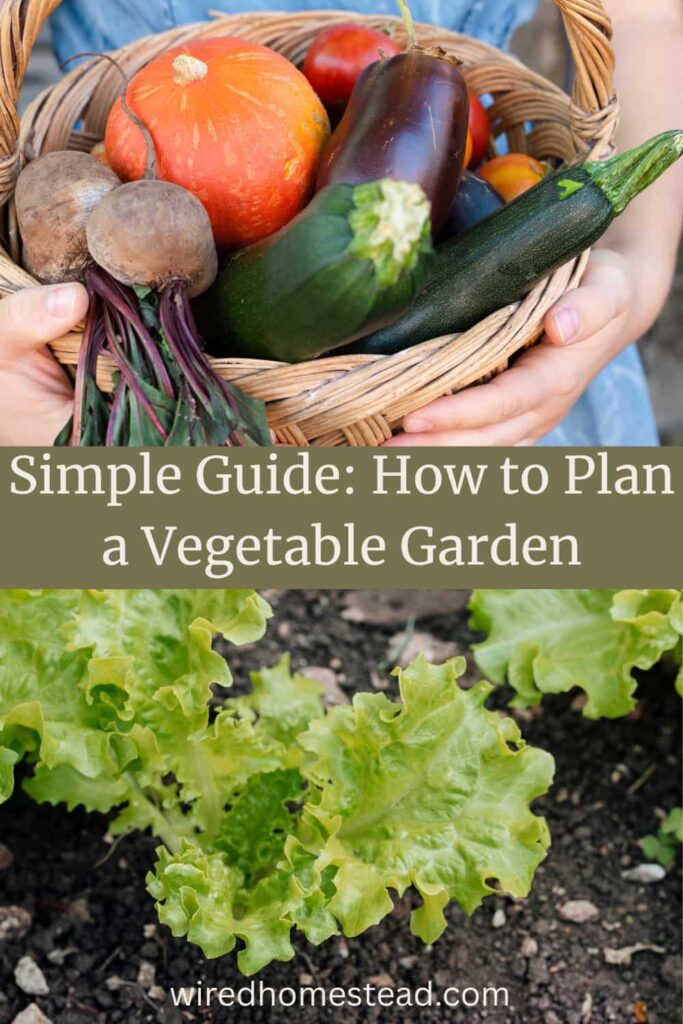
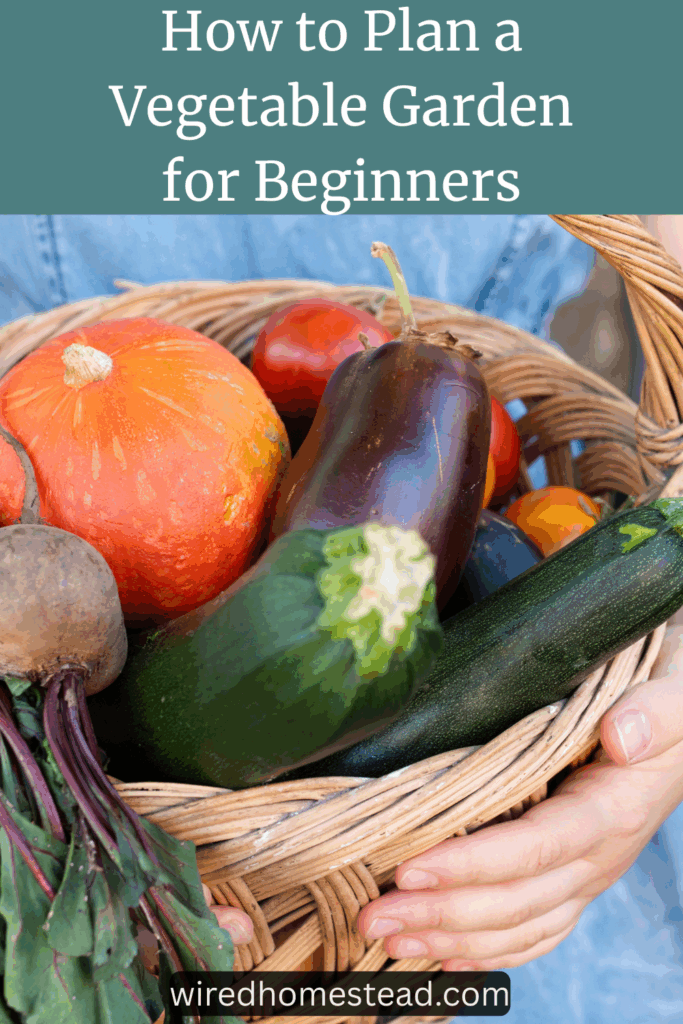
How to Plan a Vegetable Garden That Actually Produces
Planning a vegetable garden can feel overwhelming, but it doesn’t have to be. A productive vegetable garden starts long before the first seed goes into the ground. A little planning upfront helps you grow more food, waste less space, and enjoy the process instead of scrambling to fix problems mid-season. This step-by-step guide will walk you through how to plan a vegetable garden, whether you’re starting from scratch or have an established space.
Pin It For Later ⤵️
Why Planning a Vegetable Garden Matters
Many beginner gardeners skip the planning stage and plant wherever there’s room. While that can work, and I’ve done it before many times, it can often leads to overcrowded plants, poor harvests, pest issues, and a feeling of frustration.
Planning your vegetable garden will help you:
- Use your space efficiently
- Plant vegetables at the right time
- Avoid common beginner mistakes
- Grow food your family will actually eat
Think of it as setting the garden up to succeed before the season even begins.
Step 1: Start With Your Garden Space
Before choosing vegetables, take a close look at where you plan to build your garden. This is necessary whether you plant in the ground or have pots and containers spread out over a patio.
How Much Space Do You Have?
Your garden doesn’t need to be large. A small in-ground plot, a few raised beds, or handful of containers can produce plenty of food when planned well. I’ve grown in all of these scenarios and produced a lot of food in each one.
You have to start with knowing how much space you have because this will dictate what you can reasonably grow. If you have 2 4×8 garden beds, then you need to work with what will actually fit in that space.
This is the same with containers. You need to think about the amount of containers you have to grow in and how big they are. Your plan should include plants that will fit in the containers you already have (or ones you know you will get by the time the season starts).
The Amount of Sunlight Matters
Most vegetables need at least 6 to 8 hours of direct sunlight per day. Watch how the sun moves across your yard and choose the spot that has the most area with 6-8 hours of sunlight a day. Ideally you will do this throughout the year to see how sun hits it during each season. It may look very different between Spring, Summer, and Autumn which are when most people are growing vegetables.
Plan to put heat and sun loving vegetables in the sunniest spaces. Other vegetables that like a bit of shade, or cooler temperatures, can go in the shadier areas.
If you are building a garden from scratch, or thinking about moving your garden to another space, I recommend drawing a sketch of each space on your list. Sketch each space throughout the year, at least once a month morning, noon, and evening.
Note how the sun hits the space. How do the shadows move throughout the day in each season? You’ll learn which space has the sunlight your garden needs, and which areas of that space will be best for sun loving, or partial shade loving, vegetables.
Choose Your Garden Style
If you do not already have an established garden, this is your next step. Decide which of these options are going to be best for your situation.
- In-ground garden
- Raised beds
- Containers or grow bags
Each option has pros and cons, and those pros and cons may be different for each person. They can all grow plenty of food for you and your family, so there is no right or wrong answer to which one you use.
Step 2: Know Your Growing Season and Frost Dates
Understanding your local growing conditions is one of the most important steps in vegetable garden planning. It will guide when you plant, what you grow, and when you can expect to harvest.
Growing Seasons
Growing seasons are the time between your last frost date in the spring and your first frost date in the fall. The number of days between those dates is your growing season.
Don’t get this confused with growing zones. Growing zones are helpful when planting perennials, but does not have much to do with a summer vegetable garden. Unless you are planning out vegetables like artichokes, asparagus, rhubarb, etc. don’t worry about your growing zone. Read more about How To Use Growing Zones in my post on this topic.
Every vegetable seed packet (and flower seed packets, too) should have the number of days to maturity listed. This is the number of days you can expect between when your plant sprouts (or is transplanted) and when you can expect to harvest something from it. If the number of days to maturity is within the number of days in your growing season, it could be a good option for your garden. If it is longer than your growing season, look for a variety that matures earlier.
Frost Dates
To find your average last and first frost dates, go to the Farmer’s Almanac and type in your zip code. Here’s what it will look like:

These dates will help you decide when to start seeds, transplant seedlings, and plant directly in the garden. Weather can vary year to year, but these frost dates give you a reliable starting point when figuring out how to plan your vegetable garden.
Step 3: Decide What Vegetables to Grow
This is often the most fun part of planning a garden. If you are going to go overboard, here’s where that usually happens. Don’t ask me how I know! LOL
Grow What You Eat
Growing kale when your family doesn’t like kale is only going to waste space and effort in your garden. Take time to evaluate what your family actually likes to eat. Use that information to determine what vegetables are going to be best for you to grow in your garden.
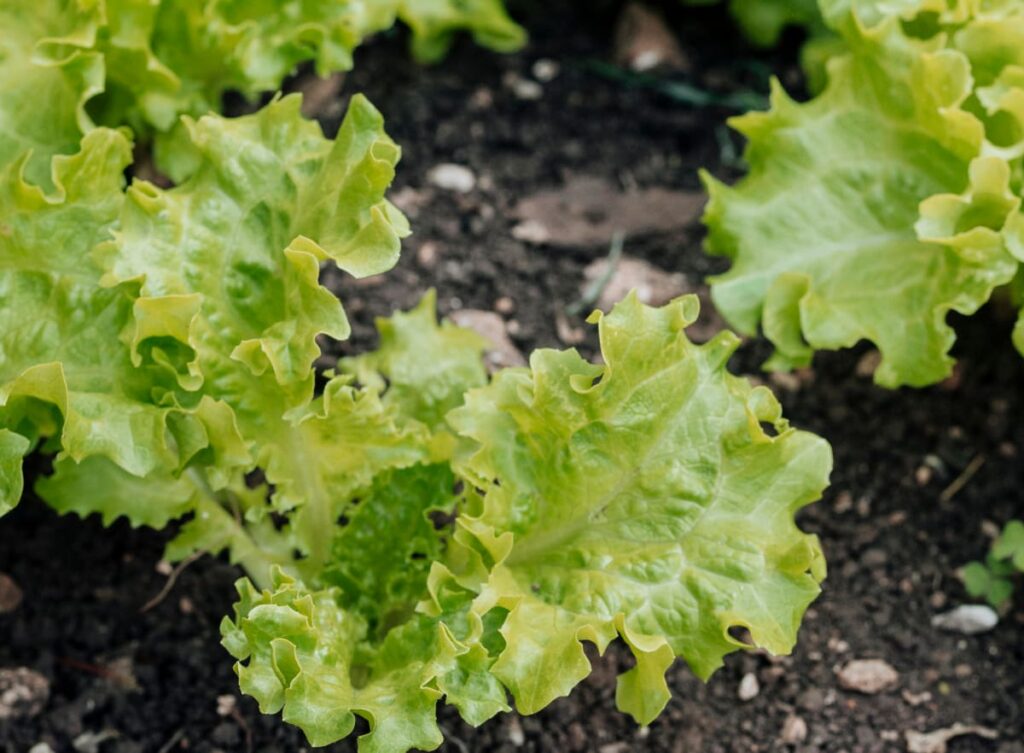
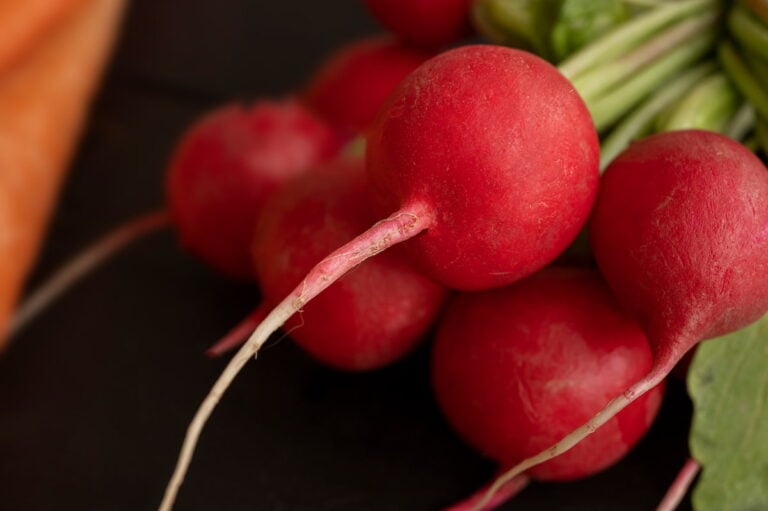
Beginner-Friendly Vegetables
If you’re new to gardening, consider starting with plants that are a little easier to grow. Starting small with easier to grow vegetables helps build confidence and experience. Both are invaluable for growing bigger and better in future years. Consider starting with these if your family eats them:
- Lettuce
- Radishes
- Green beans
- Zucchini
- Peas
- Herbs like thyme, oregano, basil, ect.
These tend to be pretty forgiving. Tomatoes are one most people like to grow, and I would encourage you to start with one or two, if you want to. Get a feel for how they grow before you go crazy. Don’t ask me how I know this, either!
How Much to Plant
There are all kinds of formulas on how to calculate how much of each vegetable to plant for your family size. However, this isn’t a one size fits all question. Maybe your family of 4 eats a lot of salads, but another family of 4 only eats them occasionally.
Evaluate what you eat more of, and plant more of that plant. Plant several rows of lettuce or spinach if you like salads. Or maybe plant several rows of green beans if your family loves those. If you eat something occasionally, plant one or two plants if you have the space after you plan for the vegetables you eat the most of.
Step 4: Plan Your Vegetable Garden Layout
Now that you know where your planting and what you’re planting, it’s time to actually plan out your garden space.
Think About Plant Size
Vegetables grow larger than they look as seedlings. Look at the recommended spacing for the plant and follow it. Even though it looks like there’s way to much space between plants when you first plant them, they will fill it in as they grow. Leaving that space when planting will help your plants grow up healthier and not overcrowded.
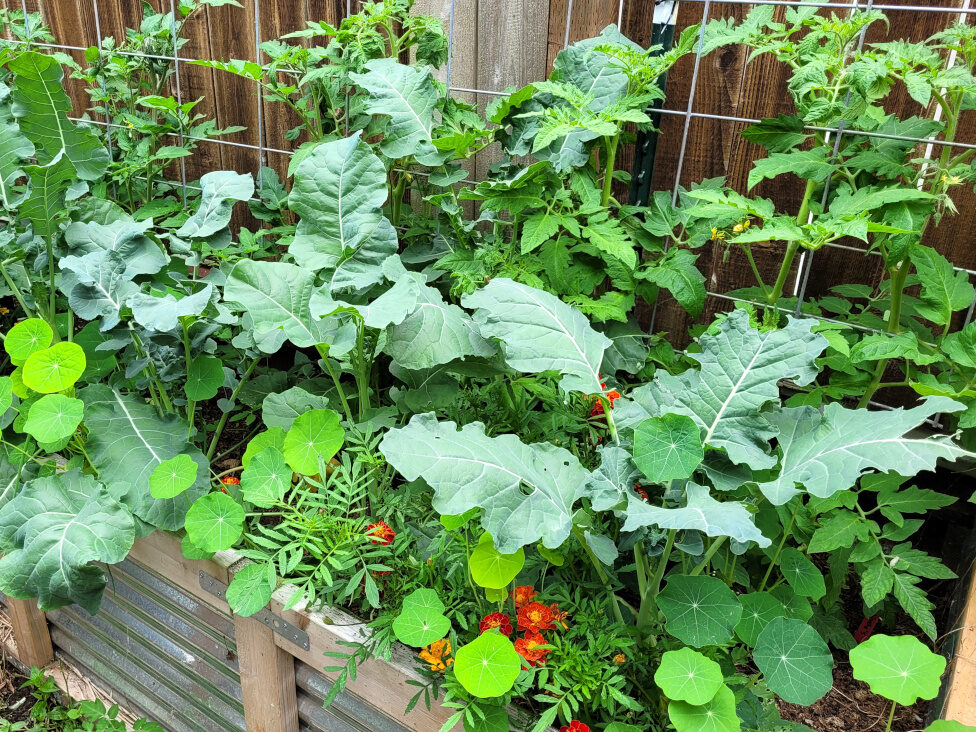
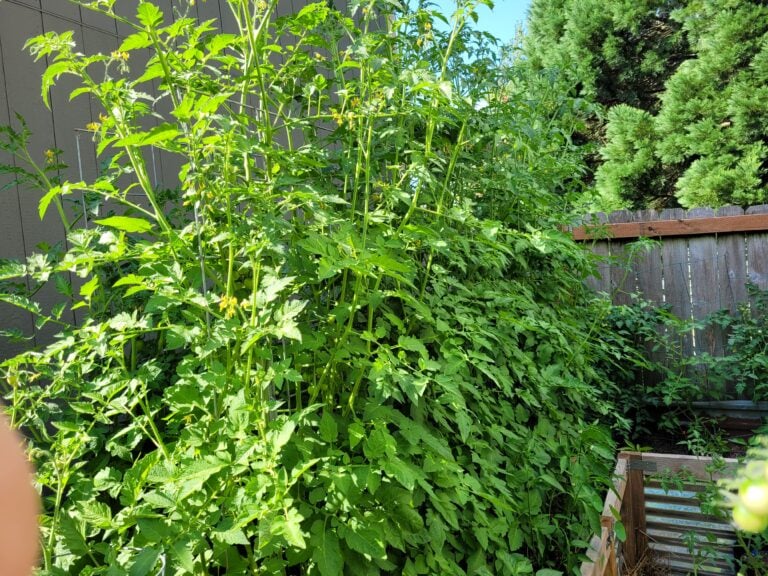
Place Tall Plants Carefully
Put taller vegetables like tomatoes, corn, and trellised beans on the north side of the garden so they don’t shade shorter plants. It’s also fun to plan shade loving plants around larger, trellised plants. Trellising cucumbers or winter squash up and planting lettuce, spinach, or other cooler season plants under them can extend how long you can grow them. These often bolt in the heat of the summer, but if you plant them under the shade of another plant it can keep them cooler and let you grow them longer.
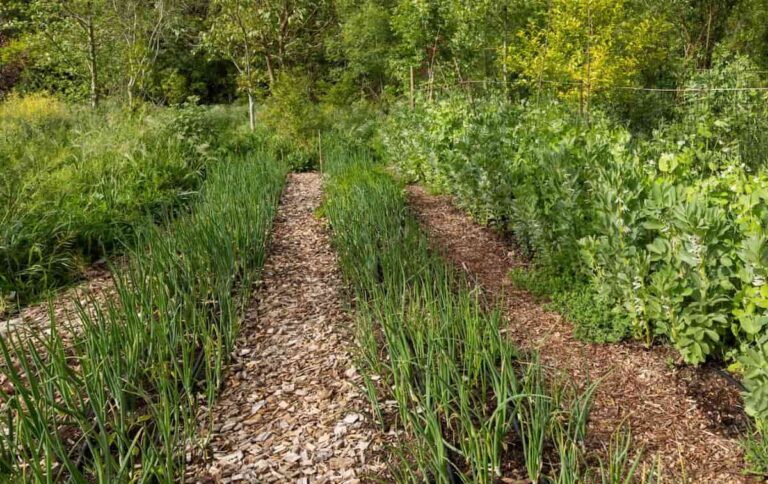
Choose a Layout Style
There are many ways you can lay out your garden. I’ve used all of these methods and have had success with all of them.
Traditional rows
This is what you think of when you think big fields of corn, beans, and other crops grown on a large scale. It can work in your smaller, home garden as well. Rows can make harvesting easy. It’s easy to get to all the plants if you leave space between the rows for you to walk up and down. This is an excellent choice if you have a large space or want to plant a lot of one particular vegetable.
This type typically has the highest time commitment of the types. You are generally planting over a larger space when doing rows. The larger the space, the more maintenance time it will need.
Square foot gardening
I used square foot gardening a lot when I had only a few raised beds to grow in. It’s a great way to grow more in a smaller amount of space. If you’re unfamiliar with this type of gardening, it was developed by a guy named Mel Bartholomew. He wrote a great Square Foot Gardening Book that I have and found really helpful.
The idea is that each plant uses a certain amount space, and you can fit a certain number of each plant in 1 square foot of space. For smaller plants, like carrots or radishes, you can fit a lot. For larger plants like zucchini you may only fit one in a 2 foot x 1 foot space. Instead of thinking in terms of rows, you think in terms of squares.
Blocks or clusters
Block or cluster planting just means planting plants densely in a cluster. Square foot gardening is a type of block gardening with a defined number of plants in each 1 foot x 1 foot square. Clusters can look like a densely planted area of lettuce where you will harvest them as baby lettuce before they large.
This can also apply to containers that are placed in clusters together to save space. Spiral or other shaped beds that are built to maximize space also fall under this gardening type.
Blocks, clusters, and square foot gardening are perfect for small areas where efficient use of the space you have is needed. Since the spaces tend to be smaller, and more densely planted, maintenance time may be reduced.
There’s no single “right” way. Choose what makes sense for your space and the amount of time you have to dedicate to taking care of the garden.
Step 5: Plan for the Growing Season
Plants are typically divided into cool season and warm season vegetables. This is determined by their tolerance to heat. Cool season vegetables don’t like heat and will bolt when it gets hot. Bolted plants won’t produce any more vegetables and become bitter tasting.
Warm season vegetables won’t grow in the cool weather. They may become stunted, not produce as much, or even die if it gets too cold. Some examples are:
Cool Season Vegetables
- Spinach
- Peas
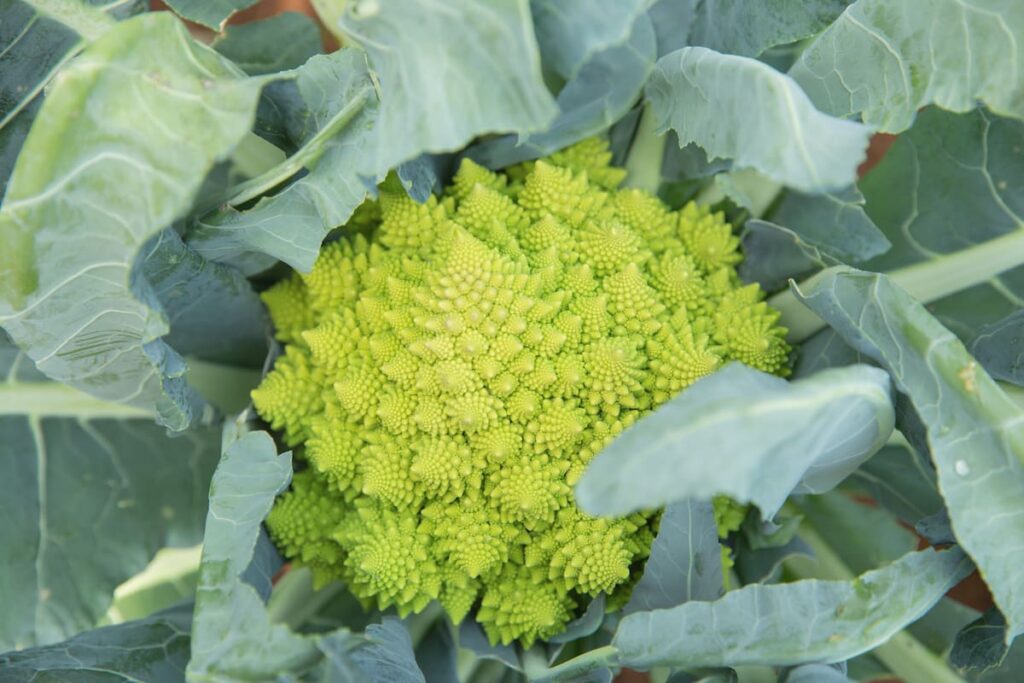
- Broccoli
- Carrots
- Kale
Warm Season Vegetables
- Tomatoes
- Peppers
- Squash
- Cucumbers
- Corn
Plant cool season vegetables in spring. You can often plant them before your last frost date hits since they can take a bit of cold and still thrive.
Warm season vegetables, however, often need planted a few weeks after your last frost date. They tend to like it when your average day time temperatures are above 70ºF and the average night time temperatures are at least 45-50ºF.
Succession Planting
If your goal is to have a steady harvest throughout the season, you can plan to succession plant. This means you’d plant a few plants every 2-3 weeks. This works great for most cool season plants. You can do it for things like tomatoes and peppers as well, but be mindful of their days to maturity so you don’t run out of time.
If you plan to preserve some or most of your harvest, it would be more beneficial to plant all of the vegetables you want to preserve at the same time. It’s easier to preserve when you have large batches and are not picking things in onesy-twosies.
Step 6: Prepare the Soil Before Planting
Healthy soil is the single most important thing you can do for your garden vegetables. Without healthy soil, nothing you do will make your plants thrive. Plants get their nutrients from the soil with help from all the microbes and fungi that live in it.
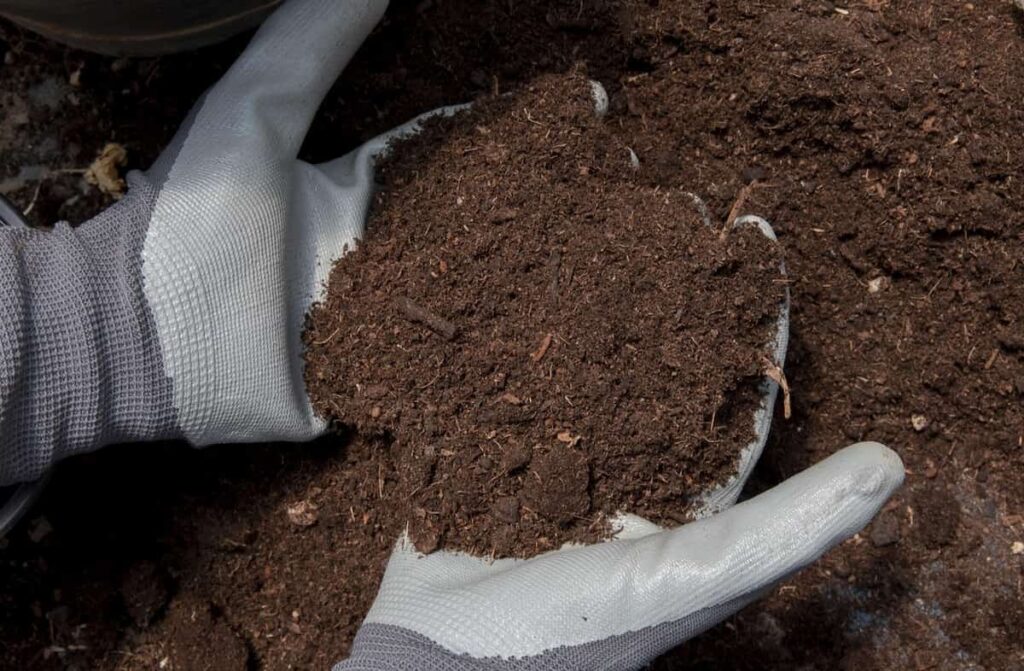
Focus on Soil Health
Add compost or well broken down manure
Compost adds nutrients back into the soil are depleted over time, either by other plants grown in the space (including weeds) and soil that has experienced erosion.
Fall, after harvest is over, is the best time to add compost. It gives the compost time to work into the soil and all the microbes to continue breaking it down. The soil will be beautiful and ready to plant in the spring.
You can also add it in the spring, there’s no harm to that. It will still work and your plants will still be able to take advantage of all the nutrients it adds. It really just makes spring planting easier to plan to do this in the fall. I am terrible at remembering in the fall, so I tend to compost in the spring.
Avoid Tilling if Possible
If you are just building a garden space, it may be beneficial to till the space to break it up and even it out. After that, try not to till. Tilling disturbs the microbial and fungi life in the soil, increases weeds by moving weed seeds to the surface, and destroys the pathways for water and oxygen to penetrate into the soil. You will end up with poorer soil, and poorer plant growth, over time by tilling every year.
Improve Drainage
Not tilling is one way to improve drainage. This is great for gardens where you plan to plant directly into the ground. If you are planting in raised beds, make sure the soil you use has good drainage. This applies to containers as well. However, with containers you also need to make sure the water doesn’t drain too fast.
While you don’t want water to pool in your garden space, you also don’t want it to leave too fast. Using mulch can help keep the water from running off too fast and not soaking into the ground. This helps improve soil moisture and reduce erosion.
Nutrient rich, properly moist soil reduces the need for fertilizers and will help your plants resist pests and disease.
Step 7: Make a Simple Vegetable Garden Planting Schedule and a Garden Diagram
A planting schedule keeps everything organized and will help you know exactly what you need to do and when. It has been one of the best things I’ve implemented to help me plan my garden.
You can do this in Excel, Google Sheets, on paper, or you can use a gardening program like Seedtime. I use Seedtime and it make everything very simple. It autocalculates my last and first frost dates. When I enter the plant and variety I want to plants, it autocalculates when to start the seeds, when to transplant, and when I should expect to start harvesting. They have a free version, as well as a paid version with expanded options.
Create a Garden Diagram
This can be as simple as a hand drawn picture on a piece of paper, or as complicated as exact measurements in a computer program. When hand drawing, I’ve found graph paper to be extremely helpful to keep lines straight and keep garden bed measurements on paper close to the actual garden bed measurements.
This is another feature I now do in Seedtime. I used to draw them out on paper, or graph paper, and keep them as a record every year.
How to Create a Planting Schedule
List the vegetables you plan to grow
Don’t only list the vegetables themselves, but also the varieties you’ve chosen to grow. Create an exhaustive list, and if you look at it and realize it’s too much, narrow it down. Make notes on what the planting space for each one needs to be and how many of each you want.
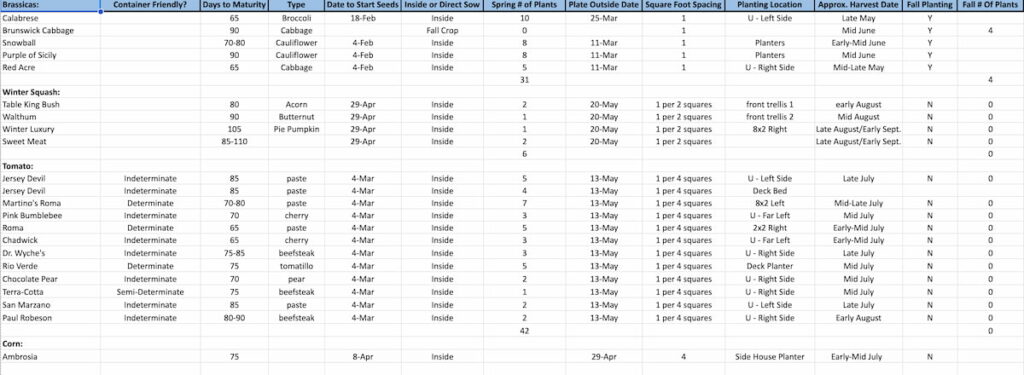
Pencil them into your garden diagram
I say pencil them in, because it’s helpful to be able to go back and change things. Maybe you realize a different layout is more efficient. Or maybe one of your varieties doesn’t seed well (or you can’t find a start to buy near you). Flexibility is important, so pencil everything in.
Note when each should be planted
Make a column next to the vegetable names and plant spacing where you write when each plant should be planted. Put the date that the seeds should be started inside or direct sowed, or when you need to have the starts bought and planted.
I also like to make a note if the plant is direct seeded, started inside, or if I need to buy a start. If it’s a seed I’m planning to start inside, I also like to note when the seedling should be transplanted outside. It may also be helpful if you want to keep track of when you need to start hardening the plants off that you started inside. The more organized you are, the smoother everything will go.
Write the planting dates on a calendar
Take all the dates you just calculated and put them on a calendar. It can be a calendar in your phone, on your wall, a planner, or some other calendar you look at regularly. The point is to keep the dates visible so that you don’t forget and fall behind on your schedule.
Make room for some flexibility
Weather is unpredictable, and life can be too, so give yourself some wiggle room for planting. Some years you might be planting early, some might be late. Don’t get discouraged and know it’ll all work out. Flexibility and the ability to adapt is important during all gardening stages.
Common Vegetable Garden Planning Mistakes
Even experienced gardeners learn through mistakes. Mistakes are part of gardening. Even seasoned gardeners make mistakes every year. Each one teaches us something, and allows us to grow as gardeners year after year. Some common ones include:
Planting too early
Don’t be deceived by a temporary heat wave. Wait until you are sure most days will be above the right temperatures for your plant. In my area that means waiting until late May/early June for tomatoes, peppers, and other heat loving plants.
Overcrowding plants
It’s easy to look at small seedlings and think you can fit more in. But those seedlings won’t stay small. Space plants based on their mature size, even if it looks like your garden is very sparse during the early season.
Ignoring sunlight needs
If you don’t meet a plant’s sunlight needs, the plant won’t grow properly and it won’t produce much, if anything. This also applies to plants that need only 4-6 hours of sunlight. Too much can burn the plants and they will die early. There is some wiggle room both ways, but make sure you consider each plant’s needs when deciding where to plant them.
Forgetting to plan for watering access
Most of us need to supplement water during the heat of the summer. Make sure you have a water source near by, or a means to get water to your garden space.
Start Small and Let the Garden Teach You
You don’t need a perfect plan to grow a successful vegetable garden, but some planning helps. Start small, pay attention, and adjust each year.
With every year, planning becomes easier, harvests improve, and confidence grows. A vegetable garden isn’t just about food. It’s about learning, observing, and working with nature instead of against it.
Ready to Plan Your Vegetable Garden?
Grab a notebook, sketch your space, and start simple. Remember: the best garden plan is one you’ll actually use and eat from.
Pin It For Later ⤵️


These are great tips! I find that my plans always have to be adapted because of weather, pests, and lots of other unforeseen circumstances. But, I love to plan anyway!
Thank you for such an easy to follow and detailed garden plan. This is so helpful for planning the garden. Hoping to get started soon!
this is really helpful, thank you! We just moved to a new house last fall so I am starting to think about where to make a garden and what to put in it 🙂
How exciting! I wish you the best of luck with your new house and garden.
This was so informative and helpful. I’ve been gardening for several years but still very much a beginner and always learning new things. I really appreciate you sharing this, thank you!
These are great tips! It’s the perfect time to get plans ready for this years garden.
Great tips! Thanks!
Loved this post!! So thorough and perfect timing as I’m planning our garden right now ❤️
Lots of great info here! I’m looking forward to getting my garden planted this year. I’m just now starting to prep and feel like I’m running behind! Planting season is just around the corner for us. Happy gardening!