
15 Seed Starting Tips for Beginners (Avoid These Costly Mistakes)
Starting seeds indoors can save money, expand the varieties you can grow, and give you a head start on the growing season. But if you’ve ever watched seedlings stretch toward a window, collapse from damping off, or simply refuse to sprout, you know seed starting isn’t always as simple as putting seeds in soil and waiting. The good news is that most seed-starting problems are completely preventable. With the right setup and a few proven techniques, you can grow sturdy, healthy seedlings ready for the garden. These seed starting tips for beginners will help you improve germination rates, prevent common mistakes, and grow stronger transplants from the very beginning.
*As an Amazon Associate I may earn from qualifying purchases at no cost to you.
Pin It For Later ⤵️
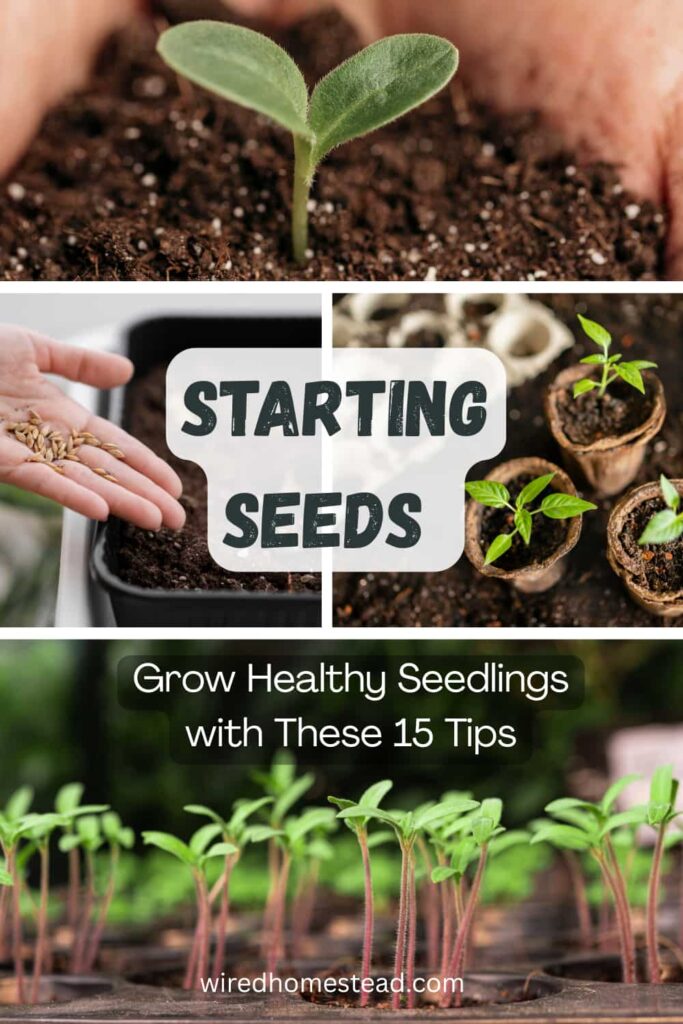
Why Should You Start Your Own Seeds?
There are many reasons to start your own seeds.
- Cost – it is much cheaper to buy a packet of seeds for $2-4 and get 20-30 seeds instead of buying 1 plant start for $5.
- Healthier Plants – starts you get at the store are bought by a large supplier providing plant starts for many places. The plants tend to be over fertilized. They look big and healthy when they hit the store shelves but are often not prepared for the actual weather when you’re buying them. This doesn’t often translate to good production when transplanted into your garden. Local nurseries may have plant starts they’ve grown on site, but they can sometimes have the same problem as store bought ones.
- More Variety – because stores and nurseries are trying to appeal to the widest range of people, while still making a profit, they only sell the most popular varieties of plants. When you start from seed, you get a larger choice in what varieties you’d like to grow.
- Better Adaption to Your Climate – along with more variety, when starting from seeds you can research and choose the seed varieties that are adapted to your climate. The most popular varieties found in stores may not be the best choice. While they sell well, they may not produce as well as a lesser known variety suited for your growing climate.
- Extend Your Growing Season – starting warm weather plants inside early gives you a head start on your growing season. This gives them a boost and ensures they have enough time to mature and produce fruit before the end of your growing season.
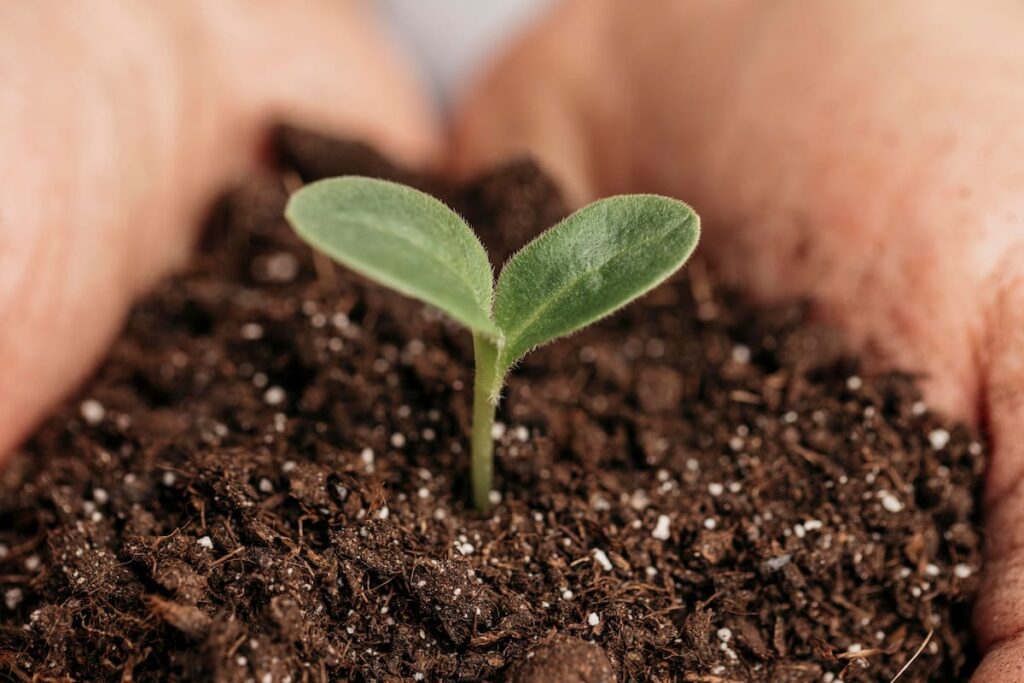
15 Tips for Seed Starting Success
If you’ve tried starting seeds before and it didn’t go so well, don’t give up! Try these 15 tips for successful seed starting and watch your seedlings thrive this year.
1. Choose the Right Seeds
Select seeds based on your climate, growing season, and space availability. Some plants (like tomatoes and peppers) are best started indoors, while others (like peas or beans) do well when sown directly in the ground.
2. Start Seeds at the Right Time
One of the biggest seed-starting mistakes is planting too early. It feels productive to sow tomato or pepper seeds months before your last frost date, but oversized seedlings often become rootbound, stressed, and are more difficult to transplant.
Most seed packets tell you exactly how many weeks before your last frost date seeds should be started indoors. Use that information along with your local growing season to build a seed-starting schedule.
If you’re not sure what your growing season is or how to use it, read my guide on Growing Seasons for Beginners to learn how to determine the best planting window for your area. Understanding your local climate can make the difference between thriving seedlings and disappointing results.
3. Use Quality Seed-Starting Mix
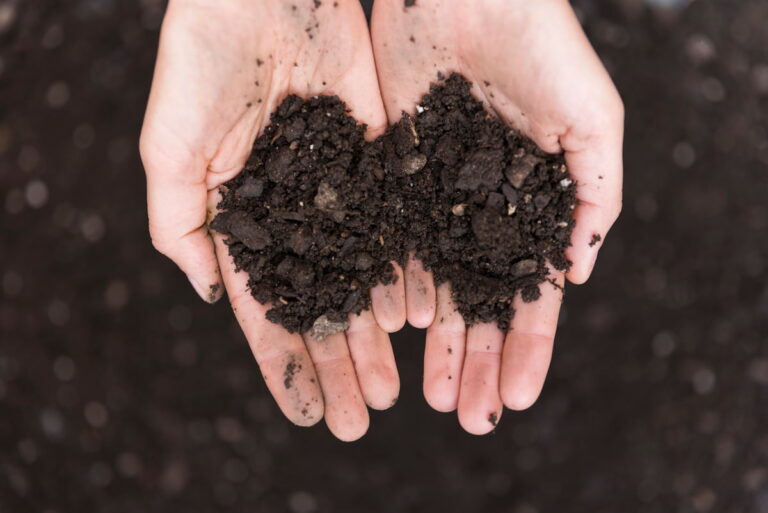
Avoid using regular garden soil, as it can be too heavy and may contain pests. Instead, use a light, well-draining seed-starting mix, which is designed to provide the right texture and nutrients for seedlings to grow strong.
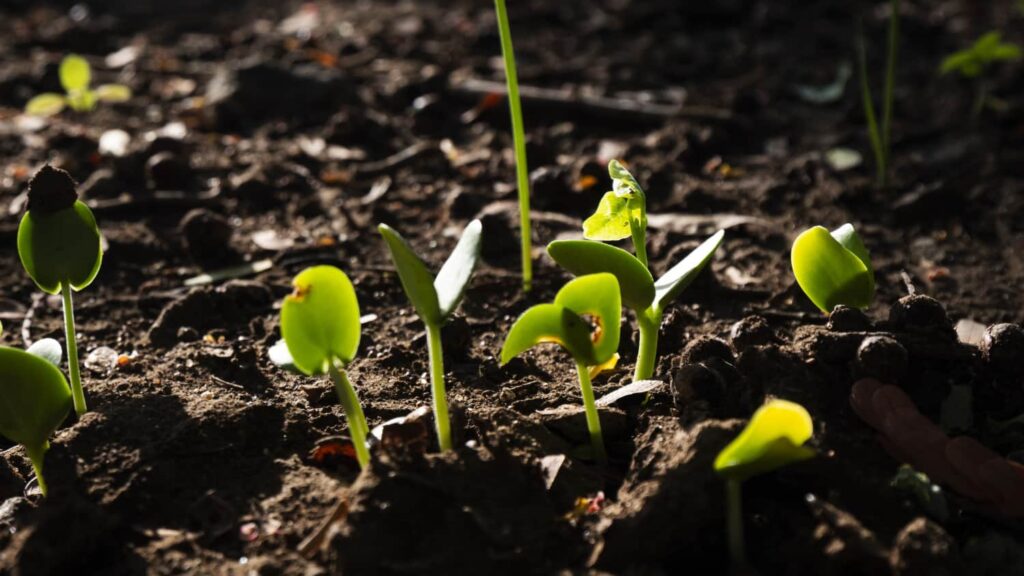
4. Give Seedlings More Light Than you think they need
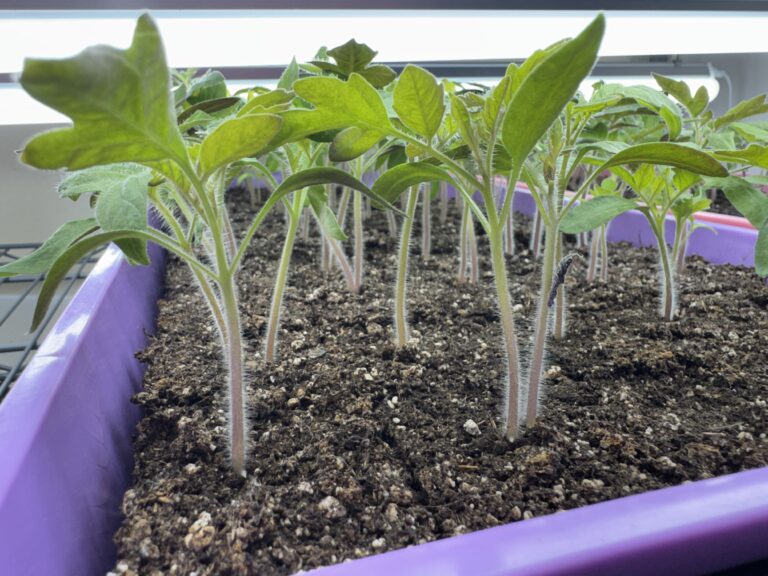
Insufficient light is the number one reason seedlings become tall, weak, and floppy. A sunny window rarely provides enough light for healthy indoor seedlings. Instead, place seedlings under grow lights for 12-14 hours per day and keep the lights just a few inches above the tops of the plants.
If your seedlings are already stretching, don’t panic. I cover exactly how to save them in my guide on How to Fix Leggy Seedlings (Proven Fixes for Stronger, Healthier Starts).
5. Maintain the Right Temperature
Seeds need warmth to germinate, so make sure to keep them in a warm location. Most seeds do well in temperatures between 65°F and 75°F (18–24°C). You can use a seed heat mat to maintain consistent warmth, especially for heat-loving plants like peppers.
6. Water Gently and Consistently
Keep the soil moist but not soggy. Use a gentle watering method, such as a spray bottle or a watering can Seeds need consistent moisture to germinate, but saturated soil creates ideal conditions for fungal diseases and root problems.
I prefer bottom watering because it keeps the soil evenly moist while reducing the risk of disturbing newly planted seeds. It also reduces the risk of Damping Off, a fungal disease that can wipe out seedlings.
Allow the growing medium to remain moist rather than soaking wet.
7. Thin Seedlings Early
Once your seedlings have grown large enough to have a few true leaves, thin them out. This prevents overcrowding and ensures that each plant has enough space to grow strong roots. You can either transplant the extras or compost them.
To learn how to properly thin seedlings, read my guide on How and When to Thin Seedlings. It might not seem like it would matter, but how you thin seedlings and when you do it makes a difference in the health of the plants you keep.
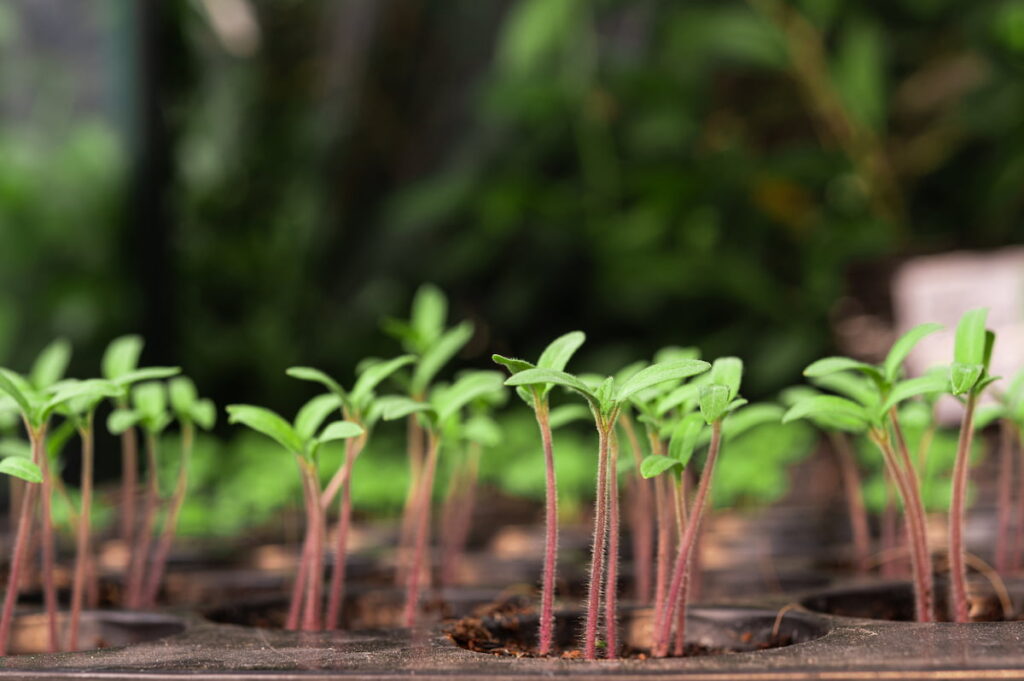
8. Harden Off Seedlings Before Transplanting
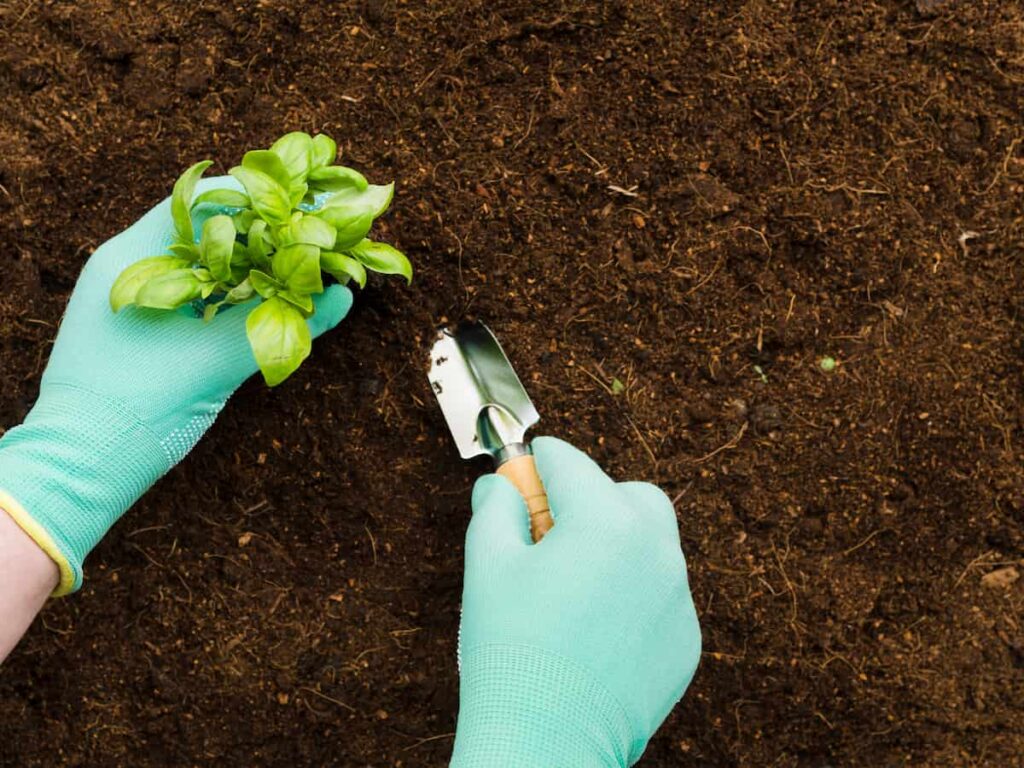
Before planting your seedlings outdoors, gradually acclimate them to the outdoor environment to reduce transplant shock. This process is called “hardening off.”
Start by placing seedlings outside in a shaded, protected spot for a few hours each day, and increase the time each day for about a week. For more detailed information see my post on A Simple, Proven Method to Harden Off Seedlings Without Shock.
9. Use Containers with Drainage
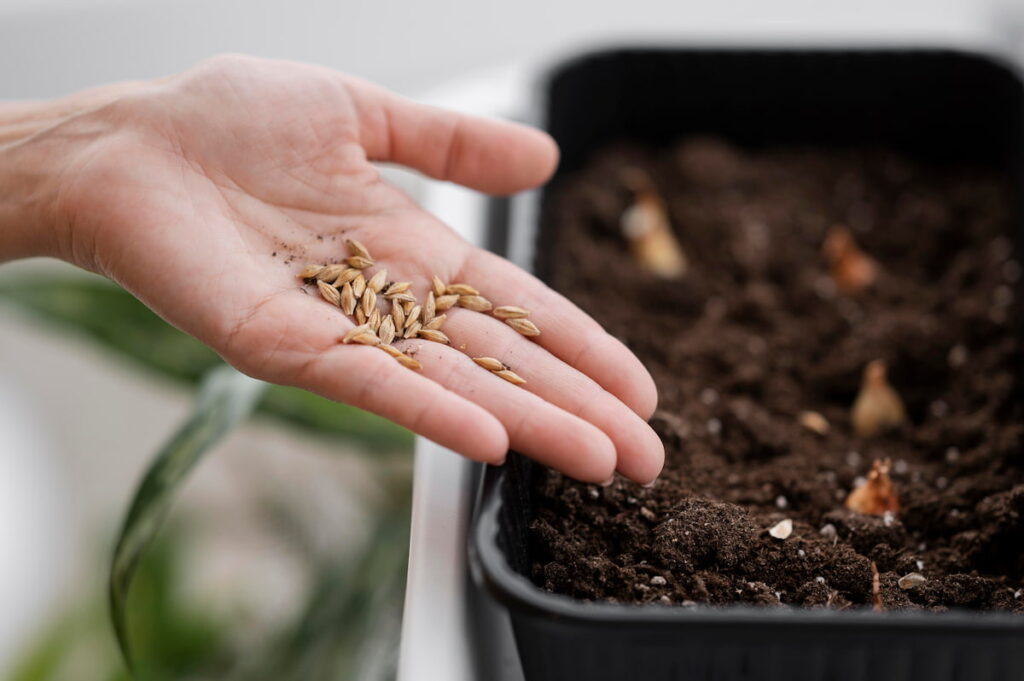
Use seed trays, pots, or other containers that have drainage holes. This will prevent the soil from becoming waterlogged, which can lead to root rot. If you’re using a non-draining container, make sure to poke holes in the bottom. I’m a big fan of Bootstrap Farmer’s 1020 seed trays with the mesh trays set inside for drainage.
10. Label Your Seedlings
Keep track of what you’ve planted by labeling your containers with the seed variety and the planting date. This will help you stay organized, know when to expect germination or when to transplant seedlings.
11. Monitor for Pests and Diseases
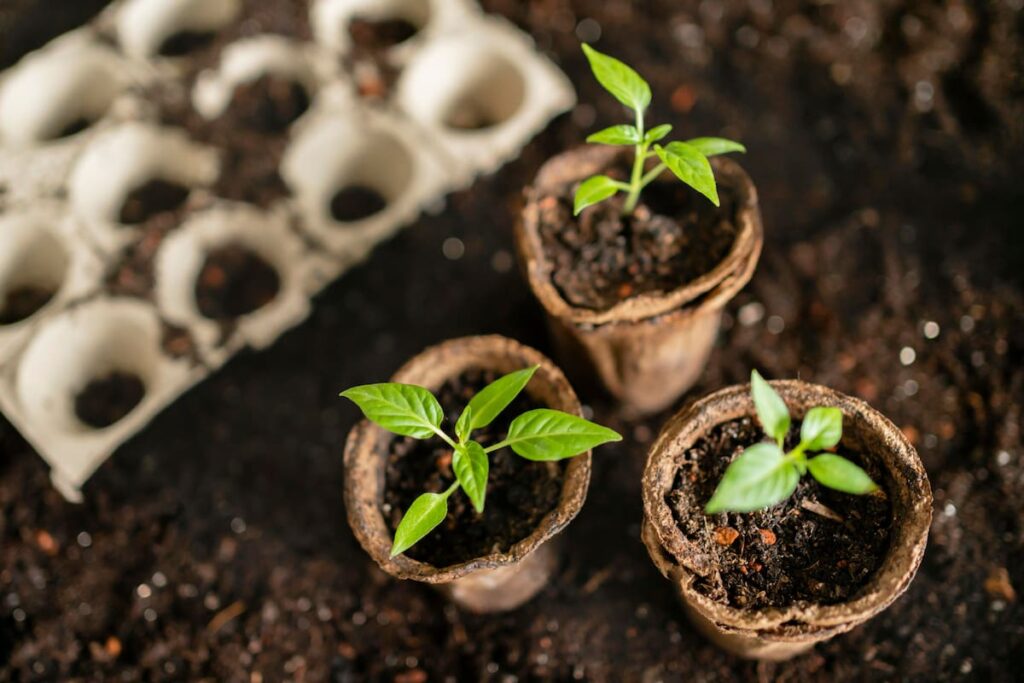
Keep a close eye on your seedlings for signs of pests (like aphids or fungus gnats) or diseases (like damping-off). If you notice any issues, address them early with natural pest control methods or remove the affected plants to prevent the spread.
Read my guide on Natural Pest Control to learn more about natural remedies you can use if you develop a pest issue.
12. Keep Air Circulation Flowing
Good airflow around your seedlings will help prevent mold and mildew. You can use a small fan to gently circulate air if you’re starting a lot of seeds indoors or have high humidity.
Learn more about Why Airflow is Important for Healthy Plants to go more in depth on how airflow can help you grow healthier, more successful seedlings.
13. Fertilize Lightly Once the First True Leaves Appear
Once your seedlings have a couple of true leaves (not the initial seed leaves), you can begin fertilizing them lightly with a diluted liquid fertilizer. Avoid over-fertilizing, as this can lead to leggy or weak plants.
Dilute the fertilizer to half strength. Seedlings are delicate and cannot handle full strength fertilizer right away. I really like using Alaskan fish fertilizer. My seedlings always do well with this at half strength.
14. Stay Organized
Keep your seed-starting area neat and organized. Use trays to collect water and regularly check on the condition of your seedlings to ensure they’re getting the care they need.
If you can, dedicate a shelf of your seed starting set up for storing things like a watering can, fertilizer, plant labels, and other seed starting essentials.
15. Keep Track of Your Seed Starting Process
Document when you start your seeds, when they germinate, and any other important details about your process. This will help you learn and adjust your methods for future seasons, improving your success year after year.
Keeping a gardening journal will help you become a better gardener over time. Keep a section for seed starting, but continue throughout the growing process. Record your successes and your failures. You often learn more from failures than you do successes.
Check out my post on Why Gardening Mistakes Matter to learn how these mistakes will make you better. And why it’s actually important to make mistakes to grow as a gardener.
Common Seed Starting Mistakes to Avoid
Many seed-starting failures come down to a handful of preventable mistakes:
- Starting seeds too early
- Using garden soil instead of seed-starting mix
- Overwatering seedlings
- Providing insufficient light
- Skipping the hardening-off process
- Crowding seedlings together
Fixing just one or two of these issues can dramatically improve germination rates and seedling health. Gardening experts consistently recommend sterile seed-starting mixes, adequate lighting, and proper timing to avoid these common problems.
Don’t Skip Hardening Off
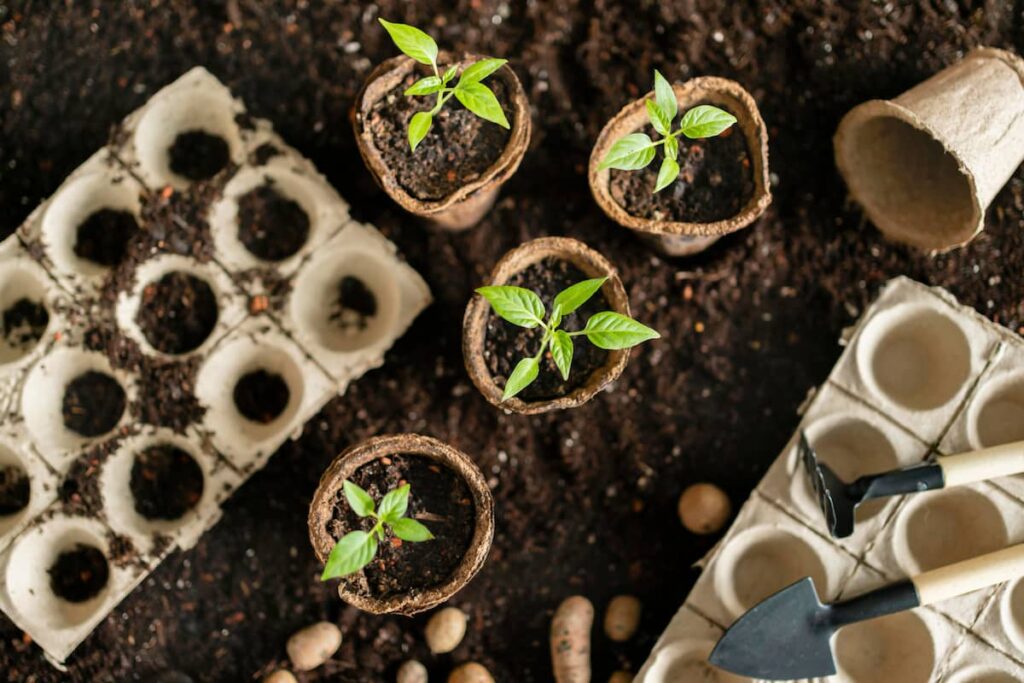
Even the healthiest indoor-grown seedlings need time to adjust to outdoor conditions.
Moving plants directly from your home to full sun and wind can cause transplant shock, sun scald, and slowed growth. Gradually introducing seedlings to outdoor conditions over one to two weeks helps them develop stronger stems and adapt successfully.
Before planting outdoors, follow my complete guide on A Simple, Proven Method to Harden Off Seedlings Without Shock.
Once your seedlings are hardened off, you’ll be ready for the next step: When to Transplant Seedlings Outdoors for Healthier Growth.
Start Your Best Seedlings to Date
Each year I learn more and more about how to successfully start seeds.
Successful seed starting isn’t about having expensive equipment or a perfect setup. It’s about consistently providing the basics: quality seed, proper moisture, adequate warmth, strong light, and good timing.
Start with these seed-starting tips, learn from each season, and you’ll quickly develop a system that works for your space and climate.
If you’re troubleshooting seedlings right now, these guides can help:
- Seed Starting Problems: Why Seeds Didn’t Sprout & How to Fix It
- How to Fix Leggy Seedlings
- A Simple, Proven Method to Harden Off Seedlings Without Shock
- How to Tell When Seedlings Are Ready to Transplant
Check out my post on How to Save Marigold Seeds to learn how to never have to buy this important pest repelling flower ever again.
Pin It For Later ⤵️
Frequently Asked Questions About Seed Starting
Q: What is the most important thing when starting seeds?
A: The most important factor is consistency. Seeds need the right combination of moisture, temperature, air circulation, and light to germinate and grow into healthy seedlings. Missing one of those basics can lead to poor germination, weak growth, or disease. Focus on creating stable conditions rather than constantly adjusting things, and you’ll usually have better results.
Q: Why won’t my seeds germinate?
A: Seeds may fail to germinate for several reasons. The soil may be too dry or too wet, temperatures may be outside the seed’s preferred range, or the seeds may have been planted too deeply. Old seed can also have lower germination rates.
Before giving up on a tray, check the seed packet for recommended soil temperatures and germination times. Some crops, especially peppers and herbs, naturally take longer than others to sprout.
Read my guide on Why Seeds Didn’t Sprout to troubleshoot what may be the cause of your seeds not germinating and learn how to fix it.
Q: How long does it take for seeds to germinate?
A: Germination times vary depending on the crop. Lettuce may sprout in just a few days, while peppers can take two weeks or longer. Most vegetable seeds germinate within 5 to 14 days when provided with proper moisture and temperature.
Always check the information on the seed packet rather than comparing one crop to another.
Q: Should seeds be covered with soil?
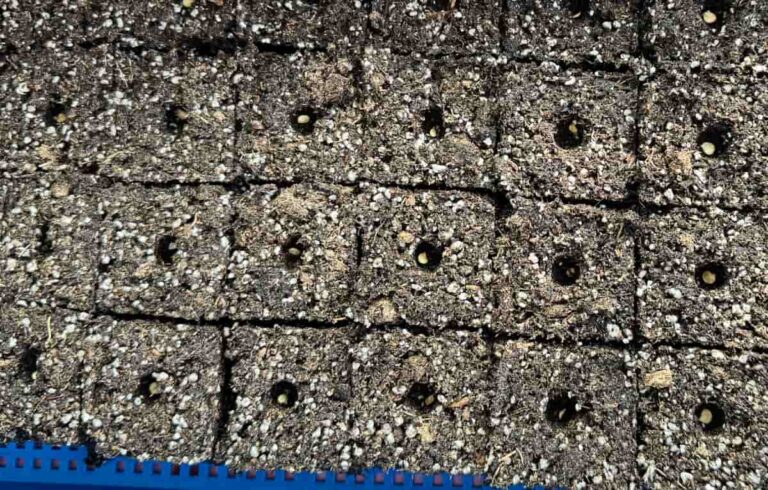
A: Most seeds should be covered with a thin layer of seed-starting mix, but the depth depends on the seed size. A common rule is to plant seeds about twice as deep as they are wide.
Some seeds, such as lettuce, actually need light to germinate and should be left uncovered or barely covered. When in doubt, follow the instructions on the seed packet.
Q: Do seeds need light to germinate?
A: Most vegetable seeds do not require light to germinate, but they need light immediately after sprouting. Once seedlings emerge, provide bright light for 12-14 hours per day to prevent weak, leggy growth.
A sunny windowsill may work for a short time, but grow lights will produce stronger, sturdier seedlings.
Q: What temperature is best for germinating seeds?
A: Most garden vegetables germinate best between 65°F and 80°F. Warm-season crops such as tomatoes, peppers, and eggplants often germinate more quickly when soil temperatures are closer to 75°F.
If your house stays cool, a seedling heat mat can help speed up germination and improve success rates.
Q: Is a heat mat necessary for seed starting?
A: Not always. Many cool-season vegetables germinate well at normal indoor temperatures. However, heat mats can be helpful for warm-loving crops like peppers, tomatoes, basil, and eggplant.
Think of a heat mat as a tool that improves germination speed and consistency rather than a requirement for every seed.
Q: How often should I water seedlings?
A: Seedlings should stay consistently moist but never waterlogged. Check moisture levels daily by touching the soil surface. If it feels dry, it’s time to water.
Many gardeners prefer bottom watering because it encourages deeper root growth and reduces the risk of disturbing delicate seedlings. Master How to Water Seedlings is an in-depth guide on how to water seedlings for success.
Q: Can I overwater seedlings?
A: Yes. Overwatering is one of the most common seed-starting mistakes. Constantly saturated soil can deprive roots of oxygen and create conditions for fungal diseases like damping off.
The goal is evenly moist soil, not soggy soil. If water pools on the surface or trays remain wet for days, you’re probably watering too much.
Q: What is damping off and how do I prevent it?
A: Damping off is a fungal disease that causes young seedlings to suddenly collapse at the soil line. It often appears when seedlings are growing in overly wet conditions with poor airflow.
To prevent damping off:
- Use clean containers
- Start with sterile seed-starting mix
- Avoid overwatering
- Provide airflow with a small fan
- Give seedlings adequate spacing
Once damping off appears, affected seedlings usually cannot be saved. For a more complete guide, check out What is Damping Off.
Q: Why are my seedlings tall and floppy?
A: Tall, weak seedlings are usually a sign of inadequate light. When seedlings don’t receive enough light, they stretch toward the nearest source and develop thin stems.
Keeping grow lights just a few inches above seedlings and providing 14 to 16 hours of daily light can help prevent this problem. If your seedlings are already stretched out, check out my guide on Fixing Leggy Seedlings.
Q: When should I thin seedlings?
A: Thin seedlings once they develop their first set of true leaves. Remove the weaker seedlings and leave the strongest plant in each cell or growing space.
While it feels wasteful, thinning prevents overcrowding and allows the remaining plants to develop stronger roots and stems. Read When To Thin Seedlings for more detailed instructions on thinning seedlings properly
Q: What are true leaves?
A: The first leaves that appear after germination are called seed leaves or cotyledons. True leaves are the next set of leaves that emerge and resemble the mature plant’s foliage.
Many gardeners wait for true leaves before fertilizing, transplanting, or thinning seedlings.
Q: Do seedlings need fertilizer?
A: Seedlings generally don’t need fertilizer until they develop their first set of true leaves. At that point, a diluted liquid fertilizer to half strength can provide nutrients for continued growth.
Too much fertilizer too early can damage young roots, so it’s best to start with a weak solution and increase gradually if needed.
Q: When should I transplant seedlings into larger containers?
A: Transplant seedlings when roots begin filling the current container or when plants develop several sets of true leaves. Signs they need more space include roots emerging from drainage holes or soil drying out unusually quickly.
Potting up before seedlings become rootbound helps maintain steady growth.
Q: How big should seedlings be before transplanting outdoors?
A: Most vegetable seedlings are ready for the garden when they have at least two to four sets of true leaves and a well-developed root system.
The exact timing depends on the crop, outdoor temperatures, and your local last frost date. Read How to Tell if Seedlings Are Ready to Transplant for more detailed information on determining when your seedlings are ready to go outside.
Q: What is hardening off?
A: Hardening off is the process of gradually exposing indoor-grown seedlings to outdoor conditions before transplanting. This helps plants adjust to sunlight, wind, temperature changes, and lower humidity.
Skipping this step often results in transplant shock, leaf scorch, or slowed growth.
Learn more about How to Harden Off Seedlings to help avoid transplant shock and have a more productive harvest.
Q: How long should you harden off seedlings?
A: Most seedlings benefit from 7 to 14 days of hardening off. Start with a few hours of outdoor exposure in a protected area and gradually increase the time spent outdoors each day.
Patience during this stage often leads to stronger plants and better garden performance.
Q: What month should I start seeds indoors?
A: The answer depends on your growing season, average last frost date, and the crop you’re growing. Most seeds are started indoors 4 to 10 weeks before the final spring frost.
Tomatoes are commonly started 6 to 8 weeks before transplanting, while peppers often need 8 to 10 weeks.
Understanding your local growing season is the best way to create an accurate seed-starting schedule. Learn more about how to determine your growing season in Growing Seasons for Beginners.
Q: Can I use regular potting soil to start seeds?
A: You can, but seed-starting mix generally produces better results. Seed-starting mixes are lighter, drain better, and allow delicate roots to develop more easily.
Heavy potting soil can stay too wet, compact around roots, and make germination more difficult. They also tend to have larger woody debris than seed starting mixes. This can make it more difficult for seeds to germinate; they don’t have the strength and energy to push past large objects.
Q: How many seeds should I plant per cell?
A: Planting two to three seeds per cell is a common practice. This increases the chances that at least one seed will germinate. Once seedlings emerge, thin to the strongest plant.
This simple approach helps compensate for seeds that may not sprout.
Q: What are the easiest seeds for beginners to start indoors?
A: Some beginner-friendly vegetables include:
- Tomatoes
- Lettuce
- Basil
- Kale
- Broccoli
- Cabbage
- Marigolds
- Zinnias
These crops germinate relatively quickly and tend to be more forgiving of minor mistakes.
Q: Is it better to direct sow or start seeds indoors?
A: It depends on the crop and your climate. Fast-growing vegetables like beans, peas, carrots, and radishes are often direct sown in the garden. Crops with longer growing seasons, such as tomatoes, peppers, and eggplants, usually benefit from being started indoors.
Using both methods allows gardeners to maximize harvests throughout the season.

Gosh…it’s already almost time for seed starting here and it hadn’t even crossed my mind until I saw this. Time to start getting ready. Good tips! 🙂
These are fantastic tips!
Perfect for a beginner like me! Thanks so much for this info!
Such great tips for starting ones own seedlings and so important! Especially hardening off properly in order not to loose those tiny plants one’s been babying.